Table of Contents
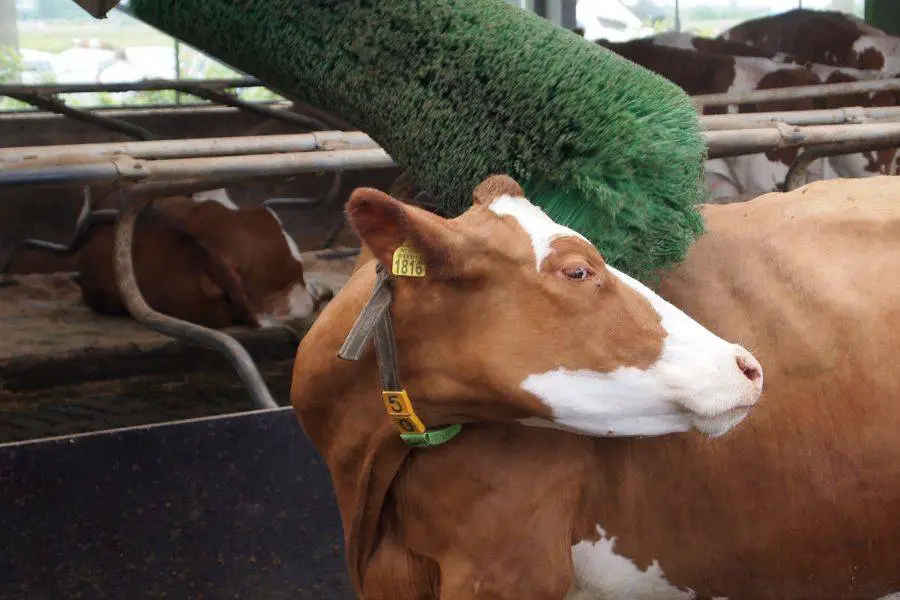
The cattle scratcher is one of the best tools to use when you need to protect your cattle from pests. Cattle scratchers are a good way to keep flies and other pests away from your cattle.
Also, it is a way of giving them a comfortable way to brush and scratch. However, do you know you can make the best cattle scratcher right from the comfort of your ranch?
Well, you do not need to bother yourself too much with this. This post will walk you through a simple step-by-step process you need to make the best cattle scratcher for your cattle.
About Cattle Scratchers
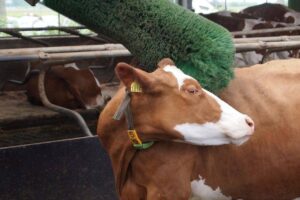
Using the cattle scratcher will help remove all of the cattle’s lice, flies, and winter hair, leaving them with a clean and revitalizing sensation.
Removing the hair and flies accumulated over the winter will make the cattle feel better.
Cattle scratchers can administer efficient pest management to the back of the cattle, which helps disseminate it throughout the coat.
This may make it simpler for you to brush your cattle thoroughly while ensuring that they are protected from the elements throughout the summer.
When you groom your cattle by hand, it can take a long time. You need to get the brush and run it through the hair well.
Then you must go through each hair individually and use the pest control, hoping to get it all rubbed in and spread over all the hair.
Without a cattle scratcher, this takes a long time. Also, if you brush and treat each cow individually, you will be exposed to the insecticides in the grooming oil. A cattle scratcher will solve all of these problems.
Things to Consider Before Building Your Own Cattle Scratcher
Space Availability
When deciding where to put your cattle scratcher, stay away from the entrance and exit lanes and dead-end spots.
Watch out for gates or half-walls that could get in the way. We suggest leaving at least 8 to 10 feet of space on either side of the brush.
Cattle Scratcher Placement
Any barn building can have a cattle scratcher put in it. Any place with at least the minimum amount of space needed would be perfect.
This would let the brush move without being blocked and keep cattle from getting stuck.
Most of the time, they are put on a crossover beam. If you don’t have a crossover that works, you can also use an outside alley post far from the entrance.
If you put the cattle scratcher on an outside alley post, cattle will go down the alley instead of toward the door.
It is important to put the brush where cattle can have an escape route. This gives cattle with less power a way to stay away from cattle with more power.
Using a Mounting Post
You can use a strong mounting post if you want to put your scratcher outside but don’t have a strong wall.
To mount your scratcher, you should have at least a 6-by-6-inch treated wood post or a 4-by-4-inch steel tube.
You can put the scratcher on a post that is already there if it is strong and firmly planted in the ground.
Remember that you may need to make a mounting adapter if the upright needs to be wider.
Make sure your post is strong enough, is the right height, and is firmly in place. Put a concrete base under it and bury it deep in the ground.
The underground post acts as an anchor, so the deeper you sink it, the more stable it will be. At least 4 feet deep and 12 inches in diameter, the post should be reinforced with concrete.
Number of Brushes Needed
We recommend a maximum of 10 cattle per scratcher, depending on how big you make your scratcher.
Installing brushes on opposite sides of the plank encourages cattle to gather on both ends, reducing overpopulation.
If you put more than one brush in one plank, you should put one brush at the first crossover alley and one at the last crossover alley.
Tools and Materials
- Gloves
- 9 ½ inches 3 Brushes
- 2 by 4 Wood
- 2 ½ inch Screws
- Drill
- Cordless saw
- Tape measure
- Pen/marker
Step-By-Step Process
Step 1: Wear Your Gloves
This is the first step you need to do whenever you want to make a cattle scratcher. The gloves are important because they will protect you from injury since you will be dealing with screws, planks, and drills.
Step 2: Place the Brushes You Want to Use Side by Side
To get the right measurement of the plank/wood you will be using, you need to place your brushes together and measure the length.
Step 3: Cut Your Plank to the Precise Length
Take out your 2 by 4 plank and measure the length you got from the brush measurement. Use a pen or marker to highlight the length you are cutting.
Then use your cordless saw to cut the precise measurement. This plank will be the base plank.
Step 4: Cut the Horizontal Plank
Next, you need to cut another plank and shape but edges at a 45 angle. This will stand as the horizontal plank.
Step 5: Cut the Vertical Plank
Get a new plank that has the same length as the base plank. This plank will be placed in a vertical position.
Step 6: Placing the Planks Together
Your base plank should be placed on a flat surface so other planks can be connected to it.
Now, place the vertical plank at the edge of the base plank and use your drill and screw to secure both planks in place.
Then place the horizontal plank in a slant direction facing both the base plank and the vertical plank, and use a screw to secure both ends. (You should have something like an angle 90 triangle)
Step 7: Place Your Brushes on the Base Plank
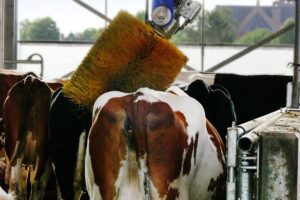
Place the brushes you want to use on the base plank. Then drive the screws upward into the plank because you do not want the screw sticking out.
Now that your brushes have been mounted on the plank, your homemade cattle scratcher is ready for use!
Step 8: Mount Your Cattle Scratcher
This is the last step to follow once your bushes have been mounted on the plank. You need to mount this homemade scratcher in a place that the back of your cattle can reach.
Lastly, once you have spotted the right place, you can mount your scratcher, placing some screws on the vertical plank to secure it.
Wrapping Up
In order to provide the highest level of care for your cattle, you will need to invest in a cattle scratcher.
When you use this scratcher, you will notice that your cattle feel significantly better. For instance, how they look and how well they are protected from predators and parasites.
When you are ready to save time and money while grooming and protecting your cattle, making a cattle scratcher is one of the greatest methods to make this happen.
Try out any of the steps above, and you will quickly see how beneficial it can be for your entire farm.
These steps are very simple to follow, and you will have your homemade cattle scratcher in less than five minutes!

