There are several reasons to grow your own mushroom log. Perhaps you consider yourself a master chef and have discovered the unparalleled taste of locally sourced mushrooms. Maybe, you’re just looking a way to grow extra food or interested in its health benefits.
Whatever your reasoning is, fungiculture is easy and can be seen as easy extension of your homesteading/prepping efforts. You could go with a shiitake log, but today we’re going to consider the best “beginner” mushroom out there: oyster mushrooms.
Why Should You Grow Mushrooms on Logs?
There can be a couple of good reasons why to grow mushrooms on logs, and some of them are below:
Great opportunity to diversify your garden with captivating log mushrooms.
If you have a garden-based business, then you can increase your revenue.
Perfect use of unusable wooden logs
You can grow and sell mushroom species with medicinal importance in your garden.
You can even make food of your own grown mushroom as they are fresh, healthy, and have diverse nutritional value.
Log mushrooms will give you access to the new market with an immense demand.
How to Choose the Right Log?
The foremost step is to choose a fresh and healthy tree to obtain logs. A decayed tree has a high probability of feeding pre-existing fungi that might affect your mushroom growth and even make it inedible due course of time.
The best time for cutting logs is during the winter or fall months. During this period, trees experience dormancy and sugar concentration is higher. Consequently, the bark is firmly attached to the tree.
When it comes to size, you need to understand that the bigger the log, the longer it will take to spawn mushrooms. This is because mycelium will take a considerable amount of time to colonize the log. However, it will produce mushrooms for a long period of time.
Although larger logs have certain benefits, they come with the risk of immovability and injuries. Ideally, the dimensions of the log would be 3×4 feet and 1.25 in length. The diameter would be 3-10 inches (8-25 cms). You can also use fresh tree stumps to grow mushrooms.
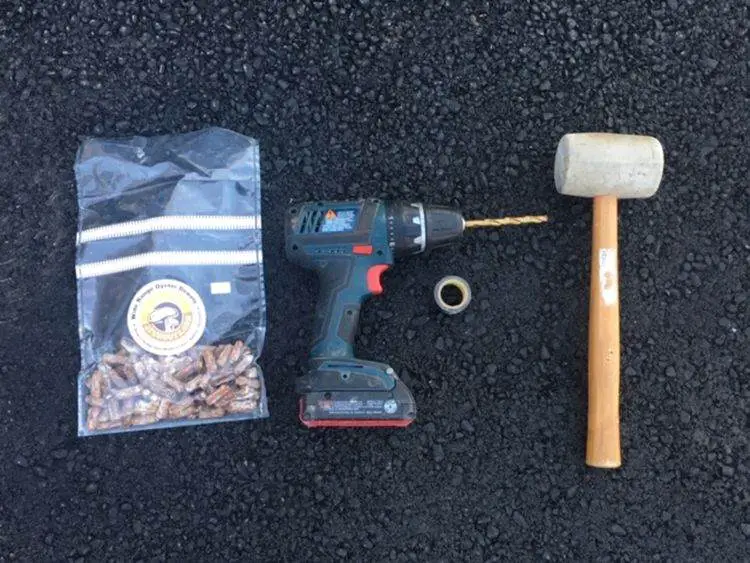
Tools You’ll Need for Making a Mushroom Log
You’ll need the following tools to begin constructing your mushroom log:
Beeswax (I get mine at a craft store. It comes in a brick)
A drill with a 5/16” drill bit
What You’ll Need
4 Steps to Making Your Mushroom Log
Did I mention this is super easy? Here are the four steps you need to take.
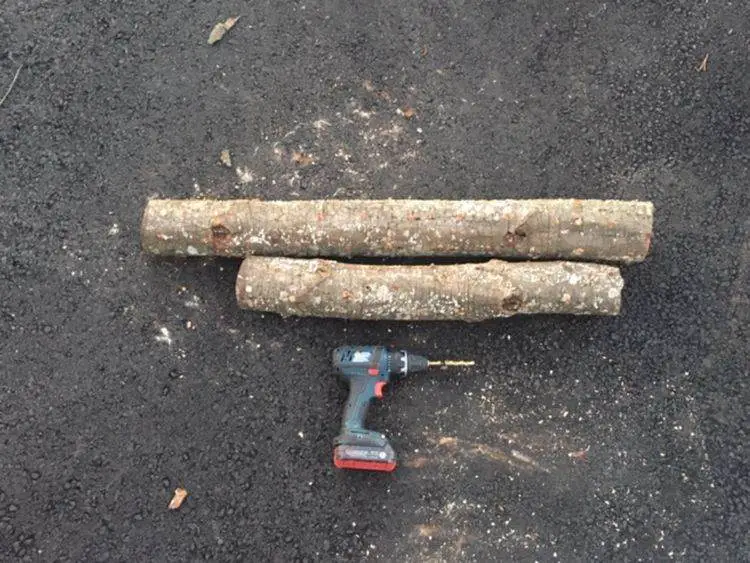
#1 – Cut a Log
Firstly, harvest the logs, either with an axe or a chainsaw. Ideally, this should be done in the colder months when the sap has shifted within the tree. Although a summer-cut log will work, the yield would be inefficient.
Oyster mushrooms aren’t too picky when selecting the log type for use. But it favors the hardwood. The best results are achieved when the logs are cut within the past 3 months.
The older the log is, the higher the chance that some other mushroom type has already begun colonizing it. This means that if you use an older log, you could end up with the oyster mushroom spawn being outcompeted and potentially eating a mushroom that you THOUGHT was an oyster. But in reality, it was something else. So, the best practice is to get a fresh log.
I typically cut my mushroom logs into 2-3’ lengths and use 6-8″ diameter logs. You could use bigger, but mushrooms grow after colonizing the entire log. So, the longer the wood, the longer it will take until your mushrooms grow.
The Basics
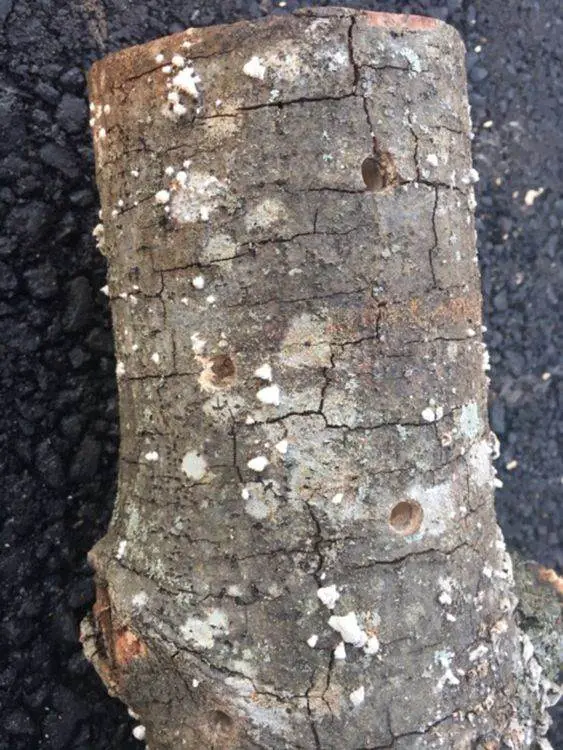
#2 – Drill Holes in It
After having the logs ready, get a 5/16” drill bit. That’s the typical size for the spawn-inoculated wooden dowels in use. I like to put a piece of black electrical tape around the drill bit to know the depth of each drill. Then, I hold the plug spawn piece up to the drill bit and wrap the tape around the bit, right above the dowel.
The next part is the hardest, and you’ll probably burn through two sets of batteries for your drill. I drill a diamond pattern throughout the entire log. You want each row to be 1-2” apart and each hole to be around 5” apart.
Holes Drilled
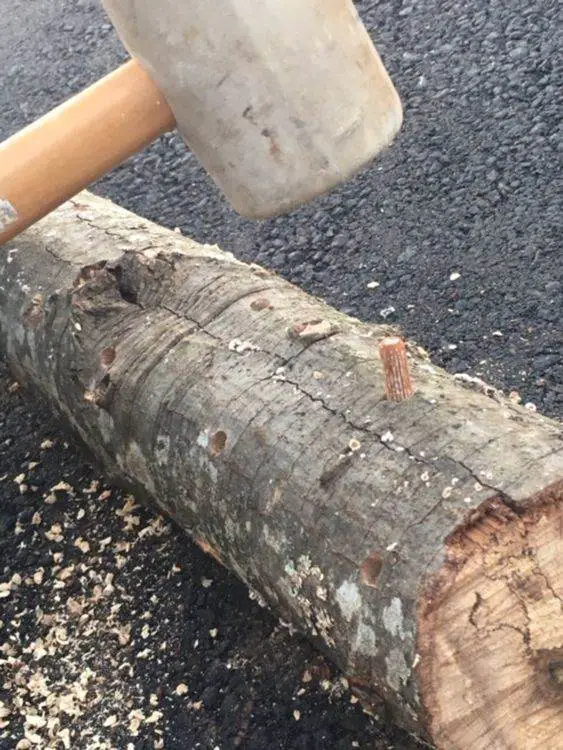
#3 – Put Plugs in the Log
Once this is done, get ready for my favorite part: whack-a-mole. With a rubber mallet, pound the plug spawns into each hole and get them as far as possible.
Whack-a-Mole
#4 – Cover it in Wax
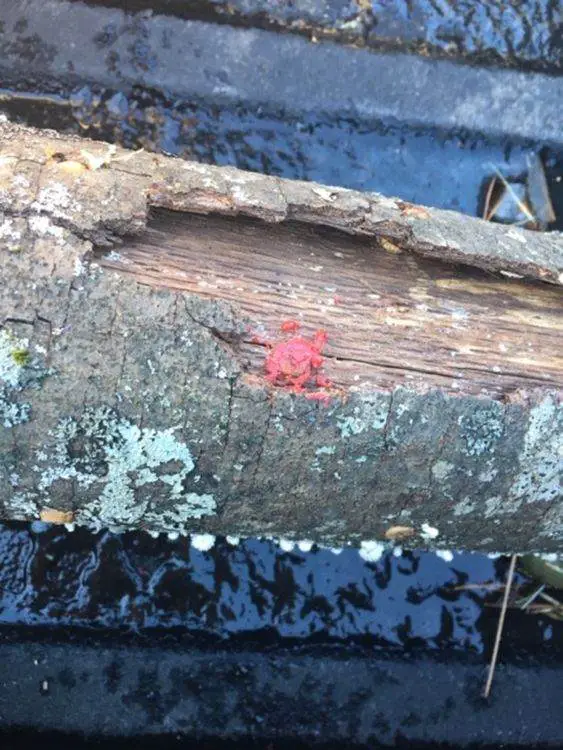
Afterward, paint over each plug spawn you just hammered in with beeswax. Generally, I’d just melt it in a backpacking bug-out stove. Once the wax is melted, use something to brush it atop each dowel’s head. This seals off the plug spawn, keeping everything from drying out too quickly.
Sealing with Wax
The last thing is to move the new mushroom log to a proper location. Place it in contact with the ground and somewhere shady. And that’s it! You now grow mushrooms!
How Long Will it Take to Grow Mushrooms on a Log?
The oyster mushrooms won’t begin to fruit until they’ve fully colonized the log with mycelium or mushroom roots. Once they take hold, they’ll produce roughly three flushes a year (being most prolific in the fall) for 2-3 years. By year three, the log will be pretty much spent on nutrients and will probably have disintegrated.
You have to be patient when growing mushrooms from logs. It can take anywhere between 6-12 months for full log colonization to occur. Part of it depends on your local weather conditions.
After harvesting, you should place them into the fridge or any other place with cold surroundings. Perhaps, you can store them in an open brown paper bag. They last fresh for about one week.
Later, you can cook them just like any other mushroom. You’ll probably not enjoy eating the stem as much as the top. That being said, the stem makes a great addition to broths for making stock.
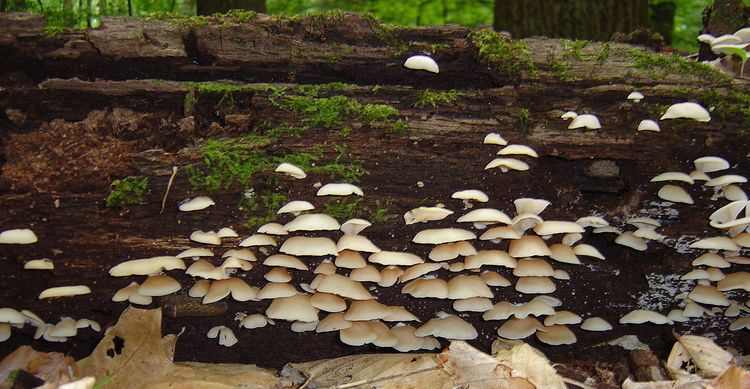
[from Creative Commons]
Oyster mushrooms are a rock star as far as fungi go. They have one of the highest protein contents of any mushroom on the planet, weighing in at roughly 15-30% of their dry weight being protein content.
From a health perspective, lab studies on mice have shown that they shrink tumors, decrease obesity, and help blood sugar regulation!
Further Reading
If you really want to delve more into the science behind mushroom farming, check out the works of Tradd Cotter and Paul Stamets.
They are the kings of the mushroom world. Stamet’s book Mycelium Running is absolutely fantastic, and Cotter’s Organic Mushroom Farming will teach you everything you need to know about raising a year-round harvest of mushrooms for your plate.
Have you got prior experience with growing mushrooms? Are there tips and tricks that you’ve learned along the way? Let us know in the comments below!