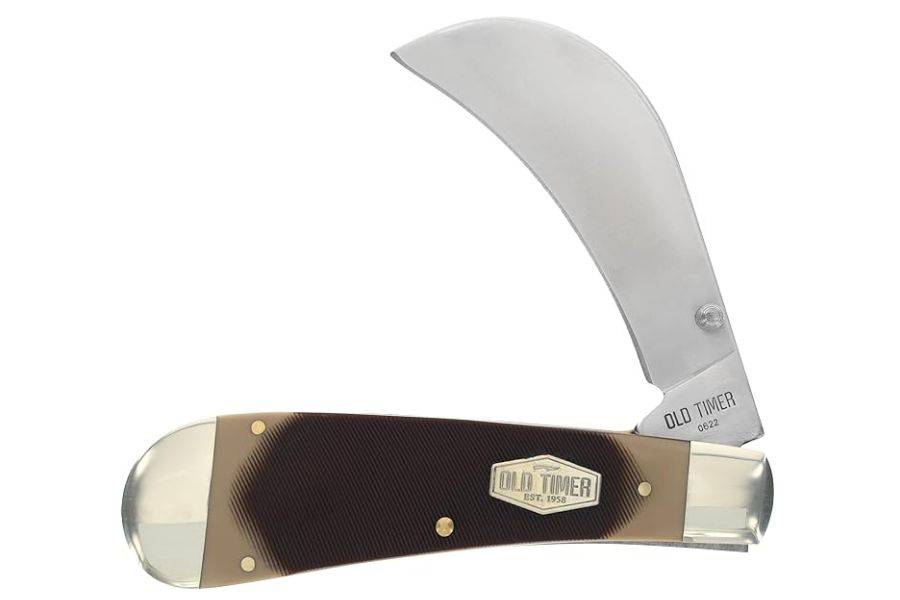
The hawkbill knife, with its distinctive curved blade resembling a hawk’s beak, is a tool prized for its utility in detailed and precision cutting tasks.
From gardening and rope cutting to carpet fitting and box opening, the unique shape of the hawkbill knife allows for pulling cuts that are difficult to achieve with straight-bladed knives.
However, sharpening a hawkbill knife requires specialized knowledge and technique due to its unique curvature.
This guide aims to provide comprehensive instructions on how to effectively sharpen a hawkbill knife, ensuring it remains in optimal condition for all your cutting needs.
Preparing for Sharpening
Selecting the Right Tools
Choosing the right tools is a fundamental step in effectively sharpening your hawkbill knife. The unique curvature of the blade necessitates specific tools to achieve a sharp, efficient edge.
Here’s a list of tools that are recommended for sharpening hawkbill knives:
Rounded Sharpening Rods: Ideal for maintaining the curvature of the blade. These rods come in various materials, including ceramic and diamond-coated options, which cater to different sharpening needs.
Fine-Grit Diamond Sharpening Stones: Small, fine-grit stones are excellent for detailed work on curved blades.
Honing Rods: A ceramic honing rod or a similar tool is essential for the final honing process, helping to straighten and refine the blade’s edge after sharpening.
Leather Strop: For the ultimate edge refinement and polishing, a leather strop can be used post-sharpening and honing.
Non-Slip Mat: To secure your tools and knife during the sharpening process, a non-slip mat is crucial. It provides stability and safety, reducing the risk of slipping and potential injury.
Magnifying Glass or Loupe: This tool is not directly involved in sharpening but is incredibly useful for inspecting the blade.
Protective Gloves: Safety should always be a priority when sharpening knives. A pair of cut-resistant gloves can provide an extra layer of protection against accidental cuts.
Cleaning Supplies: Keeping your tools clean is essential for their longevity and effectiveness. Have a soft cloth and some mild detergent on hand to clean your sharpening tools after each use.
Setting Up Your Workspace
Start by choosing a well-lit area with ample space where you can comfortably maneuver the knife and sharpening tools. A sturdy table or workbench, free from clutter, serves as an ideal base.
Cover the surface with a non-slip mat to secure your tools and knife in place, minimizing the risk of accidents. Ensure that all your sharpening tools are within easy reach to maintain a smooth workflow.
Additionally, keeping a clean cloth and water nearby for periodic cleaning of the blade and tools can help maintain a clear, unobstructed view of your work, enhancing both safety and precision during the sharpening process.
Analyzing the Blade
Examine your knife for signs of dullness or damage. Look for nicks, chips, or areas where the blade reflects light, indicating dullness.
The material of your hawkbill knife’s blade, whether stainless steel, carbon steel, or another alloy, will affect how you sharpen it. Harder materials may require more time and finer grits.
Sharpening Techniques for Hawkbill Knives
Sharpening a hawkbill knife requires a nuanced approach due to its unique curved blade.
The curvature presents a challenge that differs from the straight blades most are accustomed to, but with the right technique, it can be mastered efficiently.
Here we delve into comprehensive methods to maintain the sharpness and functionality of your hawkbill knife.
Understanding the Blade’s Curvature
The first step in sharpening a hawkbill knife is to familiarize yourself with its curvature.
This shape demands a more dynamic sharpening motion, as the entire length of the edge may not contact the sharpening medium at once. It’s crucial to adapt your technique to accommodate this.
Adapting Your Sharpening Motion
Unlike straight blades that can be sharpened with simple back-and-forth motions, hawkbill knives require a sweeping or rolling action.
This movement ensures that the sharpening medium comes into contact with every part of the curved edge, from the tip to the heel. The motion resembles a slight arc, mimicking the blade’s curvature.
Maintaining Consistent Angle
Keeping a consistent angle between the blade and the sharpening medium is vital.
This consistency is more challenging to achieve with curved blades, but it’s essential for an evenly sharp edge.
A helpful tip is to focus on maintaining the same angle for small segments of the blade at a time, gradually working your way along the curve.
Gradual Progression of Grits
Starting with coarser grits to reshape or repair any nicks and imperfections, and gradually moving to finer grits for polishing and honing, is a strategy that applies well to hawkbill knives.
Each stage of grit should see the entire edge treated to ensure uniform sharpness and finish.
Regular Maintenance
Due to their specific applications, hawkbill knives can benefit significantly from regular maintenance.
Even if the knife doesn’t seem dull, a quick touch-up with a fine grit can help maintain its peak performance and prolong the intervals between full sharpening sessions.
Visual and Tactile Inspection
Lastly, always inspect your work visually and by carefully feeling the edge (with appropriate caution).
A uniformly sharp edge should feel consistent along its length, and any visual inspection should reveal a smooth, unblemished surface reflecting light evenly without any visible nicks or dull spots.
Honing for Razor-Sharp Edges
Honing realigns the edge of the blade, refining and polishing it after sharpening. This step is crucial for achieving a razor-sharp edge.
Understand the Purpose: Honing realigns the edge of a knife without removing significant material, unlike sharpening. It’s ideal for maintaining sharpness between full sharpening sessions.
Choose Your Tool: Opt for a honing steel, ceramic rod, or diamond-coated rod based on your preference. Steels are traditional and suited for regular use, ceramic rods offer a fine edge with slight abrasiveness, and diamond rods are more abrasive, combining honing and light sharpening.
Proper Angle: Hold the blade at a 15-20 degree angle to the honing tool. This matches most knife bevels and ensures effective honing.
Technique: Secure the honing rod vertically with its tip on a non-slip surface. Sweep the knife down the rod from heel to tip, applying gentle pressure. Repeat 5-10 times per side, maintaining a consistent angle.
Regular Maintenance: Integrate honing into your regular knife care routine, ideally before each use, to keep the edge aligned and sharp.
Clean After Honing: Rinse and wipe the blade to remove any metal particles post-honing.
Honing is a quick and essential step for maintaining the sharpness and longevity of your knives. With the right tool and technique, you can ensure your blades remain razor-sharp with minimal effort.
Common Mistakes to Avoid
Over-Sharpening Issues
Over-sharpening can weaken the blade, making it prone to chipping. Be mindful of how much material you remove each time you sharpen.
Ignoring the Blade’s Curvature
Failing to follow the natural curve of the blade can result in an uneven edge. Always sharpen with the blade’s curvature in mind to maintain its effectiveness.
Conclusion
Sharpening a hawkbill knife requires patience, practice, and attention to detail.
By understanding the unique characteristics of your knife and following the proper techniques for sharpening and maintenance, you can ensure that your hawkbill knife remains a reliable tool for years to come.
Whether you’re an experienced craftsman or a hobbyist, mastering the art of sharpening this distinctive blade will enhance its performance and your satisfaction in using it.


![How To Build A Four-Season Room On A Deck [Guide]](https://homesteadandprepper.com/wp-content/uploads/2021/04/How-to-build-a-four-season-room-on-a-deck-150x150.jpg "How To Build A Four-Season Room On A Deck [Guide]")

")
![How To Fix Gap Between Door And Floor [Guide]](https://homesteadandprepper.com/wp-content/uploads/2021/09/How-to-Fix-Gap-between-Door-and-Floor-150x150.jpg "How To Fix Gap Between Door And Floor [Guide]")