Do you or your family plant vegetables in your garden? Do you have enough fresh green beans from the garden?
Why not allow them to be enjoyed in the winter? Nothing beats heading into the closet and pulling out a jar of home food products.
Whether homemade or store-bought, canning your food is a treasure that lasts throughout the year! It is doable regardless of which grade of canner you perceive yourself to be.
The canning process could be enjoyable while permitting you to savor them all year round. Learn how and when to water bath can green beans.
Materials Required
The needed materials include fresh green beans, elective brine, pint or quart containers, canning band and caps, stockpot or colored marble cooker, and Dishtowel.
Instructions For Water Bath Method
Pick The Beans From The Garden
The first step, whether you use a sizable stockpot or a cooking pot, is to go out to your garden and pluck the vegetables with your hands.
You’ll like to can them quickly for a great outcome.
Wash
Before you start the process of canning, first wash the beans. It is a simple process; immerse the beans in tepid water in a clean wash basin.
Snap
Ensure you snap them and detach the strings before you can them.
Don’t omit the snapping phase; whichever species of beans you use or your canned beans will be tough to eat!
Remove the hard end and inspect for any bug bites or damaged parts that need to be removed. After this, cut your beans into bite-sized slices and wash them twice.
Because they bloom so shallow, they do get filthy.
Snapping Techniques
Snapping vegetables is not tricky, but it’s necessary, significantly, if you’re growing heirloom varieties.
Except you have a species of heirloom without strings, always snap your green beans. So, to twist (or string) this fresh vegetable, begin at one edge and “snap” the tip.
It can be done with a blade or even with your fingertips. If you decide to use a blade, only cut about 3/4 of the halfway through the tip and then proceed.
Eliminate any “string” concealed in the seam by pulling the shattered tip down along it. Same way, remove the pointed edges of the bean.
Put the split sides and any thread in a separate dish and feed them to your poultry or farm animals if you own them!
They can then be left whole or trimmed into two inches portions for canning.
If you have a few ounces of the beans to can, keep them fresh so that you may can them in parts.
In this particular instance, you must immediately refrigerate the fresh green beans – before even soaking them.
They will remain fresh for up to 7 days if placed in a zip lock bag (squeeze out the vapor before sealing).
The fresh beans can then be washed and snapped in larger batches for mass canning!
After you’ve gathered enough beans to can and have cleaned and clipped them all, adhere to the steps below to can them in a water bath.
Wash The Canning Jar
Half-fill your stockpot with water and set it to heat. Soak the quart or pint containers in soap and warm water, then rinse and set aside until ready to use.
Place your canning stopper in a small pan of hot water till you require them.
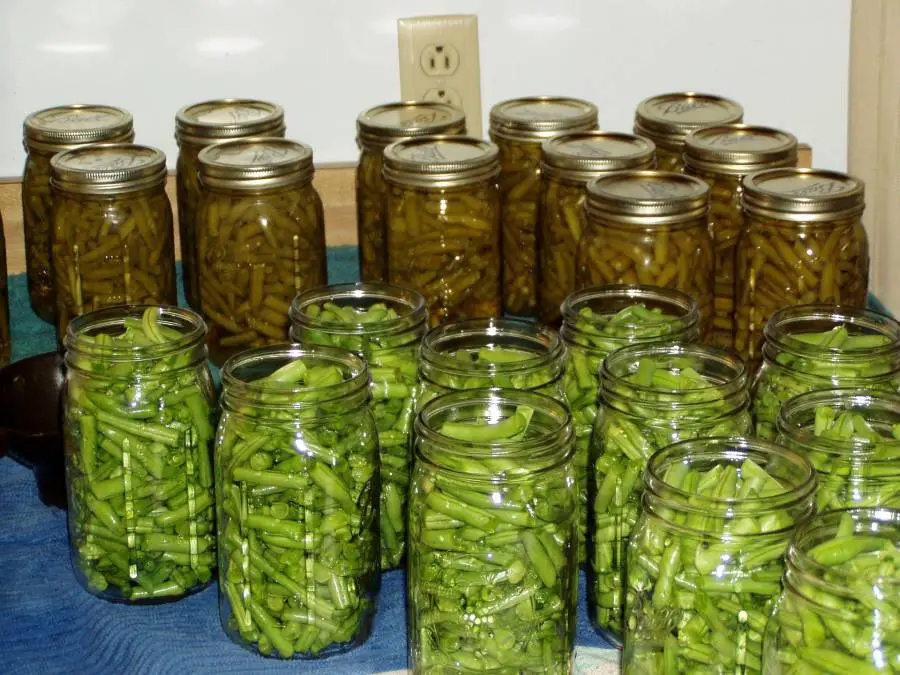
Fill The Canning Jar
Fill the canning jars with washed green beans, loading them tightly but keeping a big vacuum at the top.
Saturate the jars halfway with heated water, add 3g of salt to the beans, and scrub the cover tidy with a damp towel.
Remove the lid from the heating water and place it on top of the jar, then tighten the ring firmly.
Process In A Hot Water Bath
Place the containers in the simmering water and boil for 3 hours in the hot water bath. Place the lid on the pot to retain the heat; once boiling, reduce the heat.
Let Them Cool
Once you complete the processing stage, remove the processed beans from heat and place them on a clean dishtowel to cool.
Leave substantial space between the containers for air to circulate freely. You will notice a ping noise as they cool, indicating that they are shut.
The ping is a beautiful sound for anyone who does home canning.
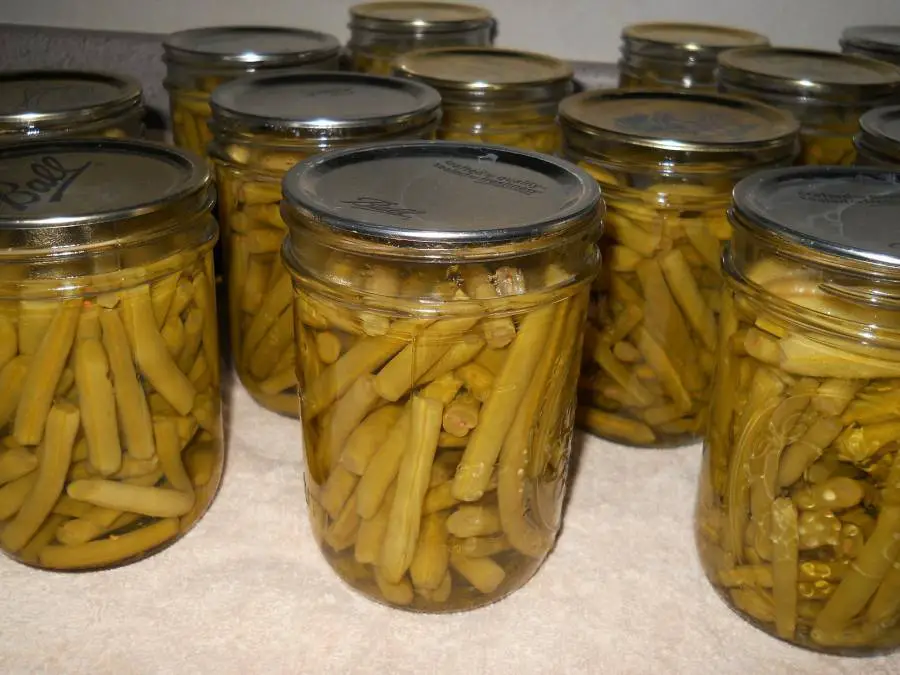
Ready
You are done! At this point, the green beans have been successfully canned with the water bath method.
Canning Pickled Green Beans In Water Bath
Through this elective step, you can keep the airtight container jars of pickled green beans outside your refrigerator.
They can be stored in your enlarged cool and dry space like your Kitchen cupboard. Some opinions may advise parboiling your green beans before pickling them.
Other formulas, however, will state that parboiling is not required. What is the distinction?
It all essentially boils down to lectins, particular proteins in all beans, including fresh beans like this type. If you parboil your fresh beans, you will kill a portion of these proteins.
However, this might also make the beans more digestible if you are lectin sensitive.
Vinegar
Pickling green beans can be done with various flavored kinds of vinegar to fit your needs.
If you ever want to water bath can your pickled green beans for extended storage, you must use a particular vinegar.
Your vinegar must have a minimum of 5% acid concentration. The acidity keeps your home-canned goods safe and prevents them from damaging.
Altitude
The runtime for your home-canned goods is affected by your altitude. Water bath canning runtime is when your jars are immersed in boiling water.
We know that water boils at a reduced temperature at higher elevations. So, the processing takes longer time at higher elevations.
When acid-rich foods are water bath canned at or below 1,000 ft. above sea level, the runtime is frequently 10 minutes.
You may use the following chart to adjust the 10-minute processing time using higher elevations than 1000 ft.
Altitude in Feet:
1,001 – 3,000 = 5 Minutes
3,001 – 6,000 = 10 Minutes
6,001 – 8,000 = 15 Minutes
8,001 – 10,000 = 20 Minutes
Note
Salt is elective but highly advised. If salt is not added, the beans will be tasteless after canning; adding salt later is nearly useless.
Canning brine or sea salt with NO extra anti-caking substances or additives is highly suggested; regular table salt is not.
Conclusion
Green beans are a low-acid vegetable that should be canned under pressure. Therefore, it’s safer if green beans are pickled before water bath canning them.
Furthermore, vinegar lowers the pH to 4.6, making them perfect for water bath canning.
Using home-canned food within twelve months is suggested for maximum health benefits.
However, if you can abide by validated procedures and store canned goods off daylight and under 90 degrees Fahrenheit, they will be preserved for years.
Nonetheless, attempt to use all of your home-canned food within a few months.