Table of Contents
Moving your snowmobile to storage can be hectic. However, with the help of a dolly, it becomes easier.
Instead of dragging it on the ground, you can roll it on a dolly. It saves energy and time and protects your snowmobile from damage.
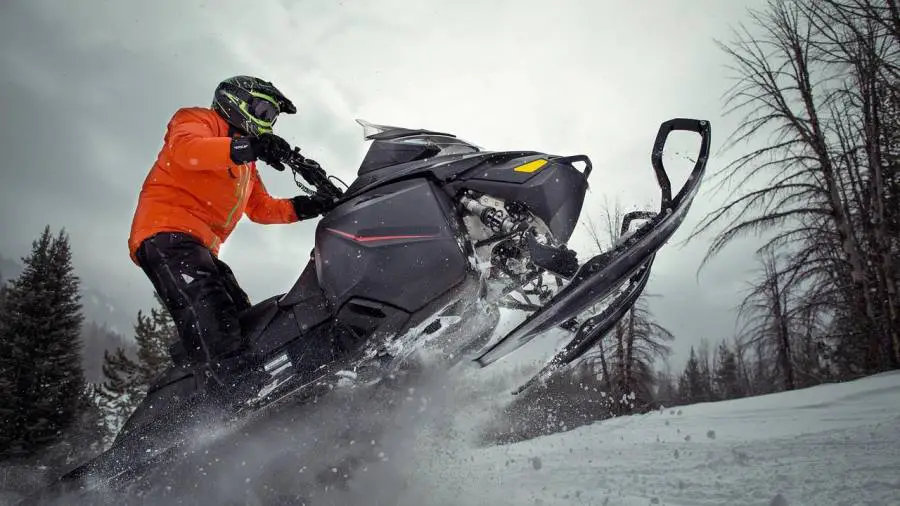
The good news is you can construct one from readily available materials.
DIY Snowmobile Dolly – Guide
Following these steps, one can build a good working dolly within hours. First, you need to get your tools ad materials ready.
The requirements include the following:
- Hardwood
- Nails and screws
- Three caster wheels
- Saw
- Hammer
- Hook
You can get these materials at the hardware store. And the wood from any lumber store.
It is best to smoothen the wood at the store first. But ensure that your choice of wood is strong enough to withstand the snowmobile weight.
Constructing The DIY Snowmobile Dolly With Wood
The dolly can take any shape, but this guide will use a cross shape dolly style.
The cross shape dolly choice is due to the ability of the snowmobile to rest comfortably in this dolly shape type.
The cross-shaped dolly is one the simplest dolly to construct without expertise.
The dolly can have a wooden or metal pipe body frame. It would be best if you welded the pipes together to utilize a metal pipe.
But for this guide’s simple purpose, we use a wooden frame. Ensure to use hardwood.
Softwood will break under pressure. Follow the steps below to DIY a snowmobile dolly:
Measure Your Wood
The size of your frame depends on the snowmobile’s length and width. Measure the snowmobile length before cutting the wood.
An average snowmobile length is about 115 to 135 inches, and the width is 43 to 50 inches. Getting the correct measurement is the first step to a perfect dolly.
Cut The Wood
Using your saw, cut two different lengths of wood. The first wood should have an extra length than the snowmobile to serve as a handle.
At the same time, the second wood should cover the width of the snowmobile with a little extra room. Cut a third wood of a smaller length for the snowmobile handle.
Nail Into A Cross-Shaped Frame
Place the shorter wood across the longer one to form a cross. Hammer the nails firmly to hold your cross.
You can use a nail or a screw, depending on availability. We advise using screws because hardwood might be difficult to hammer into.
Nail the shorter wood at the frame base across to serve as a handle for pulling your dolly.
Fit In The Caster Wheels
A homemade dolly needs three caster wheels. Fix one wheel each on both sides of the cross.
The third should go on the longer wood to form a triangle, which will help improve your dolly’s balance. The wheels will help drive the dolly with minimal physical effort.
Construct The Handle
The small cross formed at the base of the dolly’s frame can serve as your handle. This handle will allow you to navigate your dolly with both hands.
You can also fix a hook if you intend to tow the dolly. However, it is optional.
Mount Your Snowmobile On The Dolly
Considering the weight of Snowmobiles, we encourage you to seek assistance. Your DIY Dolly will be low enough to slide under your snowmobile slowly.
We choose the cross-shaped design for the ease of sliding in.
Snowmobiles are built so that there is a space between both skis. The cross nature will allow sliding your dolly through to the end.
You should, however, do it with someone assisting you to avoid any injury or damage to the snowmobile and dolly.
DIY Snowmobile Dolly With Steel Pipes
The wood/PVC version is faster and easier to build, but it won’t last as long or carry as much weight as the steel version.
Steel is more expensive if you don’t have that in your junkyard. I don’t think you should try steel.
What You’ll Need:
- Steel pipes
- Welding machine
- Two wheelbarrow tires
- Threaded metal rod
Step 1: Make The Body
- Weld three pieces of 30-inch steel pipes together to look like a square missing a side.
- Weld one long piece of about 20 inches to the flat side. It should look like a dustpan.
- Weld a short piece of steel to the open end of the 20-inch pipe. It forms the handle. Because it’s steel, you’ll wrap it with electrical tape so you don’t hurt your palm when using the dolly.
Step 2: Make The Wheels
You’ll want wheelbarrow wheels here because a castor wheel may not carry the weight of the steel. You’ll also need a large nut to fit the tires to the dolly.
- Mark 3 inches from the bottom of two 5-inch steel pipes.
- Use a drill bit (for metals) to make holes on the mark. The hole should be big enough for the rim on the tires.
- Weld the 5-inch pipes vertically to the open ends of the 30-inch pipes.
- Pass a 2-inch threaded steel rod into the tire rim.
- Put the other end of the rod through the holes on the 20-inch pipes.
- To secure the tires, use a wrench to fasten the nuts to the ends of the rod.
- To use the dolly, lift your snowmobile onto the dolly and push it from the handle.
DIY Snowmobile Dolly With PVC Pipes
You can construct a dolly from PVC pipes, but don’t expect it to last like wooden or steel dollies.
It’s also cheap and easy to complete, with several advantages over steel and wood. You don’t need to weld parts together.
What You’ll Need:
- 2-inch PVC pipes, 90 degrees 3- way elbows
- 200 casters with threaded tops
- Hand saw
Procedure
- Use a handsaw to cut 2 PVC pipes to 50 inches each.
- Attach a tee elbow to each end. That is four tee elbows.
- Cut four pipes to 5 inches.
- Attach them to the four tee elbows on the 50 inches pipes. If you get this right, you should have one open end of each elbow.
- Thread the caster wheels to the last end of the tee elbows.
- Thread four tee elbows to the open ends of the 5-inch pipes.
- Cut two PVC pipes to 40 inches. It will form the width of the dolly.
- Insert them into the open end of the tee elbow facing the side.
- You should have four open ends facing upwards. Insert four 90-deg elbows into each.
- Cut two PVC pipes to 45 inches and thread them onto the 90-deg elbows.
- To use the DIY snowmobile dolly, attach a cable to the PVC pipe in the middle (40 inches), load the snowmobile onto it, and pull the cable.
Final Words
Of course, materials are the limiting factor for a DIY snowmobile dolly. Hopefully, if you can’t find steel, use wood or PVC.
They’re cheaper options. And once you’ve finished this project, you’ll have one heck of a functional piece that you can use year-round.


