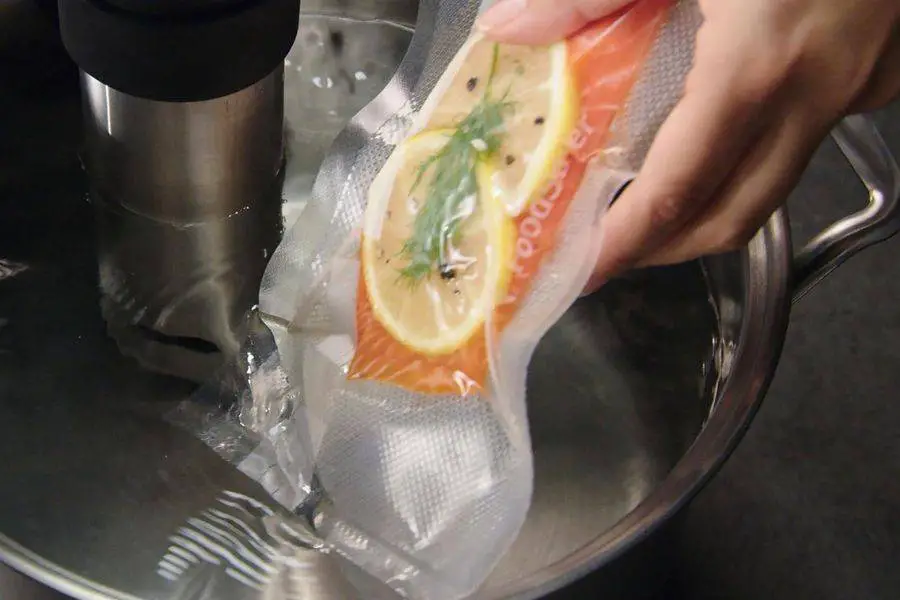
Vacuum sealing is a technique widely used to extend the shelf life of food products. It involves removing air from the package before sealing which can significantly slow down the oxidation process.
However, like any other technology, vacuum sealing systems may encounter technical issues. One common problem faced by FoodSaver users is that their machine doesn’t vacuum all the way.
Proper vacuum sealing is essential to prevent spoilage and maintain food quality. Ineffective vacuuming could lead to air pockets that may promote bacterial growth, freezer burn, and loss of flavor.
Therefore, finding solutions to this problem is crucial to make the most out of your FoodSaver vacuum sealing system.
Regular Cleaning
Regular cleaning is vital to keep your FoodSaver vacuum sealer functioning efficiently.
Over time, food particles, dust, and other debris may accumulate in various parts of the machine, impeding its performance. This might be why your FoodSaver won’t vacuum all the way.
To clean your FoodSaver, first, unplug the machine and remove any bags or rolls present. Use a soft cloth to wipe down the exterior.
For the interior, use a cloth dampened with warm soapy water. Do not submerge the unit in water or use abrasive cleaners as it could damage the machine. Allow the unit to dry completely before using it again.
Checking and Replacing the Gasket
The gasket creates an airtight seal necessary for effective vacuuming. If your FoodSaver isn’t vacuuming all the way, a worn-out or damaged gasket could be the culprit.
Signs of a faulty gasket include visible wear and tear, a loose fit, or if the machine is unable to hold a vacuum.
Process of Replacing the Gasket
Replacing the gasket is relatively easy. First, remove the old gasket by gently pulling it out of its groove. Then, clean the area where the gasket sits using a cloth.
Insert the new gasket into the groove, making sure it fits snugly and evenly. Remember to replace both upper and lower gaskets at the same time to ensure optimal performance.
Emptying and Cleaning the Drip Tray
The drip tray collects any liquids that may spill over during the sealing process. If the tray is full or obstructed, it could interfere with the vacuuming process.
How to Clean the Drip Tray
Cleaning the drip tray of your FoodSaver vacuum sealer is a simple yet crucial task. Start by unplugging the machine and removing the drip tray.
Empty any residual liquids or food particles into the sink. Rinse it under warm water to get rid of loose debris.
Then, fill your sink with warm soapy water and use a soft sponge to gently scrub the tray, paying special attention to corners and crevices.
Rinse it thoroughly under running water to ensure all soap residue is removed. Shake off excess water and dry the tray completely using a clean towel or by air drying.
Once it’s completely dry, slide it back into the machine. Regular cleaning of the drip tray can enhance the efficiency and longevity of your FoodSaver vacuum sealer.
Correct Bag Placement
The Role of Proper Bag Positioning
Proper bag placement is critical for effective vacuum sealing. If the bag is not positioned correctly, the machine might not be able to remove all the air, leading to incomplete vacuuming.
Tips for Correct Bag Placement
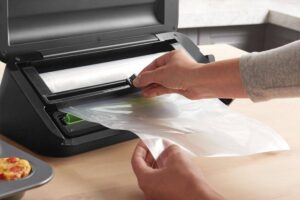
Correct bag placement is vital when using your FoodSaver vacuum sealer to ensure optimal performance. Firstly, make sure the open end of the bag is positioned within the vacuum channel.
This is where the machine extracts air, so proper placement is crucial for a complete vacuum seal. Secondly, avoid overfilling the bag.
Overfilled bags may not seal correctly and could interfere with the vacuuming process. A good practice is to leave at least three inches of space between the contents and the top of the bag.
Thirdly, ensure the bag is smooth and wrinkle-free. Wrinkles can prevent the creation of an airtight seal.
If wrinkles occur, try smoothing them out or repositioning the bag. Lastly, always check that the bag is securely placed before starting the sealing process.
Following these tips will help you achieve a perfect seal every time.
Using the Correct Bags
Why Use FoodSaver Bags
FoodSaver bags are specifically designed to work with FoodSaver vacuum sealers. They are made from a special material that ensures an airtight seal and prevents air from re-entering.
Consequences of Using Non-Compatible Bags
Using non-compatible bags may result in incomplete vacuuming. These bags may not have the right thickness or material to create an effective seal.
Hence, it’s always recommended to use FoodSaver bags with your FoodSaver vacuum sealer.
Ensuring Optimal Room Temperature
Effect of Temperature on Vacuum Sealing
Temperature can affect the performance of your vacuum sealer. If the room is too cold, the machine may struggle to create a proper vacuum.
Conversely, if it’s too hot, the machine could overheat and fail to operate correctly.
Maintaining the Right Environment for Sealing
Try to use your FoodSaver in a room with a moderate temperature. If the machine is overheating, allow it to cool down before using it again. If it’s too cold, consider moving the machine to a warmer location.
Examine the Vacuum Channel
Examining the vacuum channel of your vacuum sealer can be an essential step in ensuring its proper functioning.
The vacuum channel is where the open end of the bag is placed for the machine to remove air and create a vacuum seal. It’s a crucial part of the vacuum sealing process.
Sometimes, debris or food particles can get stuck in the vacuum channel, which can prevent the machine from removing all the air effectively.
This obstruction might be the reason why your vacuum sealer isn’t achieving a complete vacuum. Therefore, cleaning the vacuum channel regularly can significantly improve the machine’s performance.
To examine the vacuum channel, start by turning off and unplugging your vacuum sealer for safety. Then, open the lid and locate the vacuum channel.
It is typically a narrow, elongated slot where you insert the open end of the bag for sealing.
Check the channel for any visible debris, food particles, or obstructions. If you find any, clean them out carefully. You can use a soft, damp cloth or a small brush to clean the area gently.
Make sure not to use any harsh chemicals or abrasive materials, as they could damage the machine.
After cleaning, let the vacuum channel dry completely before using the machine again. Wetness or moisture in the channel could affect the machine’s ability to create a vacuum seal.
Conclusion
This article has covered several solutions to address the issue of your FoodSaver not vacuuming all the way.
Regular cleaning, checking and replacing the gasket, emptying and cleaning the drip tray, correct bag placement, using the correct bags, and ensuring optimal room temperature are all critical factors that can affect the performance of your vacuum sealer.
By following these solutions, you can not only resolve the current issue but also extend the lifespan of your FoodSaver machine.
Remember, regular maintenance and proper usage are key to getting the most out of your vacuum sealer. Happy sealing!