A Guide On How To Salt Cure Meat The Old-Fashioned Way
by
Table of Contents
The innovation of electricity and appliances like microwaves and refrigerators have made life easier.
Due to the cold temperatures in the freezer, there is slow bacteria growth in the food, hence an extended shelf life. Some foods like meat spoil due to the fast breakdown of cells.
Surprisingly, our ancestors hunted lots of meat, and it lasted ages.
One of the meat preservation methods these old folks swore by was salt curing.
If you don’t have a refrigerator or want to try old-life practices, this article will help you preserve your food.
We will learn how to salt-cure meat the old-fashioned way and how this method works magic. Let us get into it.
How Salt Curing Meat The Old-Fashioned Way Extends Its Shelf Life
Since meat spoilage is caused by a fast breakdown of the cells and bacteria, the best way to prolong its life is by stopping or slowing down these processes.
It can either be by exposing the meat in cold environments like the freezer or by salt curing it.
Salt draws moisture from cells through osmosis. When you put salt on the meat, it will suck the moisture leaving the chunk dry.
Water makes an environment conducive for bacteria growth and breakdown of cells, and since it is now absent, your meat can last longer.
Salt also creates an acidic environment that does not support bacteria growth.
When salt-curing your meat the old-fashioned way, you can also use sugar, honey, corn syrup, or maple syrup to balance the intense flavor of the salt.
It also feeds some helpful Lactobacillus bacteria to reduce the harmful bacteria in your food.
Things To Take Into Account When Salting Meat The Old Fashioned Way
Use Fresh Meat
Salt curing stake controls decay by removing moisture. Therefore, starting the curing process with a one-week or two-week-old beef won’t make your process effective.
It is easier to prevent decay from happening than to manage it when it has already begun.
Get The Right Ingredients
There are specific ingredients for salt curing meat the old-fashioned way. The main ingredient is sodium chloride, the regular salt used to cook beef stews.
It removes moisture from the cut to ensure there is no bacteria growth.
However, it would help if you used nitrates and nitrites to complete your curing process.
The nitrites and nitrates prevent the fat within the meat tissue from oxidizing, which causes the deterioration and growth of microorganisms.
Always Use Lean Meat
When salt-curing pork or beef the old-fashioned way, ensure the cut has little internal and external fat. Fat creates a barrier to entry of salt, making your process ineffective.
The chunks will oxidize faster, leading to spoilage.
How To Dry Cure Meat The Old-Fashioned Way Using Salt
Dry curing meat using salt is one of the original meat curing methods. It involves setting the beef in a container with salt and leaving it to sit for some time.
You can add other herbs and spices to add flavor and for longer shelf life. This guide will make your dry-curing process easier.
Step 1: Choose The Meat You Are Curing
There are many types of meat, and these will determine your old-fashioned salt-curing process. You can dry-cure ham, beef, or any other good piece of meat.
Ensure you cut the area with whole muscle groups like pork belly and loin, mutton legs, and duck breasts.
Once you get the best part of your meat, trim off excess fat and tendons. The fat doesn’t have any meat attached and fastens meat spoilage when stored.
Step 2: Stab The Piece Of Meat With A Sharp Object
If you are working with a big chunk of steak, stubbing it with a prong or a sharp object is necessary.
The salt will easily pass through the holes and penetrate deeper into the food, making your curing more effective.
This step is also essential if you are dealing with meat covered in fat that you don’t want to trim the fat off.
Step 3: Cure Using Pre-Mixed Curing Salt Or Mix Your Curing Salt
Dry curing meat the old-fashioned way using salt removes moisture, reduces cell breakdown, and intensifies the meat flavor.
However, this meat preservation method does not stop botulism spores from growing. Botulism is food poisoning due to bacteria growth in improperly cured meat.
Meat curers combine sodium nitrate with regular salt to reduce botulism—manufacturers advise using a 10:90 ratio of pink salt to regular salt.
Pink salt contains more sodium nitrate than common salt but is toxic. Therefore, don’t use pink salt for your beef soup.
Step 4: Add Spices To The Curing Salt
Knowing how much people appreciate tasty food, you won’t skip this step. Spices add flavor to the cured meat and lengthen the shelf life.
Grind the spices and sprinkle them on your curing salt. The herbs you use in this step depend on what you swear by.
If it is your first-time salt-curing meat the old-fashioned way and you don’t know the best spices, you can try peppercorns.
It is the master spice, and you can trust that it will give your meat a new taste. Other spices to try are coriander, fennel seed, and citrus zest.
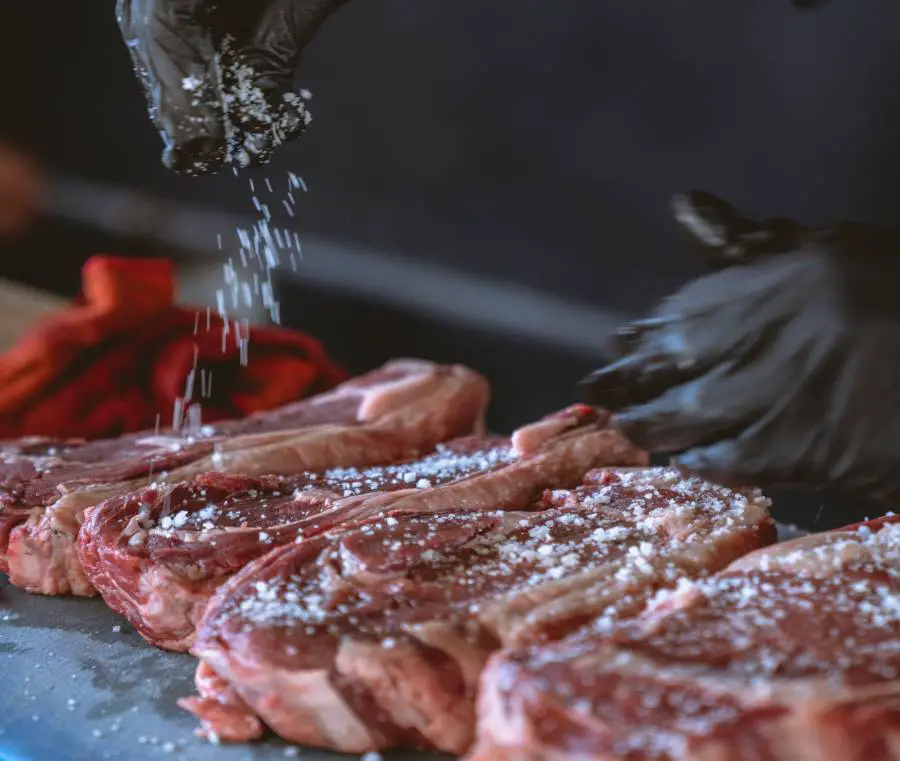
Step 5: Rub The Curing Mixture With Spices Over Your Meat
Place a parchment at the bottom of the curing tray and pour a generous amount of the salt and spice mix.
Place the meat on the tray and pour the remaining curing salt mixture on the top to cover the remaining part.
Use another penchant and tray to cover the top of the meat, and place a heavy object like a brick to compress the meat slice.
If you want to retain the round shape of your steak, do not weigh it down with a brick.
Step 6: Refrigerate For Seven Days
Store the meat in the fridge for about 7-10 days to allow the moisture to evaporate. Leave a piece of the beef uncovered to allow airflow.
Once the ten days are over, rinse the meat under cold water to remove any excess curing ingredients.
Step 7: Wrap With Cheesecloth
Although your meat is free from moisture, it is not entirely safe. Wrapping it with cheesecloth ensures no moisture entry and keeps the steak dry, extending its shelf life.
Ensure the cloth covers all the sides of the meat. You should tie the ends into knots and make a center knot which you will use to hang the beef.
Step 8: Store In A Cold Place Away From Sunlight
Your salt-cured meat is ready for storage. Hang the wrapped meat in a cold and dark place to ensure no bacteria breeding.
The steak can last for two weeks to two months. If you don’t have a refrigerator, you can store the chunk in a cold room that doesn’t get hot past 21 degrees Celsius.
Final Words
Salt curing meat the old-fashioned way extends its shelf life by removing moisture. It is a simple procedure that you can do by yourself.
Start by cutting a good chunk of meat from a pork loin or beef brisket and stab it.
Mix the curing salt with spices for more flavor and cover the meat in the mixture.
The final step is wrapping the meat with cheesecloth to block moisture from entering and storing it in a cool, dark place.


![How To Build A Four-Season Room On A Deck [Guide]](https://homesteadandprepper.com/wp-content/uploads/2021/04/How-to-build-a-four-season-room-on-a-deck-150x150.jpg "How To Build A Four-Season Room On A Deck [Guide]")

")
![How To Fix Gap Between Door And Floor [Guide]](https://homesteadandprepper.com/wp-content/uploads/2021/09/How-to-Fix-Gap-between-Door-and-Floor-150x150.jpg "How To Fix Gap Between Door And Floor [Guide]")