Table of Contents
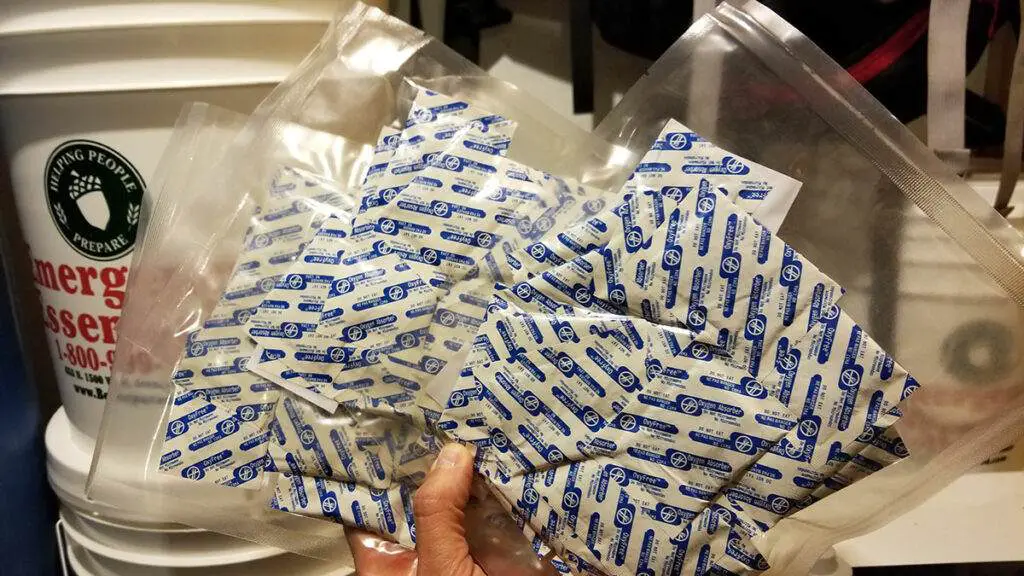
I spent the better part of last weekend working on my food storage and kept facing the same question: how many oxygen absorbers do I use?
For several months I have been building up my freeze-dried foods and haven’t done any work on my long-term buckets.
So I decided to purchase 50lbs of flour, 25lbs of sugar, and 25lbs of rolled oats. While storing these bulk items, I thought that sharing my chart on oxygen absorbers would be a great benefit to y’all.
Before we get to the number of oxygen absorbers you need, the first thing you need to think about is what size.
What are Oxygen Absorbers?
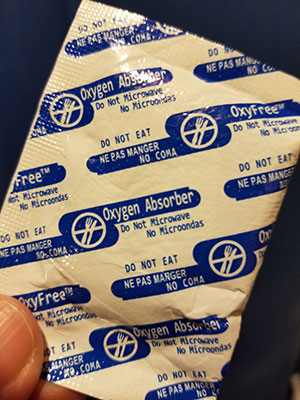
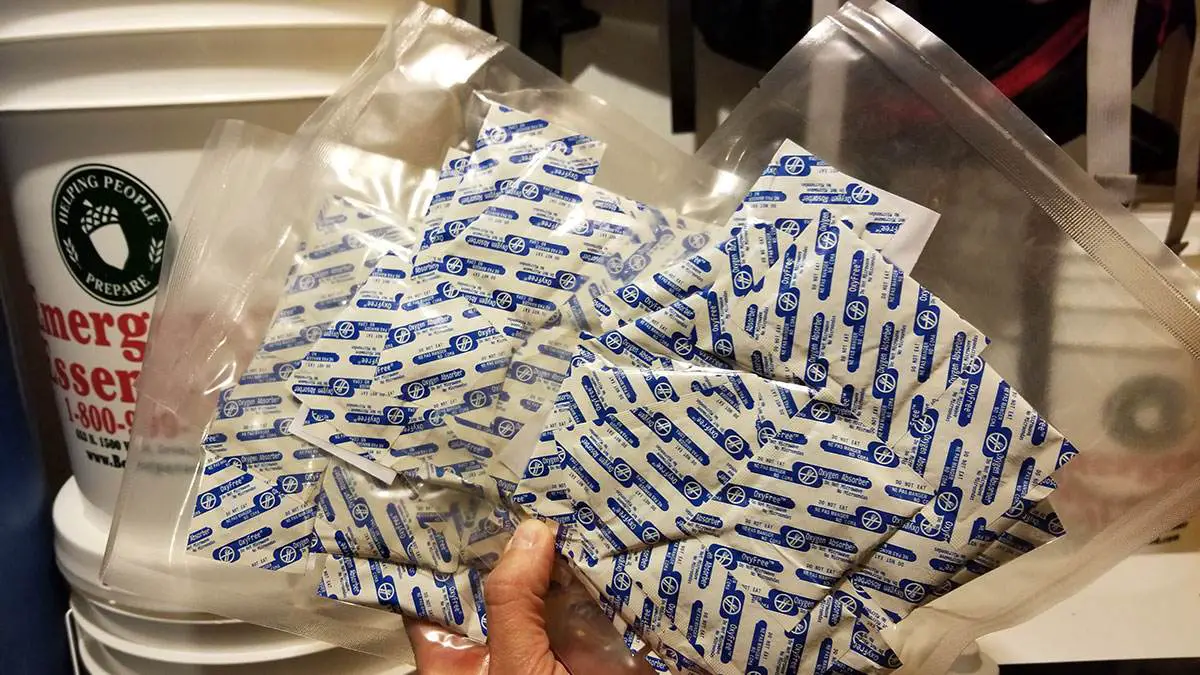
Oxygen absorbers are small packets of an iron powder mix that become iron oxide when exposed to oxygen. This process sucks the oxygen out of any airtight container you are putting them in.
When used in Mylar bags, you will see the effects after all of the oxygen has been absorbed because the bag will seal tight against the food.
These oxygen absorbers are critical for long-term food storage because oxygen will destroy your food over the longer term.
Oxygen in your food storage can cause:
- discoloration in your food
- stale flavor
- the growth of contaminants
Oxygen absorbers should be used by preppers and homesteaders to store foods such as rice, beans, pasta, cereal, nuts, noodles, flour, seeds, pet food, and even long-term coffee storage.
Use these, and you will no longer have the problem of oxidization or of insects that plague others’ food stores that don’t utilize this wonderful science.
How Many Oxygen Absorbers Do You Need?
So you’ve gotten to the point where you’re convinced you to need an oxygen absorber? Good, that means you’re making progress on your preps.
The next thing to figure out is what size to place in the containers you plan to store food items in.
If you are like most frugal preppers, you are probably thinking about storing the bulk food in Mylar bags and food-grade buckets. Wise move, they’re popular for a reason.
Bonus – add some Gamma Seal lids to your buckets to make getting in and out of it a whole lot easier.
The number of oxygen absorbers you need depends on the food you are storing, the container, and the size of the absorbers. The needs vary so you should consult the following chart for reference.
Oxygen Absorber Chart
Oxygen absorbers take all oxygen out of your food so that it stays fresh longer. Undershooting this will give you some benefit, but not the full effect it could have.
A packet that is too small will not be able to keep up with the amount of space you have available.
Having too large of an oxygen absorber will not harm your food and will be effective. However, you will end up spending more than you needed, but better to err on the side of overkill here as oxygen absorbers do not cost that much.
| Container | Dense Food (wheat, flour, grains) | Less Dense Food (pasta, beans) |
|---|---|---|
| Food Storage Buckets | Total CCs | Total CCs |
| 6-Gallon Food Bucket | 2000 | 2500-3000 |
| 5-Gallon Food Bucket | 2000 | 2500-3000 |
| Mylar Food Storage Bags | Total CCs | Total CCs |
| 20″ x 30″ (4.25, 5, and 6 gal) | 2000 | 2500-3000 |
| 18″ x 28″ (4.25, 5, and 6 gal) | 2000 | 2500-3000 |
| 14″ x 20″ (2 gal) | 1000 | 1500-2000 |
| 14″ x 18″ x 6″ (2 gal) | 1000 | 1500-2000 |
| 12″ x 18″ (1.5 gal) | 500-800 | 1000-1200 |
| 12″ x 16″ x 6″ (1.5 gal) | 500-800 | 1000-1200 |
| 10″ x 14″ (1 gal) | 300-400 | 400 |
| 10″ x 14″ x 4″ (1 gal) | 300-400 | 400 |
| 8″ x 12″ (1/2 gal) | 100-200 | 200-400 |
| 8″ x 12″ x 4″ (1/2 gal) | 100-200 | 200-400 |
| 6″ x 10″ (1/4 gal) | 100 | 100-200 |
| 6″ x 8″ x 2″ (1/4 gal) | 100 | 100-200 |
It’s helpful to have smaller oxygen absorber packets on hand in a pinch. You can combine several with small cc readings to get to the number of ccs you need for larger storage space. Smaller packets are also helpful for spacing them out in larger containers.
In other words, you are better off placing ten 100cc absorbers throughout a Mylar bag (as an example) than you are just throwing one 1000cc absorber on the top or bottom.
There are nearly as many different ideas of what ratio to use as there are people who use them. Some use varying ratios for different foods based on their density.
Items that store closely together with little air between food particles, such as rice and beans, need less cc (cubic centimeters). Foods such as pasta need more cc.
This chart will especially be helpful for those who are just starting. Once you’ve used oxygen absorbers for a while, you’ll be able to follow your instincts a bit more.
Oxygen absorbers will take about 4 hours to work once they are sealed up with your food.
Can You Use Too Many Oxygen Absorbers?
The only harm that will come from using too many oxygen absorbers is in spending more money on them than you need.
Since there is no harm in using too many, you are better off using more than you need than too few.
Armed with the facts you have now, you’re ready to make an informed decision. A little cost will go a long way in keeping your food in much better condition for longer durations of time.
How do Oxygen Absorbers Work?
To understand this, you need to remind your chemistry lessons back in the day. So, there’s a simple reaction between iron and oxygen. You would have known that when oxygen comes in contact with the ferrous iron, it begins rusting. However, to ensure maximum rusting, sodium is added to the sachet. The purpose of sodium is that to complete the reaction efficiently even in an environment with low humidity.
This reaction takes place continuously as iron oxidizes to iron oxide with the aid of oxygen. Thus, reducing the amount of oxygen in the sealed packet.
Where to Use Oxygen Absorbers and Where Don’t
Not all dry food require oxygen absorbers, instead you should not store every type of dry food with oxygen absorbers. Here are the things you need to keep in mind.
You can use oxygen absorbers for glass or mason jars, rice (not in case of brown rice as it will go rancid in a few months), and flour. However, you should not use it in case of beef jerky, plastic containers, and sugar.
Buying and Using Oxygen Absorbers
If you’ve reached this far in the article, you are ready to buy some absorbers and put those to use in your food preps.
Where to Buy Oxygen Absorbers
These O2 absorbers can be purchased in many places. Strangely, most of the long-term food storage suppliers don’t sell absorbers.
Perhaps that’s because they are all in the freeze-dried food niche. I suspect it’s also the case that the profit margin on these is not very high. That leaves the typical shopper left with the obvious option: Amazon.
- 200CC (100-Pack) by O2frepak Store
- 300CC (100-Pack) by wisedry Store
- 500CC (50-Pack) by O2frepak Store
- 1000CC (30-Pack) by VacYaYa Store
- 2000CC (10-Pack) by FreshUS
How to Use Oxygen Absorbers
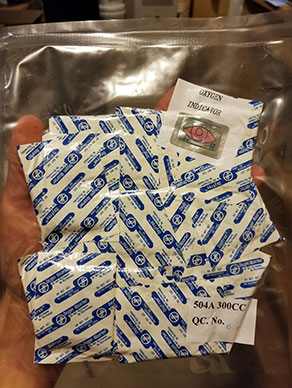
Oxygen absorbers come sealed in airtight packaging.
Makes sense, doesn’t it? If they didn’t, they would absorb all of the air in the packaging, thereby rendering them useless for your food storage purposes. In other words, they would come already used.
This brings us to the first step in using oxygen absorbers: be prepared to use them immediately after opening them.
As soon as you open their airtight seal, they will start absorbing oxygen. Whenever I am setting up food to seal, I get everything ready before I open the absorbers.
This means I read all of the foods in their Mylar bags, I get my clothes iron hot and ready for sealing those bags, and only then do I open the absorbers.
I open the package, throw in the appropriate number of absorbers according to the chart I posted above, and immediately begin sealing bags.
You Need Mylar Bags
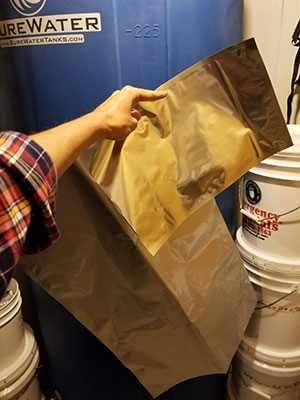
O2 absorbers on their own won’t do you any good. You need a strong bag to seal your food in.
Of course, food also lasts longer when it is kept from the light, so your typical clear plastic bag is not going to work. You need a permanent seal in a bag that blocks light. You need Mylar bags.
They get sealed with a hot clothes iron. I set out a scrap piece of lumber, put food in the bags, throw in the appropriate number of absorbers, squeeze out what air I can, and then seal the bag shut by running the hot iron across it several times on top of the scrap lumber.
Then you just wait 4 hours and the absorbers should have done their job.
Like the absorbers, your best go-to place for different-sized Mylar bags is straight to Amazon.
- 6″x9″ (100-Pack)
- 7.09″x10.24″ (100-Pack)
- 10″ x 15″ (100-Pack)
- 3 Sizes Variety Pack (5×7″, 6×9″, and 8×11″)
Advanced preppers might consider moving up to a decent vacuum sealer for additional food-saving options.
Stay Organized
Serious preppers know the importance of staying organized. This is particularly important with food preps.
If you seal all of your foods into Mylar bags and just toss them on some shelves, you will quickly forget which bag is what. You will just see a sea of silver.
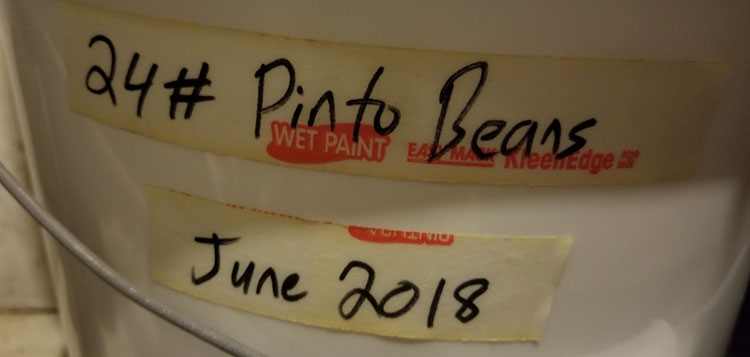
I write directly on my Mylar bags. If I’m sealing something in food-grade buckets, I write on cheap masking tape and stick it to the bucket with the contents, amount of contents, and the sealed date.
Sealing this Article Up
I hope this article has proven useful and worth your time. If you are going to be stocking long-term food more regularly, bookmark this page for future reference or pin our Pinterest pin.
Have a different experience or advice for others? Let us know in the comments section.

![Screws or Nails for Framing - Which Should I Use? [Guide] Screws or Nails for Framing - Which Should I Use? [Guide]](https://homesteadandprepper.com/wp-content/uploads/2021/10/Nails-or-screws-for-framing-150x150.jpg)
