Table of Contents
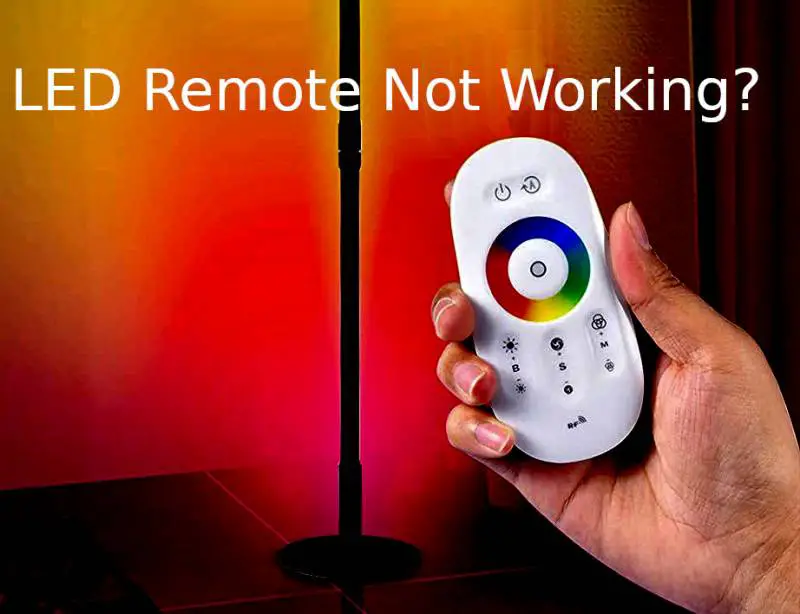
LED lights use infrared sensors to receive remote instructions like many other appliances.

If your LED light remote is not working for some unknown reason, we have prepared this article to help you address the causes of its malfunction.
Worry not, we have also discussed a few DIY solutions that you can try and repair the remote yourself.
Common Causes For LED Lights Remotes Malfunction
There can be a lot of causes for the malfunction of your remote. Old and worn-out remotes stop working due to the damage on their circuit boards, while newer ones don’t work due to pairing issues. Below are the most common reasons for the remote malfunction:
Physical Damage
The LED remotes are commonly composed of fragile materials such as plastic. The inner components also consist of brittle materials. You cannot perform drop tests on these devices and use them carefully.
If your remote is not working after you’ve dropped it, it is likely to have suffered physical damage. In this case, repairing it might be challenging.
Battery Problems
Another common problem with older remotes is when the battery runs out. However, if a new remote control stops working, there are high chances of other faults.
For a quick troubleshoot, you can insert the old batteries into any new remotes and see if it’s working. If not, then replace the batteries and check again.
Pairing Problems
In the case of new remotes, the most common cause is a lack of connection with the LED light due to pairing issues. The initial setup might not be done correctly, or there may be an obstruction between the infrared sensors that breaks the connection.
In that case, you should go for the replacement with a new remote because your remote will be in warranty.
Infrared Sensors Malfunction
There are infrared sensors on both the remote and the LED light that function via infrared rays.
Sometimes, the problem is with the receiving sensor on the LED light or the signaling sensor on the remote.
In the solutions section, we’ll discuss how you can solve this issue.
Dirty Circuit Board
This problem is common in old remote controllers. Dirt and other unwanted particles get stuck on the circuit board over time and disrupt the flow of electric current. Consequently, the buttons cannot be pressed fully due to the dirt on the board.
You can open the remote with the compatible screwdriver and gently clean it with a soft bristle brush. Hopefully, the remote will be working now.
Dry Joints
Crystallization of the liquid solder results in dry joints. This soldering problem is mainly caused over time and thus is more common in old remote controllers.
Remember, the issues mentioned above are the most common ones, and your remote might not be working for other reasons.
Steps For Fixing LED Light Remote

Below are a few steps that can help you with fixing your remote. You should apply these in the following order respectively. This chronological order aims to solve the common issues at an early stage.
1. Remove Any Interference
The first step in this guide is to remove any interferences and obstructions between the remote and the LED remote. Ensure a clear path between the remote and the device. This solution relates to the relatively new installation of LED lights.
The infrared signals are not transmitted if there are any solid objects between the sending and receiving sensors.
2. Double-Check Receiver On The Led Light
Thoroughly check the remote’s energy source as well as its receiving sensor. Try turning off the LED and waiting at least 30 seconds before turning it on again and see if that helps.
3. Check The Infrared Sensor
Next, you have to confirm if the infrared sensor is working. You can use a digital camera to verify the infrared light, invisible to the naked eye.
See the transmitter of the LED remote through the phone camera. If a light is visible, it’s working.
You can check the infrared sensor on the LED light similarly. If the sensor is working, move on to the next step.
4. Change The Battery
If the remote is old, you’d have to change the batteries. When changing batteries, make sure that you choose the right battery type and size.
5. Open The Remote
If the previous methods have not worked for you, you’ll have to open up a remote to look for the problem within and apply the solution. If the issue is not clear, reach out for expert help.
The solutions listed below will require you to collect the necessary tools to open and repair the remote. These tools include a screwdriver, a cleaning brush, isopropyl alcohol, etc.
6. Clean The Infrared Sensor
After opening up the remote, you’ll have to remove the keypad and clean the interior of the remote. You’ll start by cleaning the sensors.
Make sure their joints are in fine condition. Before repacking the remote, you should clean the remaining part of the remote as well.
7. Repair Dry Joints
Once you start repairing the circuit board, you may notice dry joints. These dry joints can be a hassle to repair if you are performing this operation for the first time.
You need to remove them and create new joints to ensure the proper electric flow inside the circuit. If you’re not comfortable by yourself, feel free to call an expert.
8. Clean All Individual Components
Lastly, clean all the parts that are included in a remote controller. These parts include the keypad buttons, the wiring, and the casing. Once you are done, pack them all together in their original manner.
9. Hard Reset the Remote
➡️If the remote is not responding to any button press actions, then you need to do a hard reset. Follow the steps:
- Locate the reset button that is usually located on the backside.
- Press the reset button with a paperclip.
- Hold the button for 3 seconds.
- Test the remote, and see if it works.
➡️ If the above method doesn’t work, then remove the batteries and hold the power button for 5 seconds. After, place the batteries again and see if it works.
➡️ The Last method includes operating the factory reset button. It is located on the backside and has a tiny hole beside it. Press the factory reset button for 3-5 seconds till you see the light flashing on the remote. Follow the easy instructions and complete the process. This should fix the problem with your remote and if it isn’t, contact the manufacturer for support.
Wrapping Up
All these solutions will likely bring your remote back into working condition. However, if the remote is still not working, you can always get a new one.
Alternatively, some smartphones come with infrared technology compatible with several infrared receivers. Thus you can use your smartphone in place of an LED remote.


![How To Fix A Loose Light Switch [Step-by-step] How To Fix A Loose Light Switch [Step-by-step]](https://homesteadandprepper.com/wp-content/uploads/2021/08/How-To-Fix-A-Loose-Light-Switch-150x150.jpg)


