Table of Contents
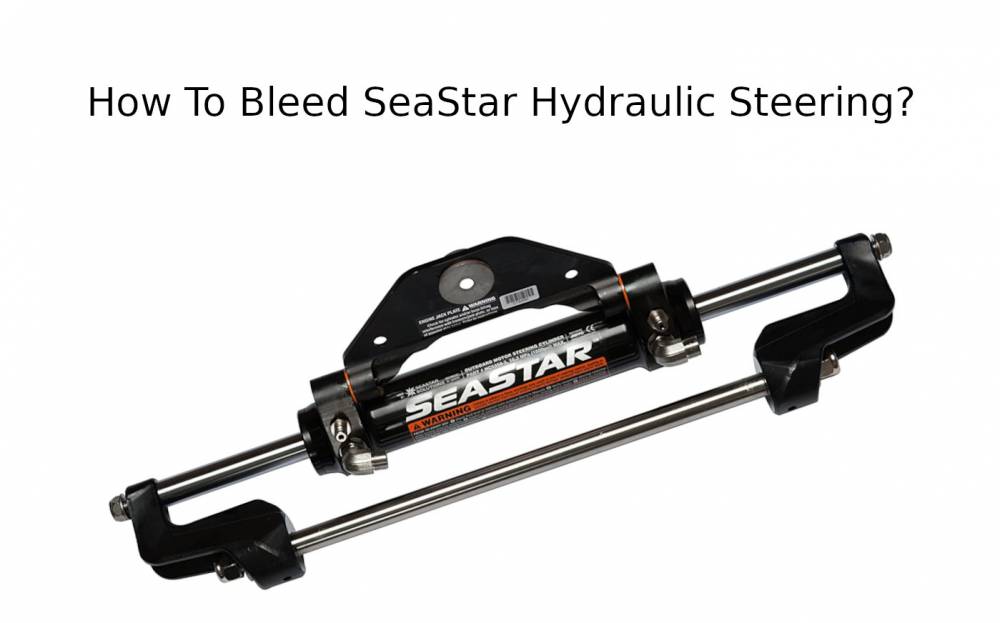
The advent of innovations like the Seastar hydraulic steering system has improved the performance of boats.
However, when you notice that your hydraulic steering is becoming less responsive and beginning to sag.
It is time to check for any errors and make any necessary repairs.
Always follow the instructions provided by the boat’s steering system manufacturer when bleeding the hydraulic system.
These instructions will tell you how to bleed the system. You can also proceed by following the procedures outlined in this write-up.
The Major Tools Required For A Successful Seastar Hydraulic Steering Bleeding
You will need the assistance of another individual to begin the bleeding process of a SeaStar hydraulic steering system.
The following is a list of additional bleeding tools you will require to complete the bleeding process effectively.
Hydraulic Oil
If you only have one station and one cylinder, simply using two liters of fluid will be sufficient for the bleeding.
If your system contains a different helm or cylinder, an additional liter will be added to the mix.
However, if you want to save some money, you can use oil that has been refined by passing it through a screen with a fine mesh.
Teflon Tape
You must use the yellow Teflon tape if you are working with natural gas or LP gas.
If the tape makes its way into the hydraulic system, it has the potential to cause problems.
Dope explicitly designed for use in hydraulic systems can be inserted into NPT fittings to ensure a watertight seal.
They are constructed without using any sealant so that the seal can function correctly.
Because of the same reason, dope shouldn’t be put on your first or second threads. It uses other fittings, such as compression fittings, flares, or o-ring seals.
Since the threads are incompatible with fittings, this is a waste of both time and money.
Teleflex/Seastar Industry-Standard Outboard Hoses
Straight-line hoses are the standard for outboard hoses manufactured by Teleflex and SeaStar.
Each end of the single set of equal-length hoses comes with attached hose fittings. To do the bleeding on the Seastar, you will require individual tubes for each nipple.
You can fill a bottle with liquids by using the valve on the helm.
After the nipples have been opened and the wheel has been turned in both directions, a clear liquid should emerge from the nipples.
To retake control of the ship, first, secure the nipples, then remove the bottle from its position on the steering wheel.
Considerations
According to SeaStar Solutions, hydraulic steering systems must always be used using SeaStar Steering Fluid. This recommendation is always followed.
Their SeaStar Hydraulic Steering Fluid is designed to operate with SeaStar Steering Systems and has been tested with them.
This steering fluid is made with a unique combination of products to reduce the likelihood of foaming and corrosion.
If you want the highest possible performance and safety from your boat’s steering system, you need to use SeaStar Steering Fluid.
In an emergency, either MD-3/4 ATF or MIL-PRF 5606H equivalent finely filtered EPS Fluid can be used.
Any fluid that is not toxic or filtered through a fine mesh screen can be used in an emergency.

Step By Step Process In Seastar Hydraulic Steering Bleeding
At this first stage, you will be adding hydraulic fluid to one end of the steering system while simultaneously draining it from the other.
It is vital to get fluid into the pump and catch any fluid that flows out of the cylinder.
You can make a gravity feed system by connecting the bottle and the helm to a filler tube.
The fluid from the steering cylinder can be gathered in virtually any old container.
The gravity feed will be replenished if additional hydraulic fluid is put to the cutaway end of an upside-down bottle.
It is because the bottle will no longer be upside down. In place of gravity-based feed systems, hydraulic fluid might be employed instead.
On the other side, keeping this up requires more time and labor.
Fill The Helm Pump
Take the top off the bottle of oil and set it aside. Determine a method for creating a hole in the base of the bottle.
Put enough hydraulic oil into the helm pump such that it is full and visible in the filler Tube.
When the helm is full, there is a lower chance that air will become stuck in the pump, making the process simpler and more efficient.
Before attaching the filler tube, ensure that the helm pump has hydraulic fluid.
Extend The Cylinder Steering Rod On One Side
You will need to crank the SeaStar hydraulic steering wheel clockwise until the rod on the right side of the cylinder is fully extended. Open right side bleeder.
You can accomplish this task with the help of assistance by placing a container underneath the extended end of the rod.
Bleed The First Side Of The Steering System
By having your assistant hold the cylinder rod, you can prevent it from sliding back into the cylinder once removed.
If you don’t want to risk damaging the cylinder, you should avoid using pliers and instead only use your hand to grasp it.
Turn the steering wheel counterclockwise while holding the cylinder body or rod to stop the body or rod from moving.
Continue turning the wheel until a continuous stream of air-free oil pours out of the bleeder.
In a short amount of time, the steering pump will be refueled with fresh hydraulic fluid.
An open bleeder will introduce fresh fluid into the system while simultaneously flushing out any old fluid and air present.
After the air bubbles in the bleeder have been removed and only clean hydraulic fluid is pouring out, you should stop rotating the steering wheel.
While you continue to turn the wheel, your partner should stop the flow of fluid from the bleeder and free the cylinder rod so that you can continue turning the wheel.
Bleed The Second Side Of The Steering System
Keep rotating the steering wheel counterclockwise until the cylinder rod has moved to the left. Your assistance is required to hold the rod of the cylinder.
You are not washing away the old fluid; instead, you are replacing it with new fluid.
When you need to add more fluid to the hydraulic system, you’ll do so through this side of the system. Keep a close eye on the gravity fill system and refill it frequently.
The assistant needs to stop the bleeding by closing the bleeder and releasing the cylinder rod until no more air bubbles emerge from the bleeder.
Check To See How The Steering Operates
To get the desired pressure level in the system, rotate the steering wheel until it clicks into the lock position.
The pressure in the wheel must be kept at a constant level while you check for leaks in the hydraulic connections and connectors.
Conclusion
After taking these steps, rest assured of a better performance of your steering.
Follow the instructions for a single station to perform tasks involving two stations or double cylinders.
However, if you’re still finding it difficult to bleed your SeaStar Hydraulic Steering successfully, contact an expert to get it done.