Table of Contents
Welcome to the ultimate guide on how to make your homemade body armor. This step-by-step guide will provide you with all the information you need to make your own body armor.
In this tutorial, you will learn how to make body armor from scratch, using household items that are readily available.
So, let’s get started!
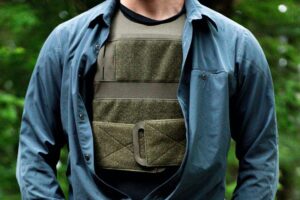
Body Armor Materials
You’ll need a few key materials to make your body armor. The first is a sturdy piece of cardboard or foam board. You’ll also need some batting or insulation, which can be found at most hardware stores.
Finally, you’ll need some fabric to cover your armor. This can be anything from denim to upholstery fabric.
How to Make Homemade Body Armor
Now that you know the basics of armor, let’s get into how to make your own homemade body armor.
Step One: Choose Your Materials
The first step is to choose your materials. You’ll need something sturdy for the outer layer, like Kevlar or ballistic nylon.
For the inner layer, you’ll want something that will absorb impact, like foam or padding.
Find a material that will be strong enough to protect you from the weapon or projectile you are wanting to defend against.
Kevlar is a popular choice for body armor, but there are other options out there as well.
You’ll also need something to seal it all together. I like to use duct tape, but you could also use velcro or zip ties.
Just make sure whatever you use will be strong enough to hold everything in place in the event of a collision.
One thing to consider is weight. The heavier the materials you use, the more bulky and difficult to move in your armor will be.
So, if you’re planning on wearing it for long periods of time, make sure to take that into account when choosing your materials.
Step Two: Measure and Cut Your Panels
Now that you have all of your materials, it’s time to get started on the body armor itself. The first step is to measure and cut your fabric panels.
You will need to cut it into the desired shape. It is important to make sure that all of the edges are smooth so that they do not catch on anything and cause injury.
You’ll want to cut four panels in total, two for the front of the vest and two for the back. The panels should be big enough to cover the entire front or back of your torso, from your shoulders down to your hips.
The next step is to sew it into a vest or other piece of clothing that will cover your body. Be sure to reinforce all of the seams so that they do not come undone under stress.
Once you’ve cut out your panels, it’s time to move on to step three: attaching the velcro.
Step Three: Wear and Adjust Your Armor
Now that you have your armor, it’s time to put it on! And while you’re at it, take some time to adjust it so that it’s comfortable.
After all, you’ll be wearing this armor for a while, so you want to make sure that it doesn’t rub you the wrong way—literally.
The last thing you want is to end up with a rash or worse because your armor wasn’t fitting properly.
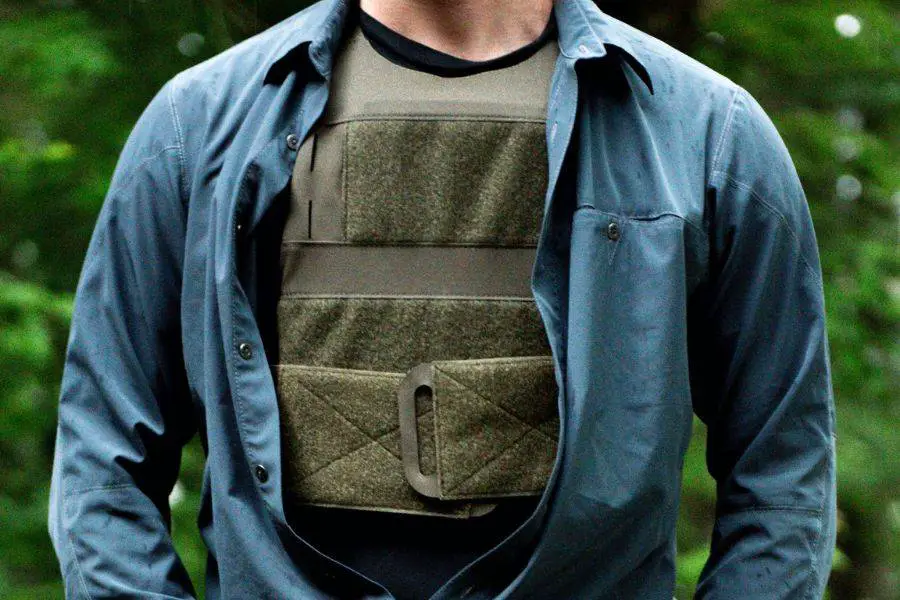
To adjust your armor, start by putting on the shoulder pads and then the breastplate.
Once you have those in place, adjust the straps until they’re tight but not too tight. You should be able to breathe easily and move around without feeling restricted.
Next, put on the back plate and again, adjust the straps until they’re snug but not too tight. And finally, put on the thigh plates and secure them with the straps.
The final step is to test your homemade body armor by firing the weapon or launching the projectile at it from a safe distance. If it does not hold up, go back and make adjustments until it does.
Kevlar
There are a few different ways to make homemade body armor, but we’re going to focus on how to make Kevlar body armor.
Kevlar is a synthetic fiber that’s used in a lot of body armor because it’s strong and tough.
Making Kevlar body armor is pretty simple, but it does take a little bit of time and effort.
You’ll need some Kevlar thread, scissors, a needle, and a hot glue gun. First, cut the Kevlar thread into small pieces.
Then, use the needle and thread to sew the Kevlar thread onto the fabric. You’ll want to make sure that the Kevlar thread is layered on top of each other so that it’s as strong as possible. Finally, use the hot glue gun to glue the fabric together.
Ceramic Plates
So, you’ve got your kevlar vest and you’re feeling pretty good about your homemade armor, but you know what would make it even better? Ceramic plates.
Ceramic plates are great because they’re lightweight and they can actually stop bullets. Pretty impressive, right?
The only downside is that they’re also pretty expensive, so you’ll need to save up if you want to add this level of protection to your armor. But trust me, it’s worth it.
Ultra-High Molecular Weight Polyethylene Fibers
The next step is to add the ultra-high molecular weight polyethylene fibers. These fibers are going to give your armor that extra strength and resilience that it needs to really do its job.
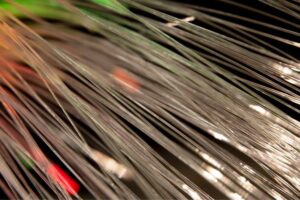
To add the fibers, you’ll need to mix them into the resin. You can do this by hand, but I recommend using a drill with a paddle attachment.
This will help to evenly distribute the fibers and make sure that they’re fully incorporated into the resin.
Once you’ve added the fibers, you’ll need to let the resin cure. This usually takes 24-48 hours, depending on the temperature and humidity. Once the resin is cured, your armor is ready to use!
Is Homemade Body Armor a Good Idea?
When you think about the question of whether or not homemade body armor is a good idea, it’s important to consider the context.
For example, if you’re living in a country with a well-established military and you want to protect yourself from attacks by that military, then yes—you should definitely make your own body armor.
But if you’re living in a place where there is no established military but where crime and violence are common, homemade body armor may not be such a good idea for you.
The key here is that if you live in an area where crime and violence are common, then your level of risk can’t be determined by what kind of armor it is:
It’s up to you to decide whether or not it’s worth taking risks with your safety just because something seems cool or makes sense at the time. I believe that homemade body armor is a good idea.
First of all, homemade body armor is better than store-bought body armor because it is usually made out of materials that are easier to find.
For example, many people make their own flak jackets out of cardboard boxes filled with sand or other materials that are easy to find around the house.
Second, homemade body armor can be more comfortable than store-bought body armor because it doesn’t have Velcro or other materials that can irritate your skin.
Also, if you make your own flak jacket or bulletproof vest, there are no sales taxes to pay!
Last but not least: You can save money by making your own body armor! Store-bought bulletproof vests cost thousands of dollars but not if you make them yourself!
Conclusion
So, there you have it, a step-by-step guide to making your very own homemade body armor.
This armor will protect you from a variety of different projectiles and is much cheaper than purchasing commercial body armor.
Just be sure to follow the steps carefully and always test your armor before using it in a real-life situation.

