Homemade PVC Pipe Round Bale Feeder – A Comprehensive Guide
by
Table of Contents
A homemade PVC pipe round bale feeder can be an excellent addition to your farm equipment.
Not only does it help in feeding your livestock, but it also minimizes hay wastage, making your operations more efficient.
This comprehensive guide takes you through the entire process of creating a durable and functional PVC pipe round bale feeder at home.
Importance of a Well-Built Bale Feeder
A well-built bale feeder is essential for effective feeding management. It ensures that your livestock gets their hay in a controlled manner, reducing waste and ensuring that all animals get their share.
By building your own PVC pipe round bale feeder, you can customize it to fit your specific needs, ensuring maximum efficiency.
Gathering Your Materials
Detailed Materials List
To build your PVC pipe round bale feeder, you will need the following materials:
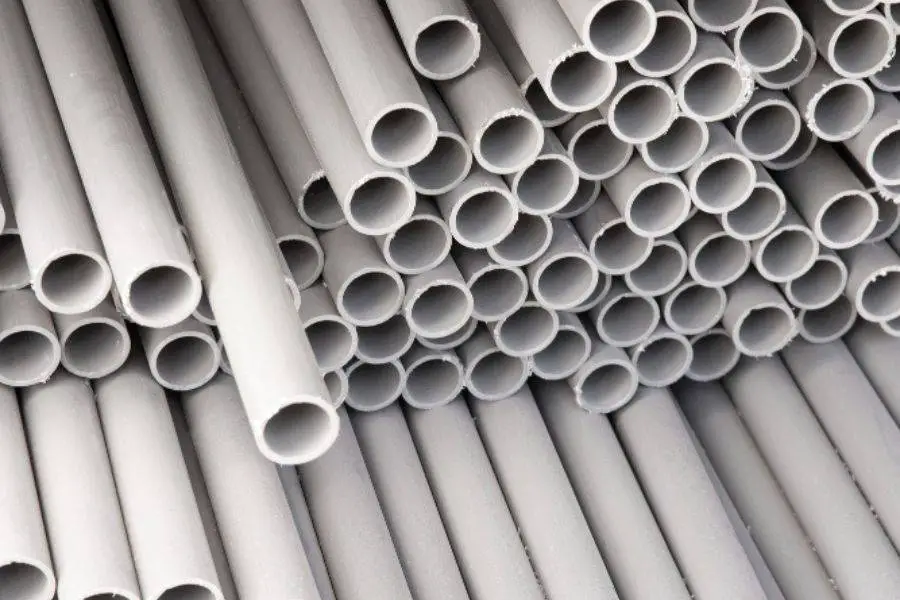
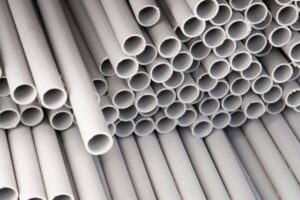
Several lengths of PVC pipe (the exact number and length will depend on your design).
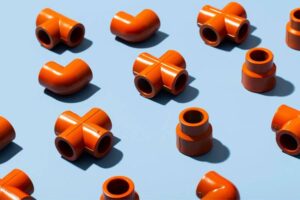
PVC elbows and tees to connect the pipes.
PVC cement to secure the connections.
Measuring tape.
Marker.
Saw for cutting the PVC pipes.
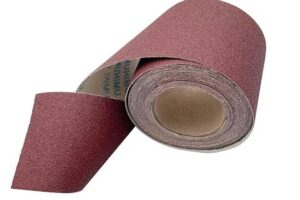
Sandpaper to smooth the cut edges of the pipes.
Choosing High-Quality PVC Pipe
Selecting high-quality PVC pipe is crucial for the durability and functionality of your bale feeder.
Look for pipes that are thick and sturdy, capable of withstanding the weight of the bales and the force exerted by the livestock during feeding.
Designing the PVC Pipe Round Bale Feeder
Sketching Your Design
Before you start cutting and assembling, sketch out your design. This will give you a clear idea of how the finished feeder will look and function.
Make sure to include measurements in your sketch to guide you during the assembly process.
Deciding on Dimensions and Measurements
The dimensions of your feeder will depend on the size of your round bales and the number of animals you are feeding.
A typical round bale feeder is about 8 feet in diameter and 4 feet high, but you can adjust these measurements to suit your needs.
Preparing Your Work Area
Setting Up Your Workspace
Choose a spacious, well-lit workspace where you can lay out your materials and work comfortably. Make sure the area is clean and free from obstacles that could cause accidents.
Organizing Your Tools and Materials
Organize your tools and materials before you start working. This will make the assembly process smoother and more efficient.
Assembling the PVC Pipe Round Bale Feeder
Step 1: Measure and Cut Your PVC Pipes
Start by taking accurate measurements for your PVC pipes based on the dimensions laid out in your design. Once you have the measurements, use a saw to cut the pipes accordingly.
Remember to always double-check your measurements before making each cut to avoid mistakes.
Step 2: Smooth the Cut Edges with Sandpaper
After cutting the pipes, some edges may be rough or sharp, posing a risk of injury. Use sandpaper to smooth these edges.
This step also prepares the ends of the pipes for a better bond when applying the PVC cement.
Step 3: Lay Out the Base of the Feeder
Now, lay out the cut pipes on your work surface to form the base of the feeder. Arrange them according to your design, connecting them with PVC elbows at the corners.
This step helps ensure that your feeder will have a stable and well-balanced base.
Step 4: Apply PVC Cement to the Joints
Once you are satisfied with your layout, it’s time to secure the joints. Apply PVC cement to the inside of the elbows and the ends of the pipes, then fit them together.
The cement will create a strong bond as it dries, ensuring that the joints are secure.
Step 5: Repeat the Process for the Top Part of the Feeder
After completing the base, repeat steps 1 through 4 to create the top part of the feeder. Make sure it mirrors the base accurately, as they will need to line up when assembled.
Step 6: Connect the Top and Bottom Parts
Now, it’s time to bring the top and bottom parts together. Cut vertical PVC pipes to the desired height of your feeder and use these to connect the top and bottom parts.
You can use PVC tees to make the connections, applying PVC cement to secure the joints.
Step 7: Secure All Joints and Let Dry
Finally, go over all the joints once more, applying additional PVC cement if necessary. Once all joints are secure, allow the feeder to dry completely before moving it or adding any weight.
This could take several hours or even overnight, so be patient.
Securing and Reinforcing the Structure
Once your feeder is assembled, it’s important to ensure its stability and durability. This involves checking all the joints and the overall structure for any potential weaknesses.
Start by visually inspecting each joint to ensure the PVC cement has created a solid bond. Try gently wiggling the pipes at each joint to test their firmness.
Any movement could indicate a weak point that needs to be addressed.
Next, check the overall balance of the feeder. It should stand upright on its own without any wobbling or leaning.
If it’s not stable, you may need to adjust the lengths of your pipes or the positioning of your joints.
Reinforcement comes in handy, especially if you’re planning to feed a large number of livestock with this feeder. You can reinforce the structure by adding extra PVC pipes where necessary.
For instance, you can add cross-braces to the sides of the feeder. These are horizontal pieces that connect the vertical pipes, creating a stronger, more rigid structure.
You can also add additional vertical supports in the middle of the feeder for extra strength.
Remember to use PVC cement to secure any additional pieces you add. Allow them to dry completely before proceeding with the next steps.
Additionally, consider the environment where the feeder will be placed. If it will be exposed to high winds or heavy snow loads, additional reinforcement may be necessary to prevent damage.
This could include anchoring the feeder to the ground or adding a cover to protect it from snow accumulation.
By taking the time to properly secure and reinforce your PVC pipe round bale feeder during assembly, you’ll ensure it can withstand the demands of daily use and last for years to come.
Finishing Touches on Your PVC Pipe Round Bale Feeder
Applying Protective Coatings
To protect your feeder from the elements and prolong its lifespan, consider applying a protective coating. This could be a UV-resistant paint or a waterproof sealant.
Testing the Stability and Durability
Before you start using your feeder, test its stability and durability. Place a round bale inside and observe how the feeder holds up. Make any necessary adjustments to ensure it can withstand the weight and pressure.
Troubleshooting Common Issues
Addressing Structural Weaknesses
If you notice any structural weaknesses during your test run, address them immediately. This could involve adding more PVC pipes for reinforcement or applying more PVC cement to secure the joints.
Making Adjustments for Better Functionality
If your feeder isn’t working as efficiently as you’d like, don’t be afraid to make adjustments.
This could mean changing the height or diameter of the feeder or adding more openings for the animals to access the hay.
Conclusion
Building a homemade PVC pipe round bale feeder may seem like a daunting task, but with the right materials, a good plan, and a bit of patience, it’s a project that can be completed in a day.
The key is to pay attention to the details, ensuring that all measurements are accurate and all joints are secure.
This project is not just about building a functional piece of farm equipment; it’s also about learning new skills and gaining confidence in your DIY abilities.
So, don’t stop here. There are many other farm projects you can tackle with your newfound skills. Happy building!