Table of Contents
Despite advancements in wireless technology, there is still a need for Ethernet cabling. To help you get it right the first time with Ethernet cable installations, here is a quick guide on how to run Ethernet cable through walls.
Those who prefer having a wired connection usually end up facing one challenge. They find it challenging to run a wired connection through walls.
This is why we’ve opted to share with you this step-by-step guide on how to run Ethernet cables through walls.
How To Run Ethernet Cable Through Walls: Planning Phase
As with any project, planning is very important when running an Ethernet cable through walls. When planning to run an Ethernet cable(s) through walls, you want to clearly point out:
- Which Walls You’ll Be Running The Ethernet Cable Through – Determining which walls you’ll be running the Ethernet cable is essential. Will you be working with brick walls or finished walls? The answer to this comes down to the number of rooms you want to be wired. The more rooms you want to be wired, the higher the chances of dealing with different sets of walls.
- The Path You Are Going To Take – This is arguably the most challenging part with running Ethernet cable through walls. In fact, the path you are going to take tends to change depending on your home. For instance, if you live in an apartment, how you approach this step is entirely different from someone living in a standalone house.
- The Network Speed You’ll Need – Knowing the network speed you are after will help you settle on the right materials or tools you’ll need. Yes, your desired network speed determines the materials you’ll need. You might need to use different switch types depending on the desired connection speed.
- Tools – With the right tools, you’ll not only run Ethernet cable through walls effectively, but you’ll be able to do so effectively.
Tools Needed For Running Ethernet Cable Through Walls
The tools you’ll need to run an Ethernet cable through walls depend on many factors, including walls, your home, and coverage. However, there are a few tools that are a must-have, and they are:
- Drill
- Ethernet Crimping Tool
- Punch Down Tool
- Drywall Saw
- Pointed Hand Saw
- Paddle Bit
- Fish Tape
- Stud Finder
- Label Marker
In addition to these tools, you might need the following:
- Ethernet Switch
- Ethernet Wall Sockets
- Ethernet Sockets
- Patch Panel
- Plastic Grommet
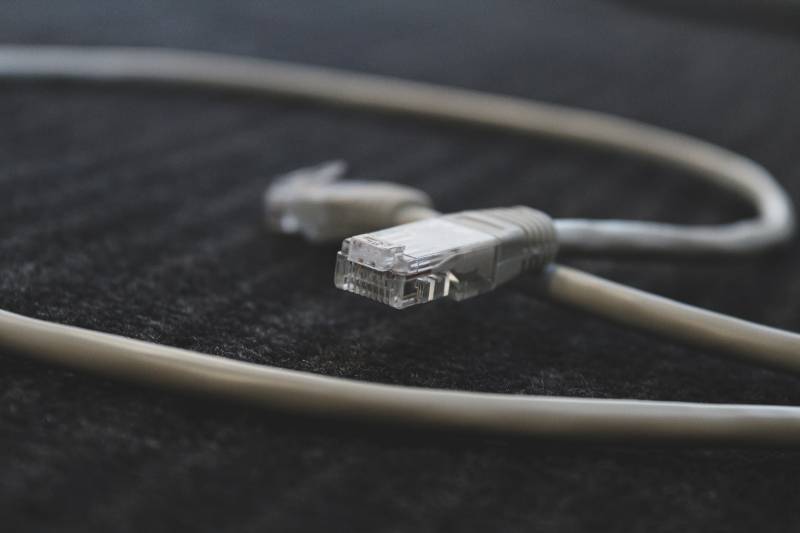
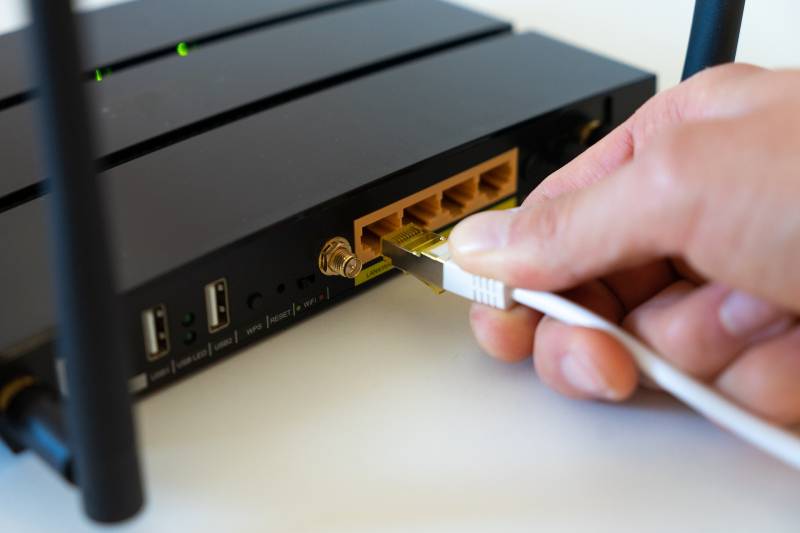
What Ethernet Cable Should I Use For My Home Network Wiring?
In addition to knowing the tools you’ll be using when running Ethernet cable through walls, it is equally important that you settle on the ideal Ethernet cable.
This, as you’d expect, brings with it one question – what Ethernet cable should I use for my home network wiring? That said, it’s worth pointing out that Ethernet cables are generally rated in categories depending on speed and how fast they can transfer data over cable.
With Ethernet cables, you want to settle on one that offers the very best when it comes to both speed and quality. Ethernet cables such as Copper Clad Aluminium or CCA should be avoided at all costs.
They are known for many issues, such as getting hot and delivering less power. Opting for full bare copper cables when running Ethernet cable through walls is highly advised.
Running Ethernet Cable Through Walls
With everything in place, it is time to now run your Ethernet cable through your walls. This brings us to our first step.
Step 1: Create A Distribution Point
Any project that touches on running Ethernet cable through walls starts with creating or building a distribution point. When building or constructing your distribution point, it is best that you completely power off your home’s power supply.
This way, you’ll be certain that you’ll be safe when drilling through walls in order to create room for the distribution point.
While on the subject of building a distribution point, you’ll need to find the right studs for your wiring panel. The process of finding studs is straightforward, just take a stud finder and slide it along the wall. You can also work without a stud finder, but this is not advised especially if it’s your first time.
With your studs in place, you’ll need an inspection hole between. This can be roughly a 4″ by 4″ hole. To get a perfectly clean cut when creating this intersection hole you’ll need to use the drywall saw in your tool kit. The purpose of this inspection hole is to ensure that there are no obstructions behind the wall you’ve identified as the ideal place for building a distribution point.
Once you’ve established that there is nothing behind the walls, you can proceed by cutting away the drywall to your distribution point. For this, you’ll need a drywall saw. Use the stud points you created to make sure you get a perfect cut.
Once you are done, you’ll need something that’ll help keep all your cables organized. This comes in a structured wiring panel. Use a power drill to screw the box to both studs.
Step 2: Create Holes For Ethernet Cable
With your distribution point in place, creating holes for your Ethernet cable is the next step. Depending on the floor you are working with, you’ll need to drill either the top ceiling plate or the bottom ceiling plate. Once you are done, proceed by drilling a hole in your attic.
Make your way up and find a spot that’s directly above your distribution panel. Once you’ve located this spot, proceed by cutting a hole through the floor plate. Worth noting when working with attics, attics usually have double plates meaning you might just have to drill through more than one block of wood.
Once you are done with the attic, you’ll need to cut or drill holes above the walls that the Ethernet cable will run through. This involves paying attention to rooms that actually need cabling.
 Worth noting, when cutting holes, you’ll come across brick walls or finished walls. Regardless of this, you should be able to cut through the wall. Just make sure that you have the right tools.
Use a ruler to mark cutting holes for all the walls that the cable will feed into. After cutting your holes, it is time to feed wires through walls.
Step 3: Label Your Ethernet Cables
If you plan on running Ethernet cable through many walls it is important that you label them according to the rooms where the walls are. You can have one labeled “bedroom”, “living room”, or even “office” if you plan on having an office at home.
Once you’ve correctly labeled your Ethernet cable, start running them through the wall into the attic space. Do it correctly, and your Ethernet cable(s) should perfectly show up at the outlet holes you created earlier.
If you can see your Ethernet cable(s), just pull them to your desired length to complete the process of running Ethernet cable through walls.
Conclusion
There is no denying that wired connections have their benefits, but in order to enjoy them, you’ll need to properly wire your connections.
One way of doing this is by running Ethernet cable through walls. We hope that after reading this post, you’ll be able to properly run Ethernet cable through walls even without the services of a professional!


