Table of Contents
There is no doubt that the Delta Faucet company offers the very best when it comes to bathroom products. This is why so many people are turning to them when searching for reliable faucets.
As you’d expect, this has resulted in many people asking about their faucets, particularly how to install a Delta shower faucet. Below we’ve opted to share our step-by-step guide on how to install a Delta shower faucet.
Installing a Delta Shower Faucet
Like any other project, installing a Delta 13 or 14 series shower faucet requires you to plan things adequately before you start.
One of the steps involved in planning to install a Delta shower faucet is having the right equipment for the job. You’ll need to arm yourself with the following:
- Allen Wrench
- Plumber’s Tape
- Delta Faucet
- Silicone Sealant
- Screwdriver
Once you have the right equipment in place, you can now start installing a Delta shower faucet in your home. For this, you’ll need to follow the following steps:
Step 1: Shut Off Water Supply And Remove The Plaster Guard
Turning off your water supply is the first step when installing a Delta shower faucet. Most showers don’t have one supply valve, and as such, it is essential to completely turn off the main home water supply.
Once you’ve turned down your water supply, you’ll need to remove the plaster guard. To do it, you’ll need a screwdriver. In addition to turning off your water supply, you’ll need to relieve pressure. This you can do by opening the faucet in your bathroom.
Also, you’ll need to cover your bathroom’s drainage. By doing this you’ll ensure that small parts used during the installation will not drop in the drain. This is a simple task and you can do this using a cloth or a rug.
Step 2: Determine Where You’ll Install The Shower Faucet
In most cases, you will fit or install your Delta shower faucet on your bathroom’s drywall. For this, make a small opening for the pipes (if you don’t have an opening already). To create an ideal opening you’ll need a hammer, a hole saw, and a regular saw.
With positioning, you don’t have to stick to the norm. You can as well opt for alternatives when you are installing your faucet.
The shower faucet can get fixed on the bathroom drywall by making an opening a small part to get in the pipes using a hole saw, hammer, and a regular saw.
Step 3: Installing Shower Faucet Cartridge
The next step once you’ve settled on an ideal position is installing a new shower faucet cartridge.
You’ll need to first insert the O-rings on the ends of the cartridges. With the O-rings in place, slowly push them into the shower valve. Now take and place the round shower faucet rim over the cartridge and screw it in place.
Use the plaster guard screws that you removed in step 1. When installing a shower faucet cartridge, make sure that you push it in correctly. By correctly, we mean spinning the faucet cartridge until the “hot side” of the cartridge aligns with the hot water inlet of the faucet.
Step 4: Installing The Faucet Handle
When installing the faucet handle, it is advised that you go for a level that is not too low and not too high.
You can tell that you have the correct length when a child can use it without straining. That said, to install the faucet handle, push the handle onto the cartridge stem.
Once in place, use an Allen wrench to tighten the handle’s small mounting screw in place. Doing this helps to make sure that it’s safely secured in place.
Step 5: Inserting Horizontal Knobs
Horizontal knobs are essential, but sadly, some people tend to forget about them. With the faucet in place, inserting horizontal knobs is the next step. They should be inserted upright between two horizontal knobs that are already present in your bathroom. In addition to inserting it upright, you should see to it that the valve is solidly attached.
This way, you know that there’ll be no unwanted movement once the knobs are in place.
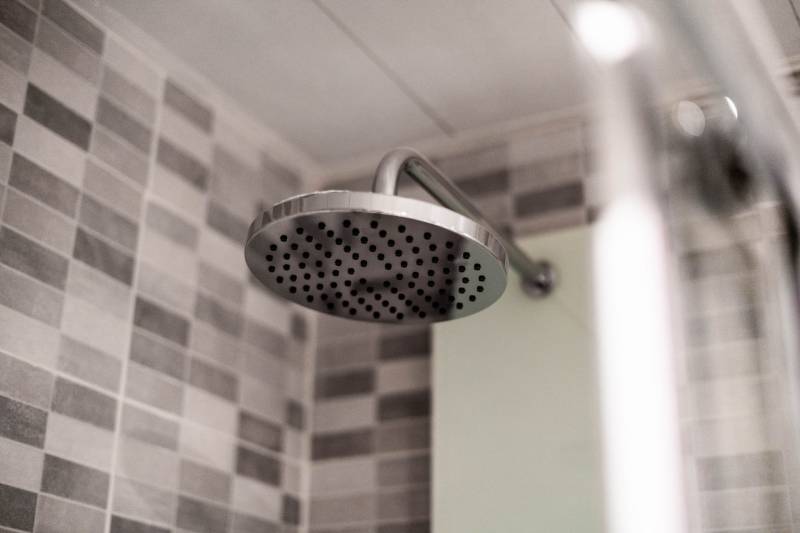
Step 6: Install Delta Shower Head
This step might be challenging, given that you’ll be required to remove your old showerhead. Using an adjustable wrench, loosen the hexagonal nut that’s holding your old showerhead in place.
This is usually on the end of the shower base. Once removed, install the shower head.
Worth noting, when removing your old showerhead, some residual water might drain from it. When this happens, don’t be alarmed. Remember that you switched off your home’s water supply.
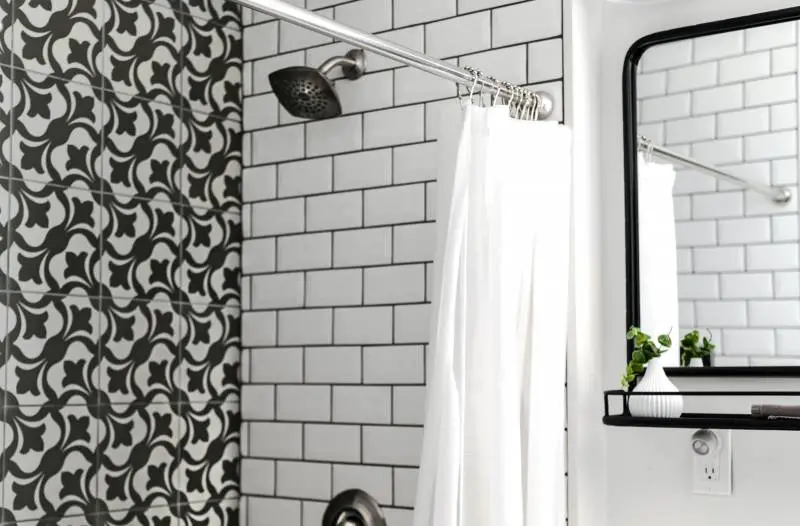
Step 7: Wrap New Plumber Tape
With the new Delta shower head in place or installed, you’ll need to wrap the threaded end of the pipe. You can do this using a plumber tape.
Remember to thread your new shower head on the shower pipe, turn the shower head clockwise to install it, and secure it by tightening the nuts.
Make sure that you cover all holes. You can do this using a silicone sealant. You can even opt to decorate or paint over the holes to give it a more appealing look.
Step 8: Remove Old Tub Spout
Many bathrooms have a tub spout. When installing a Delta shower faucet, you’ll need to remove the old tub spout. You can do this by loosening the set screw that’s under the spout. Once loose, take off the old spout. Now install the new Delta spout and screw it in place using an Allen wrench.
Once you are done with this step, you’ve completed the process of installing a Delta shower head. Now, confirm everything is in place and that you’ve covered every step by going through each step one more time.
Once you are satisfied, turn on the main water supply of your home and unclog your drain to start enjoying your newly installed Delta shower faucet.
Conclusion
Installing a Delta shower faucet is not as challenging as it might seem. In fact, it’s a DIY project that you can complete in a day. The key is usually making sure that you have the right tools and materials before starting the job.
If you are still not confident about doing it yourself, it is always best to seek professional help. Professionals guarantee quality work in a timely fashion.
Sometimes, you can receive after-sale service, meaning they’ll be there to assist if something happens to your Delta shower faucet after installation.