Table of Contents
If you move to a new house without a chimney, you don’t need to panic. You can still vent a wood-burning fireplace without having a chimney.
In such a case, some people will opt for a gas or electric fireplace, but most people still prefer wood fireplaces. Wood-burning stoves are not only real, but also they are cheap, easy to find, and reliable.
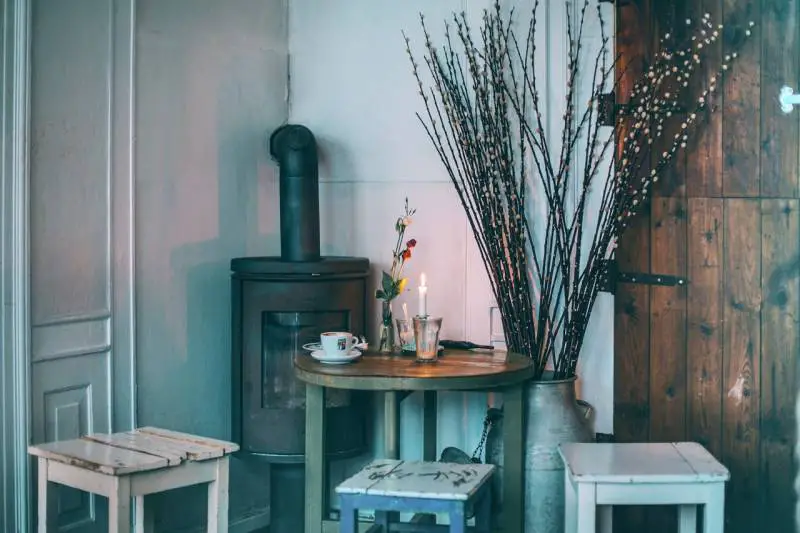
During a storm, gas pipes and electric poles can be messed with, but wood-burning stoves will remain intact.
So, if you just moved to a house without a chimney, you can still vent your wood stove using either a single flue system or a twin flue system. Here’s how you can do it:
Using A Single Wall Flue System
A single wall flue system is a full seam welded 316L stainless steel single wall pipe. Sometimes, it’s referred to as single skin or connecting flue pipe.
This system can be utilized as a liner to an existing brick stack or a connecting flue pipe for a wood stove or wood-burning fireplace and as a chimney system.
Most manufacturers create single-wall flue pipes from steel and then coated with enamel to offer a smooth internal and external finish. On the contrary, this pipe can also be made out of stainless steel without an enamel coating.
This system is generally referred to as a “single wall” because it comes with only a single layer of steel with no insulation.
How To Install A Single Wall Flue System
Step 1: Strip The Back Of The Wall
Start by stripping the back of the wall. You should strip as far as the brick wall goes. You should not strip beyond the bricks.
Step 2: Lay A Hearth
After stripping the wall, lay a hearth and add pillars on the sides where the stove will be placed.
Step 3: Install The Stove And Flue
Install the stove together with the flue. Ensure that the single wall flue fits perfectly on the wood stove. Unlike a twin wall flue system, a single wall flue only extends up through the house’s ceiling and not through the wall.
Step 4: Add A Chimney Cap
When you’re done connecting the flue to the stove and passing it through the ceiling, add a chimney cap. You can also decide to leave the flue exposed or build a chimney breast.
Advantages Of A Single Wall Flue System
- This system is quite cheaper than the twin-wall flue system.
- The single-wall flue system is also easier to set up than the twin-wall flue system.
- It comes in a variety of finishes, which include gloss black finish, or matt black, and it can even be sprayed to match using high-temperature paint.
Disadvantages Of A Single Wall Flu System
- This system loses heat quickly.
- The system cannot stand on its own as it requires a masonry chimney or a twin-wall flue system.
Using A Twin-Wall Flue System
A twin wall flue system is the mechanism that allows you to vent a wood-burning fireplace without a chimney. This system can be installed via the wall or roof of your building.
If it’s through the wall, it’s referred to as external installation, and if it’s through the roof it’s referred to as internal installation.
Besides, the twin wall flue system comprises a series of connectable stainless steel pipes that can lift your stove’s fumes outside. In most cases, the stainless steel pipes are enclosed in thick insulation and covered by a second outer tube.
This tube helps maintain the temperature inside the flue warm enough to enable the fumes to pass through the pipe and dispose of outside.
How To Install A Twin-Wall Flue Without A Chimney
As stated earlier, you can choose to install the twin wall flue system either internally or externally. Before you pick any method, it’s essential to get in touch with a professional.
This is because some houses work well with internal installation, while others with external installation. Here’s the procedure:
Step 1: Assemble The Right Tools
Before you commence the installation process, you need to have all the vital tools. Some of the things that you will need include:
- Stove – When it comes to a wood stove, you will have to select between a multi-fuel stove and a wood-burning stove. Find out the regulations in your area when it comes to smoke. You may need a DEFRA-approved stove in some places. The stove you pick should also be compatible with the twin wall flue size you intend to buy.
- Stovepipe – Ensure that the stove pipe diameter fits your new wood-burning stove. Besides, they also differ in length.
- Twin wall flue system – Make sure to select a flue that fits properly on the wood-burning stove. On top of that, choose a color that you think is more appealing. Most flues have a silver or black finish.
- A hearth – Install the hearth on a non-combustible material, such as toughened glass or stone. Additionally, it should have a minimum thickness of 12mm. Besides, it should also extend up to 330mm in front of the stove doors, with the minimum being 225 mm.
- Protection shield – If the wood-burning stove is close to combustible surfaces, you should use a protective shield to avoid causing havoc.
Step 2: Install The Stove
Choosing a location for your stove is one of the most challenging parts of this procedure. Once you pick an area, it’s almost impossible to change it as it will mean that you dismantle the entire vent system.
Step 3: Install The Twin Wall Flue System
If you decide to install the flue system through the wall, the pipes will have to be stripped back to the brickwork. On top of that, the hearth will be set up and a wood-burning stove installed. Next, the stovepipe will be connected to your stove and the flue installed.
But if your house has multiple floors, this process may be cumbersome. If that’s the case, you will be better off installing the flue system via the ceiling than through the wall.
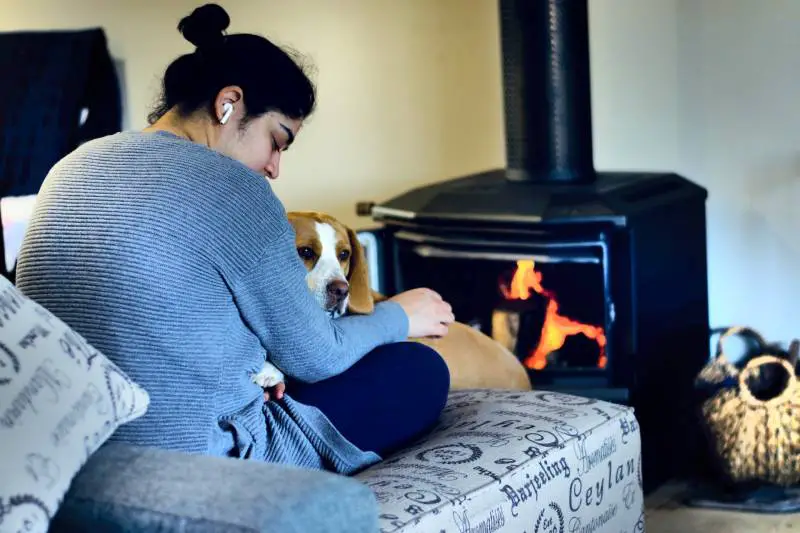
Afterward, the pipes will be attached. Depending on the installing method you select, they will either pass along the outer wall or via the ceiling. For both installations, any holes made into the wall or ceiling will have to be mended.
When you’re done attaching the pipes, you will have to fasten them with a plate and add a cap to the top of the flue. A cap is critical as it prevents rain, debris, and even birds from entering the flue pipes.
After installing the flue system of choice, you have the option of hiding the flue or leaving it exposed.
Advantages Of A Twin-wall Flue System
- It remains heat better because of the high-grade insulation it comes with.
- It can be installed on its own without a masonry chimney.
Disadvantages Of A Twin-wall Flue System
- It is quite cumbersome to install
- It’s slightly expensive to install than the single wall flue system
Summary
Now that you know how to vent a wood stove without a chimney, you can go ahead and install a single wall flue system or a twin wall flue chimney system in your chimney-less home.
Nevertheless, you need to follow regulations and get in touch with a professional to know which flue system will work best for your home.
Wood fireplaces may be time-consuming to maintain and set up, but they are the best as they provide a natural fire. Also, they are more reliable and are very welcoming.

