Whether you’re remodeling your house or installing a bathtub and shower in your new home, the process can be super easy if you have the right tools.
However, you will have to be patient and follow all steps to avoid having difficulty framing the wall.
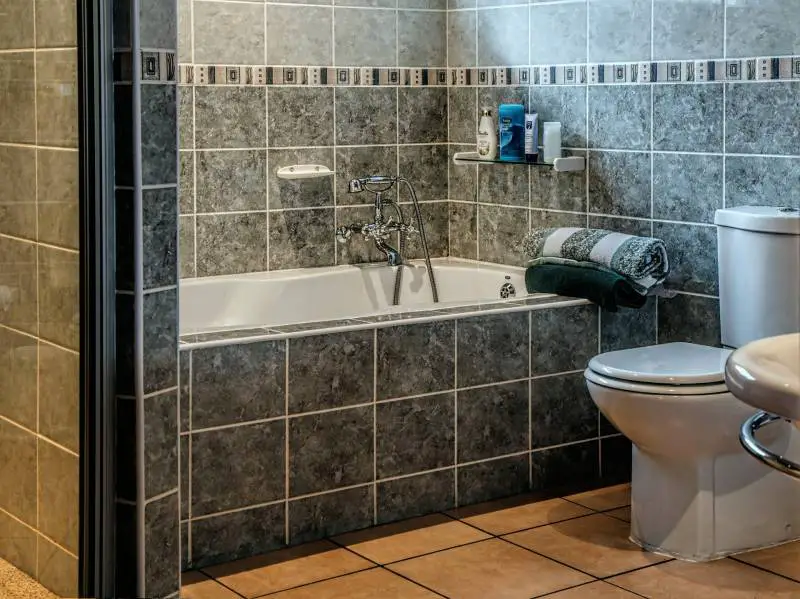
Framing your wall for a bathtub or shower is slightly different than framing a wall for both the bathtub and shower. Some people have limited space in their bathroom and prefer to frame the bathtub and shower together.
Apart from saving space, framing a bathtub and shower together reduces the need to create a drain area for the shower. Therefore, you will also save on time and resources used.
Here is the procedure to follow:
Tools Needed:
Pressure-treated lumber
Hole saw or jigsaw
Measuring tape
Nails
Hammer
Chalk line set
Masking tape
Electric drill
Putty knife
Pliers
Carpenter’s square
Before we proceed, it’s crucial to note that framing a bathtub wall and shower is similar to other framed walls. The design of the framed wall will be similar to that of a normal bathtub.
Therefore, it will feature a bottom and top plate and studs at 16-inch intervals. Avoid creating studs with 24-inch intervals as this is not good enough.
Unlike shower walls, the drywall for both the bathtub and shower shouldn’t go all the way to the floor. This is because you don’t need a shower tray as the tub will act as the tray. As a result, the drywall or plaster will extend from the ceiling to the upper rim of the bathtub. That’s why tub walls need blocking for attaching the wallboard where it meets the bathtub.
In short, you will have to build the bathtub and shower frame on the floor, install the blocking, and erect the wall in position.
Step 1: Initial measurements
Start by taking the bathtub measurements. Measure the distance of the bathtub from one end to another and add 1-inch for clearance at the back wall. In short, you will have to build the wall at the back edge of the bathtub first.
Use a hole saw to cut down a piece of 2X4 pressure-treated lumber to the length of a soleplate. Proceed to cut a top plate of the same length from a piece of 2X4 framing lumber.
Step 2: Even the plates
Next, even the plates by putting them side by side on the floor and evening the ends. Place the end of the measuring tape on and make similar layout marks for studs at the edges of the plates at 16-inch intervals from one end to another.
Step 3: Separate the plates
Separate the plates but position them side by side and on the edge with the 16-inch layout marks looking up. Place the 2X4 studs on the edge between the plates and focus on the corresponding layout marks.
Make sure to feature a stud at every end of the wall. Additionally, connect plates at each stud using a pair of framing nails and a hammer. Hit the nails through the faces of the plates and into the ends of the studs.
After framing the wall, the next step is to frame the block before erecting the framed wall into place.
Step 4: Further measurements
In the second phase of this procedure, you will have to measure the tub’s height from the floor to the rim. Then, put the end of the measuring tape onto the lower edge of the soleplate at the other end of the wall.
Next, pull the tape along the end stud. You should now mark the edge of the stud at the height of the bathtub’s rim. Repeat this at the other end of the bathtub or framing wall.
Instead of marking the studs on the framed wall, you should take a chalk line, put it on the marked end stud, and snap it to the other marked stud. It will end up drawing a line in all the middle studs.
Step 5: Cut the lumber
After marking all the studs with a chalk line, measure and cut 2” X 8” framing pressure-treated lumber to length as blocks that fit between studs. Make sure that the framed wall is flat on the floor before inserting the block.
Begin with one end of the wall and put a block between the first two studs with one face of the block on the floor.
Moreover, make sure that the center of the block’s face is properly aligned with the chalk marks on the edges of the studs. When you’re done, connect the blocks to the studs using pairs of nails at both ends.
Repeat the same process and ensure that all blocks align properly with the center faces at the chalk line marks.
Step 6: Positioning
Finally, pick up the upper top plate of the framed wall and position it at the back of the bathtub area so that the blocking faces the tub. Next, connect the soleplate to the subfloor with the nails.
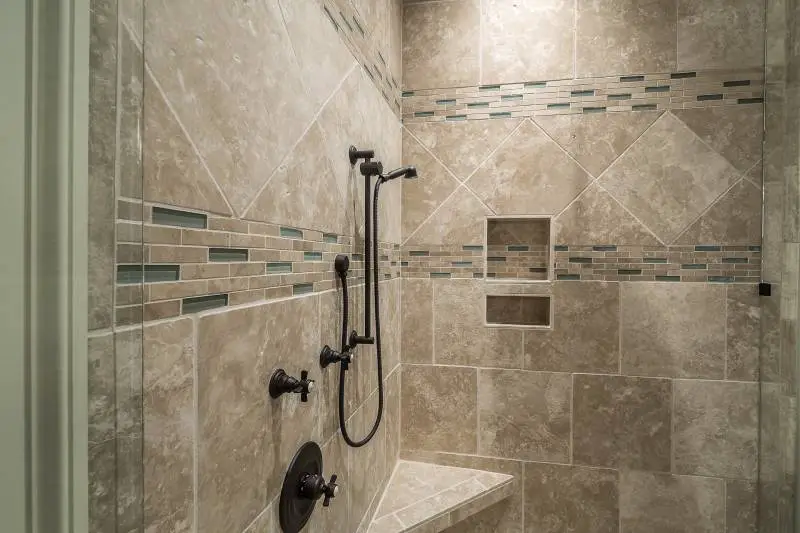
What About The Shower Frame?
As stated earlier, you don’t need to do anything about the shower frame as they use the same frame as the bathtub. Also, you will not need a shower tray as the bathtub will act as the tray. However, you will have to install ½-inch thick cement boards and tiles.
Additionally, you will have to space the studs so that you can easily position the shower faucet on the plumbing wall. A pair of studs spaced around a foot apart is okay for most types of faucets.
When you’re done with framing the wall for the bathtub and shower, you will have to cut pieces of cement backer board to fit. You should cover all wood surfaces with a backer board. This is from the blockage on top of the bathtub rim to the ceiling.
Make sure that the wall surface is smooth as the tiles will follow contours. And before you tile your bathroom, ensure to caulk the gap between the blockage and the backer board.
This will prevent splashed water from the tub or shower from sipping behind the tiles and damaging the lumber.
Tips To Note About Framing A Wall For A Bathtub And Shower
When framing your bathroom, you should use moisture-resistant materials such as drywall and waterproofing caulk. This is because the high moisture content in the air from showers and tubs may be a problem for your pressure-treated lumber.
Framing your bathtub and shower needs precision as inaccurate measurements will lead to leaks, water damage, or even mold where water leaks. So, if you’re not sure about the procedure or lack the proper tools to do so, get a professional plumber.
Framing your bathtub and shower is easy as you will use the same procedure as framing other areas of your home. For the best results, you should frame the bathtub and shower from outside your bathroom and then erect them in place.
Benefits of a Wall in the Bathtub and Shower
Privacy: Everyone enjoys privacy when singing their favorite song in the bathtub, that’s why framing a wall will not expose you to the rest of the rooms. Many people install a full glass wall to have privacy when using the bathtub or toilet situated next to the bathroom.
Functional Wall: A knee wall can be useful if you can be creative with it. For instance, you can install a towel rack on the wall at arm’s length. You can also install a grab bar or a toilet paper holder.
Cost-Effective: Installing a glass wall is expensive, however, a knee wall is very less expensive and still you can fit the glass wall above it for ventilation purposes.
Plumbing: You can hide your plumbing supplies behind the framed wall of the bathtub and shower. Moreover, you can easily install a knob and tub spout.
Partition: One of the benefits of framing a wall is that it separates your shower from the rest of the bathroom space. The wall does the partition without making your bathroom space feel small.
How To Frame a Wall for a Bathtub and Shower – Conclusion
From the above guide, you can see that the procedure is easy if you have the right tools. Regardless, ensure to take the right dimensions so that you don’t have issues when it comes to installing the bathtub and shower parts.
On top of that, you should use water-resistant materials to finish the work as you don’t want water to reach the pressure-treated lumber for costly maintenance and repairs.
You can now go ahead and build a frame for your bathtub and shower and install it in your bathroom.


")

