How to Treat Chickens With Dirty Bottoms – Best Methods
by
Table of Contents
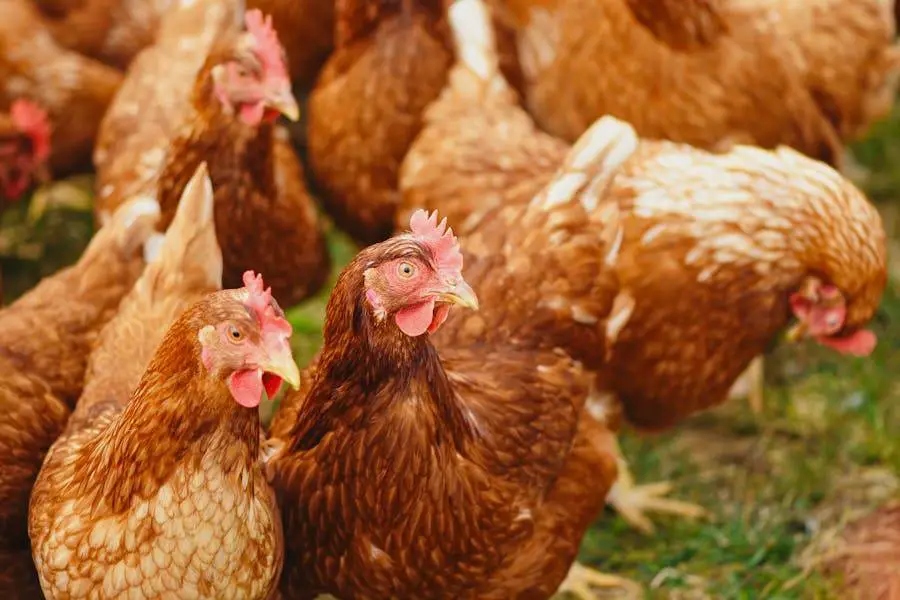
Chickens are generally robust and low-maintenance animals, but they can sometimes require special attention, especially when it comes to cleanliness and hygiene.
A common issue faced by poultry keepers is chickens with dirty bottoms, which is not only a concern for the chicken’s comfort and hygiene but can also be an indicator of health issues.
Understanding how to effectively treat and prevent this problem is essential for maintaining a healthy flock.
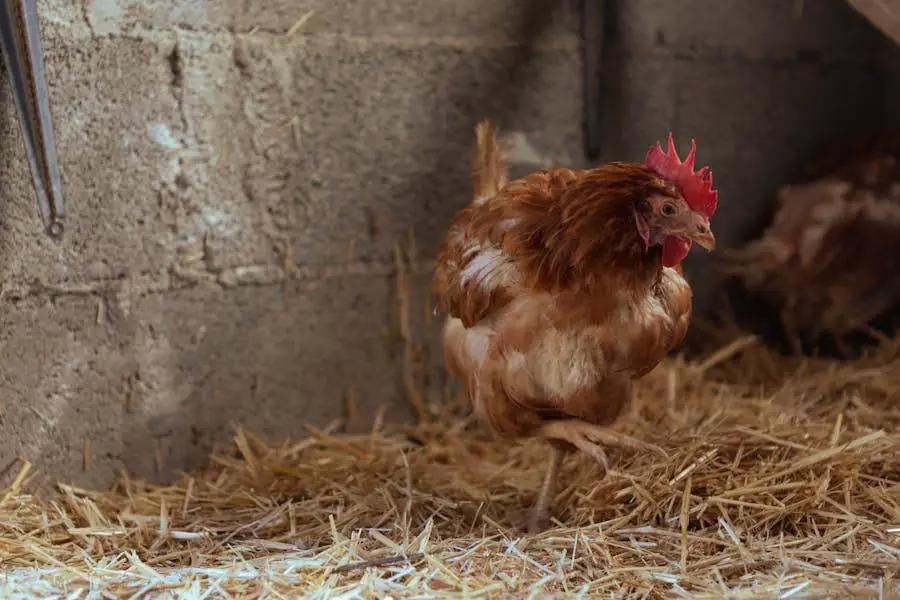
Identifying the Causes
Dirty bottoms in chickens can often be attributed to health problems such as diarrhea or vent gleet, a fungal infection.
Diarrhea may result from infections, parasites, or dietary issues, leading to feces sticking to the feathers around the vent area.
Overcrowded living conditions, poor ventilation, and wet bedding are environmental factors that can contribute to dirty bottoms in chickens.
These conditions foster the growth of bacteria and parasites, exacerbating the problem.
Initial Assessment and Handling
Before you begin any treatment, ensure you are handling your chickens safely to avoid causing them stress or injury. Approach them calmly and gently pick them up, holding them securely but not too tightly.
Closely inspect the affected area to determine the extent of the problem. Look for signs of redness, swelling, or discharge, which could indicate an infection or other health issues that need addressing.
How to Treat Chickens With Dirty Bottoms – Best Methods
Maintaining the cleanliness and health of your chickens is paramount for their well-being.
Among common issues faced by poultry keepers, chickens with dirty bottoms stand out due to their implications on health and hygiene.
This comprehensive guide dives into six thorough methods to address and prevent this problem, ensuring your flock remains healthy and comfortable.
Warm Water Baths
Preparation
Gather a basin or tub, lukewarm water, mild chicken-friendly soap, clean towels, and optionally, a hairdryer for drying.
Select a warm, calm location to perform the bath, especially important in colder climates to prevent chilling.
Process
Fill the Basin: Place lukewarm water in the basin; it should be warm to the touch but not hot to avoid scalding the chicken.
Add Soap: A small squirt of mild soap helps loosen feces from feathers.
Gently Lower the Chicken: Carefully place the chicken in the water, making sure not to submerge its head, and hold it securely to keep it calm.
Clean the Affected Area: Gently massage the soapy water into the feathers. Be gentle to avoid stressing the chicken.
Rinse Thoroughly: Ensure all soap is rinsed out with clean, lukewarm water to avoid irritation.
Dry the Chicken: Pat the bird dry with towels. In cool environments, a low-heat hairdryer can expedite drying, provided it does not frighten the bird.
Return to Coop: Once completely dry, return the chicken to its coop, ensuring it is warm and draft-free.
Spot Cleaning
Preparation
Ready a bowl of warm water, mild soap, a soft cloth or sponge, and clean towels for drying.
Process
Prepare Damp Cloth: Moisten the cloth with soapy water.
Hold the Chicken Securely: Firmly but gently grasp the chicken to prevent escape and reduce stress.
Clean Gently: Dab and wipe the soiled area with the cloth, avoiding rough motions to protect the feathers and skin.
Rinse Cloth Often: Clean the cloth in fresh water to ensure efficient cleaning.
Dry Thoroughly: Use towels to dry the chicken fully before returning it to its habitat.
Dietary Adjustments
Increasing Fiber
Introduce high-fiber foods gradually into their diet—greens like kale and whole grains such as oats help solidify stools, reducing the chance of dirty bottoms.
Adding Probiotics
Incorporate fermented feed, natural yogurt, or probiotics designed for poultry into their diet several times a week to maintain a healthy gut flora, further preventing diarrhea.
Environmental Modifications
Creating a clean, comfortable, and stimulating environment is crucial for preventing issues like dirty bottoms in chickens.
Environmental modifications not only address the cleanliness of your flock but also enhance their overall well-being.
Below are detailed strategies and creative solutions for maintaining an optimal living space for your chickens.
Optimal Bedding Choices
The right bedding material plays a significant role in absorbing moisture and keeping the coop dry, directly impacting the prevalence of dirty bottoms.
Straw: Straw is a traditional bedding choice that provides excellent insulation and moisture absorption. It’s comfortable for chickens to nest in and relatively easy to compost.
Pine Shavings: Softwood shavings, especially pine, are highly absorbent and help neutralize odors. Avoid cedar shavings as they can be toxic to chickens.
Sand: Sand is an excellent choice for the coop floor due to its ease of cleaning and drying properties. It provides a dust bath area for chickens, helping them maintain feather and skin health.
Hemp Bedding: Hemp is increasingly popular for its high absorbency, low dust, and sustainability. It’s comfortable for chickens and excellent at controlling odors.
Coop Design Enhancements
Thoughtful design and regular maintenance of the chicken coop can significantly reduce health issues.
Ventilation: Ensure your coop has adequate ventilation to keep the air fresh and dry but free from drafts. Proper airflow helps remove damp air and ammonia fumes, which can harm chickens’ respiratory systems.
Easy-to-Clean Surfaces: Use materials for floors and walls that are easy to clean and disinfect, such as vinyl or sealed wood. Smooth surfaces prevent mites and bacteria from settling in crevices.
Roosting Bars: Position roosting bars over a droppings board to collect feces overnight, making daily clean-up easier and reducing the chances of chickens stepping in their waste.
Nesting Boxes: Place nesting boxes in a quiet, darker section of the coop and fill them with clean, soft bedding. Regularly clean these boxes to encourage hens to lay eggs there instead of less hygienic spots.
Creative Environmental Enrichment
Enhancing the coop and run with creative features can promote healthy behaviors, reducing stress and its associated health issues, including dirty bottoms.
Dust Bath Stations: In addition to natural sand areas, create designated dust bath stations using containers filled with a mix of sand, soil, and wood ash. These stations encourage preening and help keep feathers clean.
Foraging Opportunities: Scatter treats or food in the run to encourage natural foraging behavior, which keeps chickens active and reduces the chance of them sitting in one spot for too long, potentially getting their bottoms dirty.
Perches and Platforms: Install various perches and platforms at different heights to encourage movement and provide opportunities for roosting away from the ground. This not only keeps chickens entertained but also aids in keeping their feathers clean.
Green Space: If possible, allow chickens access to a grassy area where they can peck, scratch, and forage. Fresh greens contribute to their diet and encourage active behavior.
Regular Cleaning Schedule
Daily Spot Cleaning: Remove droppings, leftover food, and dirty bedding daily to minimize odor and moisture.
Weekly Bedding Change: Depending on the bedding material, replace it entirely or add fresh layers weekly to keep the coop dry and clean.
Monthly Deep Clean: Once a month, empty the coop completely. Scrub all surfaces with a chicken-safe disinfectant, replace bedding, and make any necessary repairs.
Protective Barrier Creams
Choose a poultry-safe barrier cream or petroleum jelly. After cleaning and drying the chicken, apply a thin layer around the vent area to protect skin and feathers from moisture and feces.
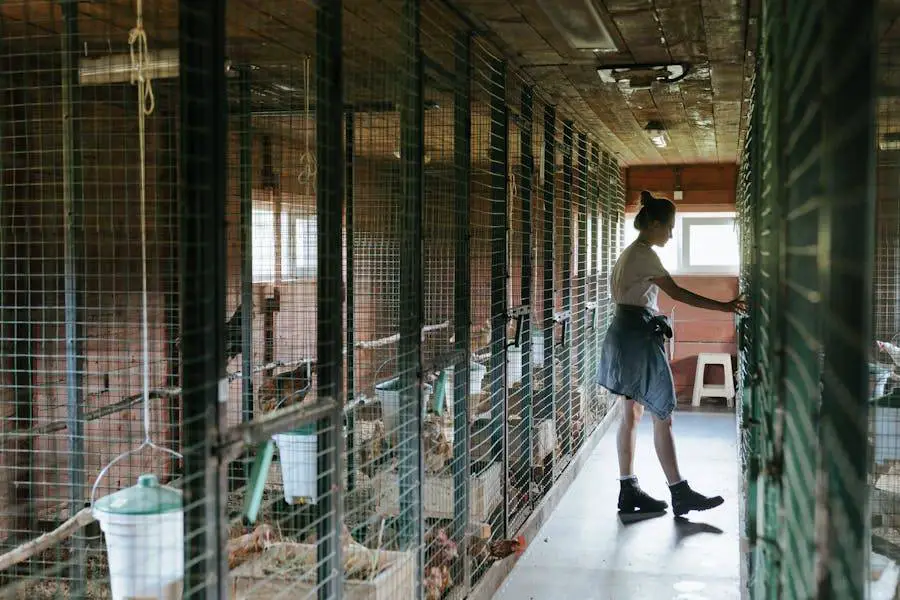
Regular Health Checks and Hygiene Practices
Weekly inspections help catch issues early. Look for dirty bottoms, parasites, and check the condition of their droppings.
Ensure your chickens have access to dust bath areas filled with sand and wood ash, placed in sunny locations to encourage natural preening behavior.
Monitoring and Follow-Up Care
After treating chickens with dirty bottoms, continue to monitor them for signs of improvement or recurring issues.
Changes in behavior, appetite, or stool consistency can indicate whether the treatment was successful or if further intervention is needed.
If after treatment the problem persists or if you notice signs of infection or severe distress in your chicken, it’s important to consult a veterinarian.
They can provide a diagnosis and recommend specific treatments to address any underlying health issues.
Conclusion
Treating chickens with dirty bottoms requires a combination of immediate care, environmental management, dietary adjustments, and preventative measures.
By understanding the causes and adopting a holistic approach to treatment and prevention, you can ensure the health and well-being of your flock.
Keeping a close eye on your chickens and maintaining a clean, healthy environment are key to preventing this common issue.