Caponizing a rooster, or turning a rooster into a capon, is a practice that dates back centuries. This procedure involves the removal of a rooster’s testes, which alters its growth and behavior.
While controversial, it’s still performed in some parts of the world for various reasons, including meat quality improvement and behavioral changes.
This article will explore various methods of caponizing a rooster, providing a detailed guide for each.
Preparing for the Procedure
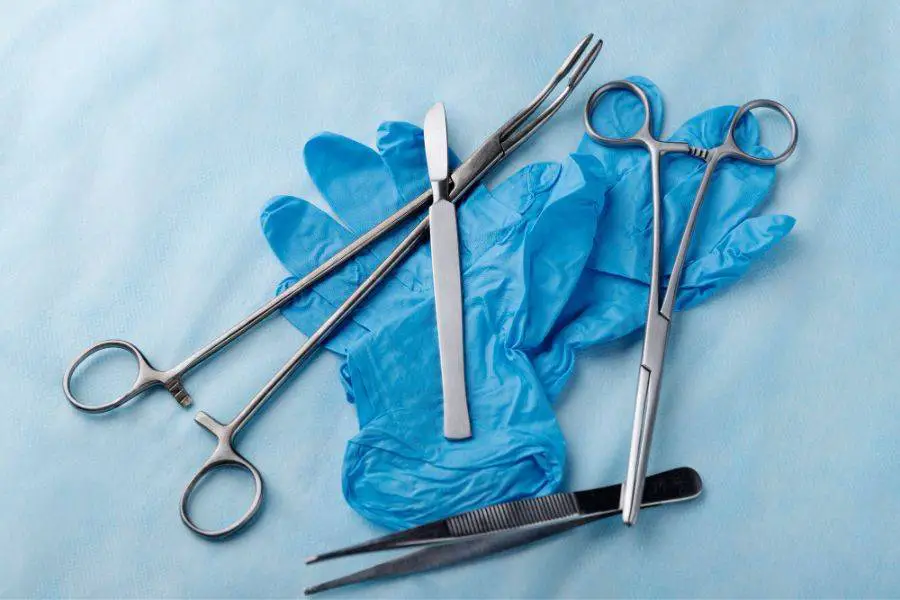
Caponizing requires specialized tools, including a caponizing set consisting of a probe, shears, and a light source. Other supplies include disinfectants, gloves, and possibly sutures or wound sealants.
The procedure must be performed in a clean, well-lit environment to minimize the risk of infection. The rooster should also be fasted for at least 12 hours before the procedure to empty its digestive tract.
Method 1: Manual Caponizing Technique Using Basic Surgical Tools
Preparation
The first step in caponizing a rooster using the traditional technique is preparation.
This includes fasting the rooster for at least 12 hours before the procedure to ensure its digestive tract is empty, which makes the testes easier to locate and reduces the risk of contamination from feces.
The rooster should be calm and relaxed before the procedure begins.
Sterilization
Before beginning the procedure, it’s crucial to sterilize all the tools you’ll be using including the scalpel, probe, and shears.
You can do this by boiling your tools or soaking them in a disinfectant solution. Additionally, the area on the rooster where the incision will be made should also be cleaned and disinfected.
Making the Incision
Once the rooster is prepared and the tools are sterilized, the next step is to make the incision. This should be done on the rooster’s left side, just below the last rib.
The incision should be small, about an inch long, and deep enough to access the abdominal cavity without cutting into any internal organs.
Locating the Testes
After making the incision, use the probe to gently move aside the intestines and locate the testes. They are typically small, oval-shaped, and pale in color.
They may be somewhat difficult to find, particularly in young roosters.
Removing the Testes
Once the testes have been located, carefully insert the shears into the incision and cut the tissue around each testis to free it from the surrounding structures.
Be sure to cut carefully to avoid damaging other organs. Once freed, each testis can be gently pulled out through the incision.
Closing the Incision
After both testes have been removed, the incision needs to be closed. Depending on the size of the incision, this may be done using sutures or a wound sealant.
After closing the wound, apply a topical antibiotic to prevent infection.
Tips and Precautions
Patience and precision are key in this procedure. It’s essential to work slowly and carefully to minimize the risk of injury to the rooster.
Ensure that both testes are completely removed, as leaving any part behind can result in the rooster retaining its male characteristics.
Lastly, it’s important to remember that caponizing is a surgical procedure and carries risks, including the potential for infection or death of the bird.
Always consider whether these risks are acceptable before deciding to caponize a rooster.
Method 2: Using a Caponizing Kit
Step-by-Step Procedure
Preparation
Just like the traditional method, preparation is key. Ensure the rooster has been fasted for at least 12 hours to clear the digestive tract.
The bird should be kept calm and in a controlled environment before the procedure.
Sterilization
Sterilize all the tools included in the caponizing kit following the manufacturer’s instructions. This usually involves boiling the instruments or soaking them in a disinfectant.
Also, clean and disinfect the area on the rooster where the incision will be made.
Making the Incision
With the rooster prepared and the tools sterilized, it’s time to make the incision. The caponizing kit usually comes with a scalpel designed for this purpose.
You’ll want to make the cut on the rooster’s left side, just below the last rib. The incision should be about an inch long and deep enough to access the abdominal cavity.
Locating the Testes
Use the light source included in the kit to help visualize the testes through the rooster’s thin abdominal wall.
Once you’ve identified the testes, use the probe from your kit to gently move aside the intestines and get a clear view of each testis.
Removing the Testes
The caponizing kit typically includes a specialized tool for cutting and removing the testes. Carefully insert this tool into the incision and use it to cut the tissue around each testis.
Once freed, each testis can be gently extracted through the incision.
Closing the Incision
After both testes have been removed, it’s time to close the incision. Use the sutures or wound sealant included in your caponizing kit to do this.
After closing the wound, apply a topical antibiotic to prevent infection.
Advantages and Disadvantages of Kits
Caponizing kits can make the process more accessible for beginners, as they come with all the necessary tools and detailed instructions.
However, they don’t eliminate the need for skill and precision. Even with a kit, there’s still a risk of injury to the rooster if the procedure isn’t performed correctly.
Therefore, this method should only be attempted if you’re confident in your abilities and have a good understanding of the rooster’s anatomy.
Method 3: Hiring a Professional
If you’re not comfortable performing the procedure yourself, hiring a professional is the best option. Some veterinarians or poultry experts offer this service.
A professional will have the skills and experience to perform the procedure quickly and with minimal risk. They’ll also be able to provide post-operative care instructions and support.
Post-Caponizing Care
After the procedure, the rooster will need a quiet, clean place to recover. It’s essential to monitor the incision site for signs of infection and to ensure the rooster is eating and drinking normally.
Caponizing can lead to significant changes in a rooster’s growth and behavior. Capons typically grow larger and are more docile than intact roosters.
They’ll require a balanced diet to support their increased size and may need additional care to prevent health issues related to their altered physiology.
The Impact of Caponizing on Rooster Behavior
Capons tend to be larger and have more body fat than intact roosters. Their feathers also often become finer and softer, and they may crow less frequently or stop crowing altogether.
Caponizing can significantly alter a rooster’s behavior. Capons are generally more docile, less aggressive, and less likely to engage in mating behaviors than intact roosters.