The art of tanning hides is an ancient practice that transforms animal skins into soft, durable materials.
Mastering this craft allows you to create beautiful, functional pieces that celebrate the beauty of nature while respecting the circle of life.
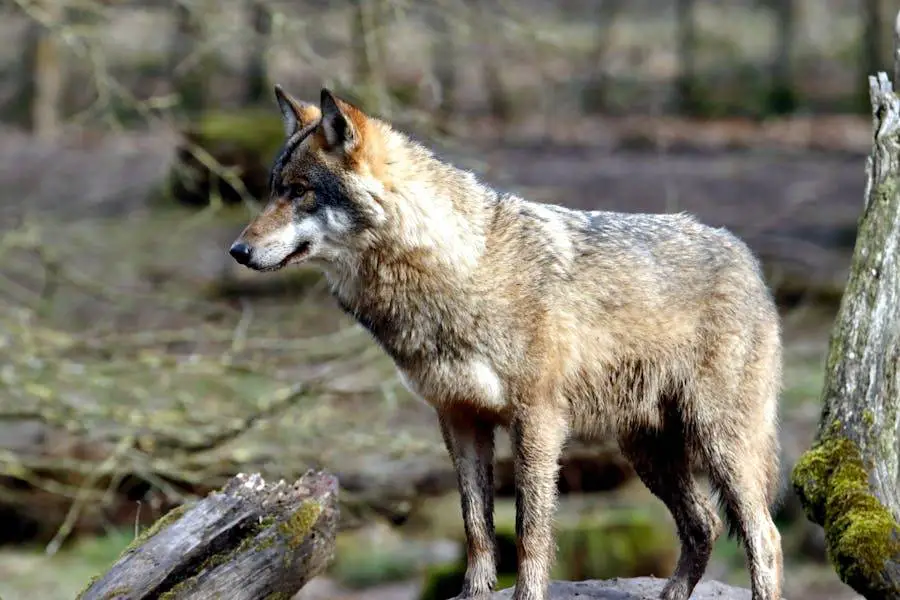
Tanning a coyote pelt requires precision, patience, and knowledge to ensure the final product is not only visually appealing but also durable and versatile.
This guide meticulously walks you through each step of the tanning process, from initial preparation to the finishing touches, ensuring you achieve a high-quality result.
Preparing the Hide
The preparation stage is critical in the tanning process. It involves skinning, cleaning, and fleshing the hide to prepare it for tanning.
Skinning and Cleaning
Skinning must be done with care to avoid cutting into the hide. Begin by making a cut from the underside of the tail, moving towards the head, and carefully separating the skin from the body.
Once skinned, thoroughly wash the hide with a solution of mild detergent and water to remove blood, dirt, and fats. This step is crucial for preventing any rot during the tanning process.
Fleshing
Fleshing involves scraping off any leftover flesh, fat, or muscle tissue from the hide. Using a fleshing tool or knife, carefully work the inside of the hide to remove these remnants.
A clean and well-fleshed hide is essential for an even and effective tanning process.
Salting
Salting the hide is a preservation step that prepares it for tanning by drawing out moisture and setting the hair in place.
Liberally spread non-iodized salt on the flesh side of the hide, ensuring every part is covered. The salt acts as a desiccant, pulling moisture from the hide and creating an environment hostile to bacteria.
The hide should be left to salt for 24-48 hours. During this time, it should be stored in a cool, dry place away from direct sunlight. After salting, shake off the excess salt, and your hide is ready for the next phase.
Pickling
Pickling conditions the hide, making it more receptive to the tanning chemicals.
Mix water, salt, and a form of acid (such as citric or formic acid) to create your pickling solution. The purpose of this bath is to further preserve the hide and lower its pH, making it ready for tanning.
Place the hide in the pickling solution, ensuring it’s fully submerged. Agitate daily to promote an even pickling process. The hide typically needs to remain in this solution for 3-5 days.
Tanning
Tanning is the core of the process, turning the prepared hide into leather by stabilizing the proteins.
Applying the Tanning Solution
After rinsing the pickled hide in fresh water, apply your chosen tanning solution.
There are several types of tanning solutions available, ranging from natural tannins to synthetic options like alum or chrome tanning solutions.
Ensure the hide is thoroughly coated and allow it to absorb the solution according to the product’s instructions.
Neutralizing
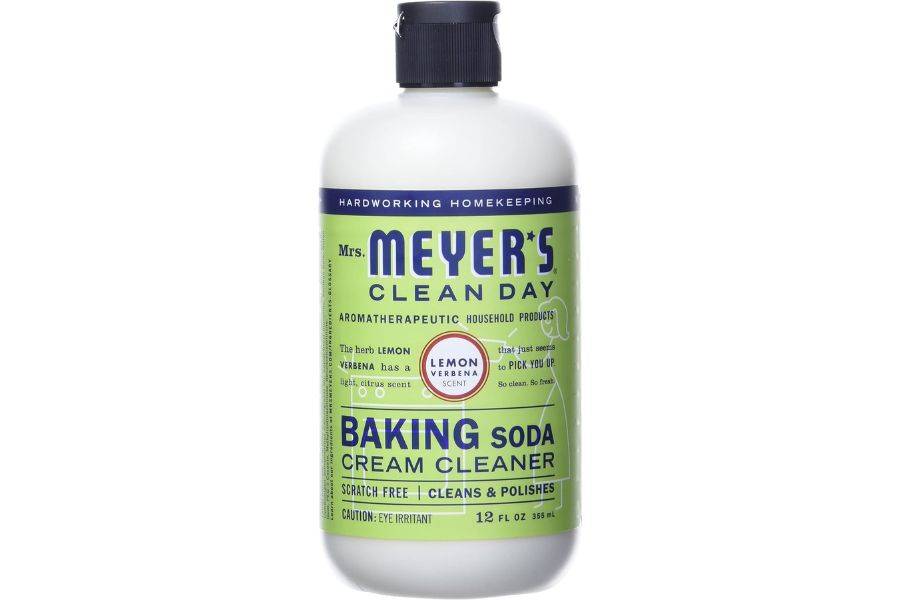
Post-tanning, the hide’s pH needs to be neutralized. A simple solution of water and baking soda can effectively neutralize the acid, stopping the tanning action and preparing the hide for softening.
Softening the Hide
A soft and pliable hide is desirable for most uses, from clothing to decorative items.
This manual process involves stretching, pulling, and working the hide to break down any stiffness.
Tools like a hide softener or even a rounded edge of a table can help in this labor-intensive step.
Applying a light coat of oil, such as neatsfoot oil, helps to condition the hide, restoring some of the natural oils lost during tanning. This step adds to the suppleness and durability of the final product.
Drying and Stretching
Proper drying and stretching are crucial for achieving the desired finish and size.
Hang the hide in a well-ventilated area out of direct sunlight to dry. This slow drying ensures the hide dries evenly without becoming too stiff.
While the hide is still slightly damp, stretch it manually to its desired shape. Use clamps or weights to hold the edges if necessary, ensuring the hide dries uniformly.
Finishing Touches on Tanning a Coyote Pelt
After drying and stretching, the coyote pelt is nearly complete, but the finishing touches are what transform it from a simple tanned hide to a work of art, suitable for a variety of crafts, garments, or decorative purposes.
This final stage is about meticulous care and attention to detail that enhances the tactile and visual qualities of your coyote pelt.
Grooming the Fur
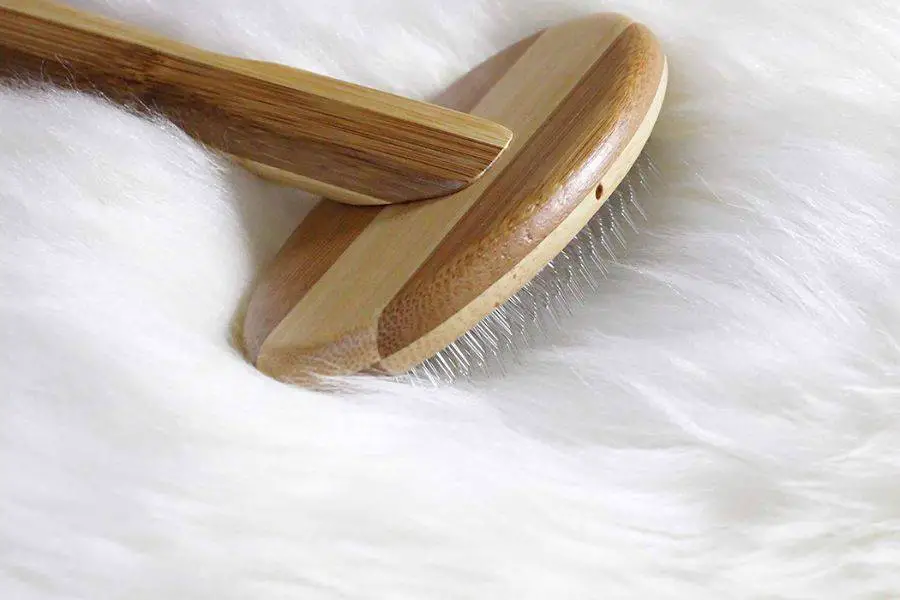
Start by thoroughly combing the fur. Use a wide-toothed comb to gently detangle any knots, working slowly to avoid pulling out the hairs.
After detangling, switch to a finer brush, like a slicker brush commonly used for pet grooming, to smooth out the fur and remove any remaining small knots.
This process not only beautifies the pelt but also stimulates the fur’s natural oils, giving it a healthy sheen.
Be mindful of the direction in which you brush; always go with the grain of the fur, never against it, to maintain its natural lay and integrity.
Trimming and Shaping
Examine the edges of your pelt and the fur’s overall length. If there are any uneven areas or excessively long patches of fur, carefully trim these using sharp scissors.
The goal is to achieve a uniform appearance that accentuates the coyote’s natural shape and beauty. Make any cuts small and incremental to avoid accidentally removing too much fur.
When trimming near the edges, aim to create a smooth, rounded contour that enhances the pelt’s aesthetic appeal.
Conditioning the Hide
The leather side of the pelt can benefit from a light conditioning treatment.
A natural leather conditioner applied sparingly, can help maintain the hide’s flexibility and prevent it from becoming brittle over time.
Ensure the product you use is compatible with fur-on hides and test it on a small, inconspicuous area first.
Apply it evenly according to the product’s instructions, taking care not to get any conditioner on the fur side.
Final Inspection
Perform a final inspection of the pelt under good lighting. Look for any missed spots that may need additional grooming, trimming, or cleaning.
This is also the time to address any small blemishes or imperfections that can be corrected without compromising the pelt’s quality.
The final inspection ensures that your tanned coyote pelt is of the highest caliber, ready for display or to be crafted into something new.
Proper Storage
To preserve the condition of your coyote pelt, store it properly when not in use. Hang the pelt in a cool, dry place away from direct sunlight, which can fade the fur and degrade the hide.
Avoid storing the pelt in plastic bags or containers, as this can trap moisture, leading to mold or mildew.
Instead, opt for a breathable fabric bag or simply hang the pelt in an area with good air circulation.
Conclusion
Tanning a coyote hide is a rewarding endeavor that connects us to ancient traditions of craftsmanship and respect for nature.
By following this guide, you can transform a raw coyote pelt into a beautifully tanned hide ready for a multitude of uses.
The process demands patience and attention to detail but yields a product of quality and beauty, suitable for clothing, decoration, or craftwork.
A well-tanned coyote hide is not only a testament to your skill but also an homage to the timeless art of hide tanning.