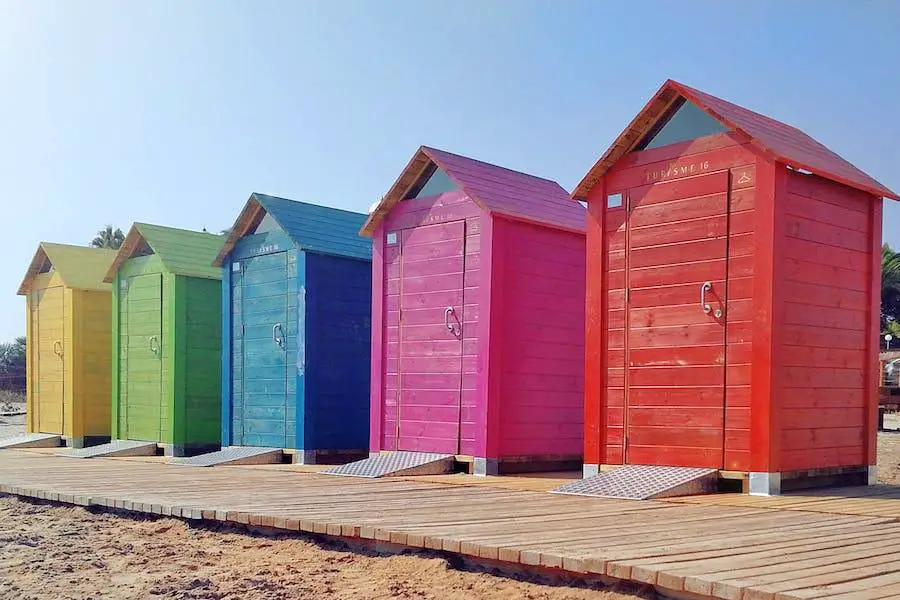
A shed ramp is an essential element for any outdoor shed. It provides easy access, particularly when moving heavy tools or machinery in and out of the shed.
Moreover, it can prevent potential accidents caused by tripping over the door’s threshold.
Building a shed ramp on uneven ground presents unique challenges. It requires careful planning and execution to ensure the ramp is level, sturdy, and safe to use.
However, with the right tools and approach, it can be achieved successfully.
The Planning Stage
Evaluating the Ground Conditions
Start by assessing the ground where you plan to build the ramp. Identify how uneven the ground is and consider if additional work like grading or excavating is necessary.
Use a level tool to check the slope and determine the height difference.
Designing the Ramp
Design your ramp considering factors such as slope, width, and length.
The slope should be gentle enough for easy access, but steep enough to avoid a long protruding ramp. Standards suggest a slope ratio of 1:12 for ease of use.
Gathering the Necessary Tools and Materials
Essential Tools for the Project
Essential tools you’ll need for the project:
Tape measure
Saw
Drill
Level
Square
Shovel
Carpenter’s pencil
Safety gloves
Safety glasses
Ear protection
Choosing the Right Materials
Pressure-treated lumber is a common choice for ramps due to its durability and resistance to rot.
You’ll need beams for the frame, boards for the surface, and concrete or gravel for the foundation. Don’t forget screws and nails for assembling.
Preparing the Ground
Leveling Techniques for Uneven Ground
First, clear the area of any debris or loose soil. If the ground is slightly uneven, you can level it by adding or removing soil.
For more significant unevenness, consider using a concrete foundation to provide a level base.
Laying the Foundation
Lay your foundation according to your chosen material. If using concrete, prepare the mix and pour it into a framed area, then level it using a trowel.
If using gravel, spread it evenly and compress it until it’s firm.
Constructing the Frame
Constructing the frame is a crucial part of building your shed ramp. Here’s a more detailed guide on how to do it:
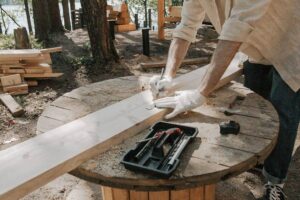
Cutting the Wood to Size
Measurement: Start by measuring the beams according to the dimensions of your ramp design. You need to measure the length, width, and height accurately. The length of the beams should be equal to the length of your ramp.
Accounting for the Slope: When cutting your beams, remember to account for the slope of the ramp. This means the beam’s length at the higher end (attached to the shed) will be longer than at the lower end.
Cutting: Use a saw to cut your beams and boards. Make sure each cut is straight and clean to ensure a snug fit when assembling.
Assembling the Frame
Laying Out the Frame: Lay out your beams on a flat surface according to your ramp design. The two longer beams should form the sides, and the shorter beams should form the top and bottom of the frame.
Checking Angles: Use a square tool to ensure that all corners form right angles. This check is important because any deviation from the right angle can affect the stability and fit of the ramp.
Securing the Frame: Once you’ve confirmed the angles, secure each joint of the frame using heavy-duty screws or nails. It’s advisable to drill pilot holes first to prevent the wood from splitting.
Attaching the Boards: After the frame is secure, begin attaching the boards that will form the surface of the ramp. Start from one end and work your way to the other, ensuring each board fits snugly against the next. Secure each board with screws or nails.
Remember, precision in both cutting and assembling the frame is key to a sturdy and safe shed ramp.
Installing the Ramp
After constructing the frame, the next step is to install the ramp. Here’s a more detailed guide:
Preparing the Installation Site
Clear the Area: Start by clearing the area where you’ll install the ramp. Remove any debris, rocks, or other obstacles that could interfere with the installation.
Level the Ground: Use a shovel to level the ground as much as possible. This step is crucial for the stability of your ramp.
Create a Foundation: Depending on your design, you might need to create a foundation for your ramp. This could be a simple layer of gravel or a more complex concrete foundation.
Installing the Frame
Position the Frame: Carry the frame to the installation site and position it according to your design. The higher end should be against the shed door, while the lower end should rest on the ground or foundation.
Check the Slope: Use a level to check the slope of the ramp. It should be gradual enough for easy access but steep enough to prevent water accumulation.
Secure the Frame: Once you’re satisfied with the positioning, secure the frame to the shed and the ground or foundation. You can do this using brackets, screws, or concrete depending on your design.
Finishing Touches
Apply a Protective Coating: To protect your ramp from weather damage, consider applying a protective coating. This could be paint, varnish, or a specialized wood sealer.
Add Safety Features: Depending on how you plan to use the ramp, you might want to add safety features. These could include handrails, non-slip surfaces, or safety barriers.
Installing a ramp requires careful planning and execution. Make sure to double-check all measurements and alignments during the installation process.
Maintenance and Safety Considerations
Regular Maintenance Checks
Regular maintenance checks for your shed ramp should include monthly inspections for loose screws and signs of wood damage, quarterly examinations of the foundation and frame, and annual reapplication of protective coating.
Always ensure the ramp is level and the surface is clean and non-slippery. Address any issues promptly to ensure safety and durability.
Ensuring Safety When Using the Ramp
Always use caution when using your ramp, particularly in wet weather or when moving heavy items. Ensure the ramp is kept clear of any obstacles that could cause trips or falls.
Conclusion
Building a shed ramp on uneven ground is a challenging yet achievable project. With careful planning, the right tools, and diligent execution, you can create a functional and safe ramp for your shed.
A well-built shed ramp not only enhances accessibility but also adds to the overall functionality of your outdoor shed.
It simplifies the movement of heavy items and reduces the risk of accidents, making it a worthwhile addition to your shed.


![How To Build A Four-Season Room On A Deck [Guide]](https://homesteadandprepper.com/wp-content/uploads/2021/04/How-to-build-a-four-season-room-on-a-deck-150x150.jpg "How To Build A Four-Season Room On A Deck [Guide]")


