Table of Contents
The process of raising poultry at home culminates in a task that many find challenging processing. The Hopper Popper offers a humane, efficient solution to this necessary part of homesteading.
This guide delves into creating your own DIY Hopper Popper, providing a step-by-step approach to design, assembly, and usage, ensuring you have all the information needed to make this invaluable tool a part of your poultry processing routine.
Understanding the Hopper Popper
Origins and Uses
The Hopper Popper is a device designed for the humane dispatching of poultry.
Originally developed to offer small-scale farmers and homesteaders a more efficient way to process chickens, ducks, and other small birds, its design ensures a quick and humane end for the bird, minimizing stress for both the animal and the processor.
Benefits for Homestead Poultry Processing
Using a Hopper Popper has numerous benefits. It not only ensures a humane dispatch but also streamlines the process, making it cleaner and more efficient.
This tool reduces the physical strain on the processor, making the task less daunting and more manageable.
Essential Materials and Tools
Materials Checklist
For constructing a DIY Hopper Popper, you will need:
- Stainless Steel Sheets – Used for the cone and base, stainless steel is preferred for its durability and ease of cleaning.
- Metal Rods – Serve as the frame’s support structure, providing stability to the entire unit.
- Screws and Bolts – Necessary for assembling parts together securely. Opt for stainless steel options to match the durability of the frame and cone.
- Rubber Grommets – These help protect the edges of the cone, ensuring safety during operation.
- Collection Bin – A container or bin to place underneath the cone to collect feathers, blood, and other residues.
Tools Required for Assembly
The assembly process requires a set of basic tools, including:
- Drill – For creating holes in the metal sheets and rods, allowing for screws and bolts to secure the parts.
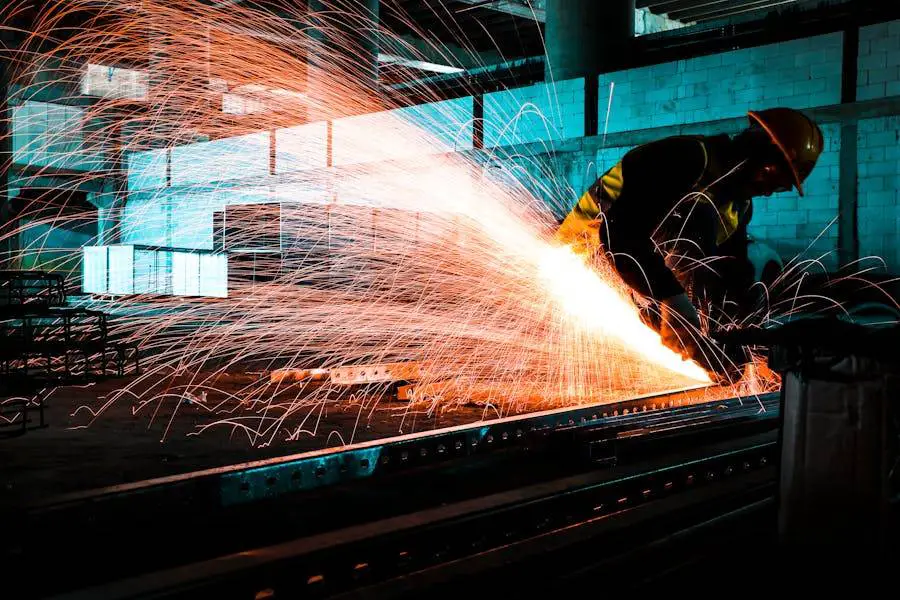
- Saw – A metal saw is necessary for cutting the stainless steel sheets and rods to the desired sizes.
- Welder (optional) – If opting for a more permanent assembly, a welder can be used to fuse metal parts together.
- Screwdriver – Needed for tightening screws and bolts during the assembly process.
- Measuring Tape – Essential for accurate measurement of materials before cutting, ensuring all parts fit together correctly.
- Safety Gear – Includes gloves, goggles, and protective clothing to ensure safety during the cutting, drilling, and assembly processes.
Designing Your Hopper Popper
Basic Design Principles
The design of a Hopper Popper focuses on simplicity and efficiency. The device should be tall enough to accommodate the bird size but compact enough for easy storage.
The angle of the cone and the size of the opening are critical for ensuring the bird is securely held without undue stress.
Adjustments for Different Poultry Sizes
Adjustability is key when designing a Hopper Popper to be used with different sizes of poultry.
This can be achieved through interchangeable cones or adjustable openings, allowing for a single device to process various types of birds efficiently.
Step-by-Step Construction Process
Planning and Design
Before diving into the construction, spend time planning your Hopper Popper. Consider the size of the poultry you intend to process to determine the dimensions of your device.
A well-thought-out design ensures that the Hopper Popper meets your specific needs.
- Sketch the Design: Draw a detailed diagram of your Hopper Popper, including dimensions for each part. This visual guide serves as your blueprint throughout the building process.
- Calculate Materials Needed: Based on your design, list the quantities of each material required. Include a little extra to account for any mistakes or adjustments needed during construction.
Preparing the Materials
With your design and materials list ready, it’s time to prepare the components that will make up your Hopper Popper.
- Cutting Stainless Steel Sheets: Measure and mark the stainless steel sheets according to the dimensions of your cone and base. Use a metal saw to cut the sheets, and file down any sharp edges for safety.
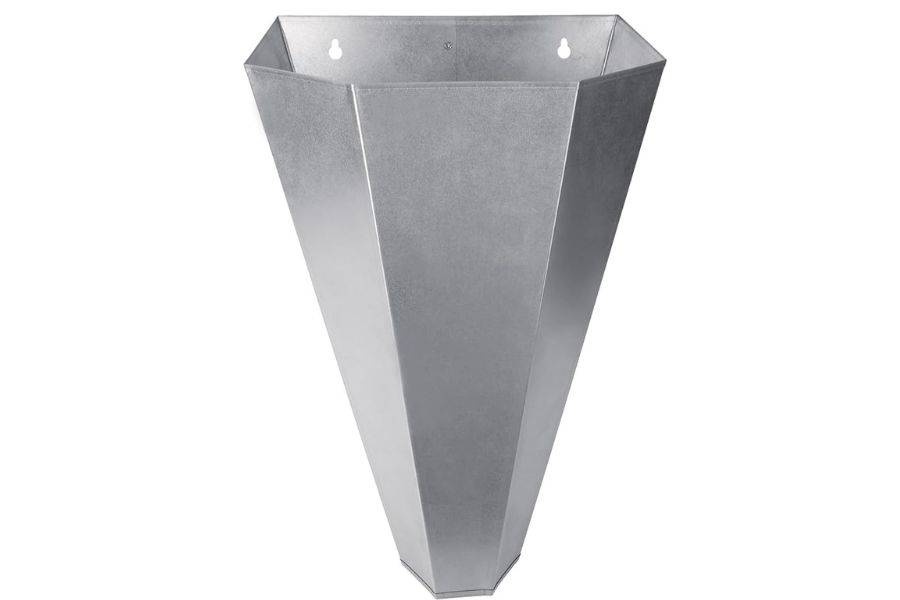
- Shaping the Cone: Carefully bend the cut sheet into a cone shape. The diameter should gradually decrease towards one end, forming a narrow opening suitable for the size of poultry being processed.
- Cutting and Preparing Metal Rods: Measure and cut the metal rods that will serve as the frame’s support structure. Ensure they are of equal length for stability.
Assembling the Frame
The frame provides the foundation for your Hopper Popper. It needs to be strong and stable.
- Constructing the Base: Arrange the metal rods in a circular or square pattern to form the base, depending on your design preference. Weld or bolt the rods together at the joints to secure them.
- Attaching Vertical Supports: Weld or bolt vertical rods to the base at equal intervals. These will support the cone and need to be tall enough to allow the cone to hang at an appropriate height.
- Securing the Top: Connect the tops of the vertical supports with horizontal rods, creating a frame that holds the cone in place.
Creating and Mounting the Cone
The cone is where the poultry will be placed for processing. It needs to be securely attached to the frame.
- Finalizing the Cone Shape: Once the stainless-steel sheet is bent into a cone shape, secure the edge by welding or using bolts. Ensure the inside of the cone is smooth to prevent harm to the poultry.
- Attaching the Cone to the Frame: Position the cone within the frame, ensuring it’s centered and hangs straight. Weld or bolt the cone to the top horizontal supports of the frame.
- Adding Safety Features: Attach rubber grommets along the upper edge of the cone. This not only protects the processor from sharp edges but also provides a more secure grip for the poultry.
Finishing Touches
With the main structure complete, focus on the finishing touches that enhance functionality and safety.
- Installing the Collection Bin: Place a collection bin underneath the cone to catch feathers, blood, and other residues. Ensure it’s easily removable for cleaning.
- Quality Check and Adjustments: Inspect the entire structure for any sharp edges, loose bolts, or unstable parts. Make necessary adjustments to ensure the safety and efficiency of your Hopper Popper.
- Testing: Conduct a test run without poultry to ensure everything is secure and functions as expected. Pay special attention to the stability of the frame and the ease of removing the collection bin.
By following these detailed steps, you can build a durable and efficient Hopper Popper for your homestead poultry processing needs.
Remember, safety is paramount, both during construction and operation, so always take precautions and work carefully.
Safety Measures and Considerations
Personal Protective Equipment
When assembling and using the Hopper Popper, personal protective equipment (PPE) is essential.
Gloves, eye protection, and appropriate clothing protect against potential hazards during the construction and operation phases.
Safety Features in Design
Incorporating safety features into the design of your Hopper Popper, such as a secure base to prevent tipping and smooth edges to avoid cuts, is crucial.
These features ensure the processor’s safety and the humane treatment of the poultry.
Conclusion
Creating a DIY Hopper Popper is a rewarding project that enhances the poultry processing experience by ensuring efficiency and humane treatment.
By understanding the design principles, following the construction steps carefully, and adhering to safety and maintenance guidelines, you can build a reliable tool that will serve your homestead for years to come.
This guide provides a comprehensive overview to assist you in this process, ensuring your DIY Hopper Popper meets all your poultry processing needs.


![DIY Snow Shovel [Step-By-Step Guide]](https://homesteadandprepper.com/wp-content/uploads/2022/07/Making-homemade-snow-shovel-150x150.jpg "DIY Snow Shovel [Step-By-Step Guide]")

