Table of Contents
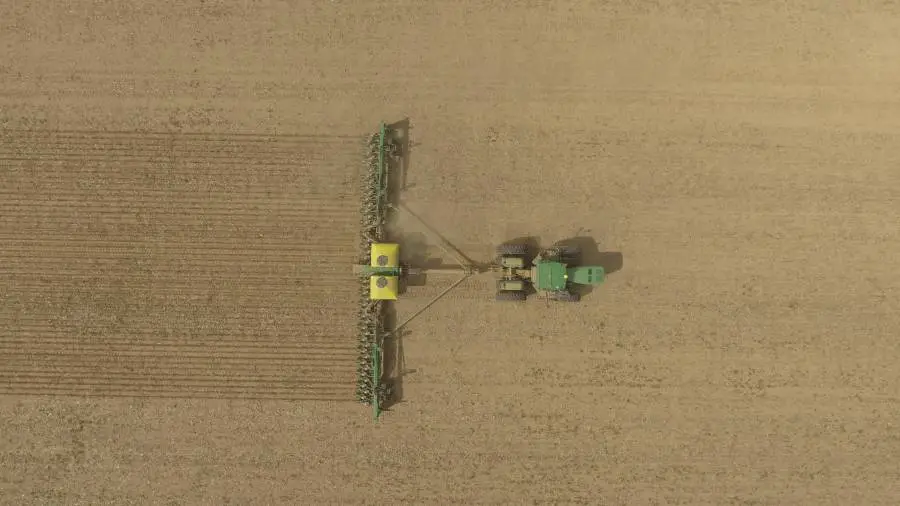
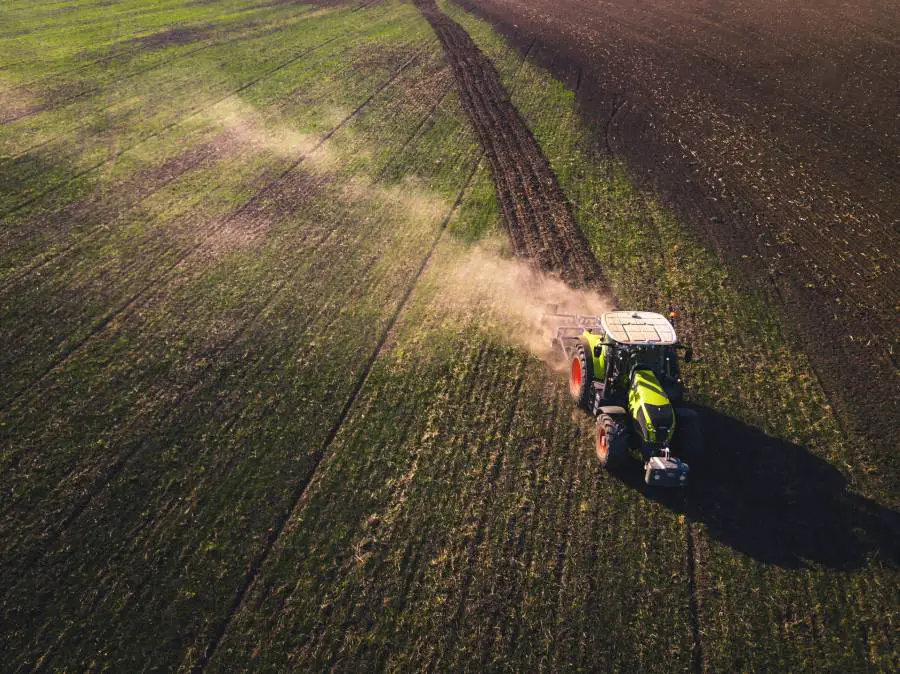
A cultipacker is a piece of agricultural equipment used to remove air pockets from the soil, crush lumps of dirt, and press down small stones to form a smooth seedbed.
They are essential to the process of preparing the soil for cultivation.
The thing is, industrial cultipackers are always costly. However, you can build a Cultipacker at a lesser cost with the right know-how and materials.
For this reason, many people resort to building their Cultipacker rather than buying one. If you are one such person who intends to do this same, this article is for you.
Now, let’s dive in!
Tools Needed To Build A DIY Cultipacker
To build a cultipacker, you do not need a lot of tools. You only need a saw to do some cutting, a drill to make holes, and a screwdriver.
Here is a list of the materials and the purposes they will serve:
- Corrugated Plastic culvert or Galvanized steel culvert: This will serve as the rolling cylinder, holding the concrete’s weight. It is patterned rather than a smooth exterior will also help with turning the soil.
- Cement and Sand/Gravel: These are what you’ll use to make the concrete that will serve as the main weight of the Cultipacker.
- Pillow Block Bearings: To make the cylinder roll seamlessly, you need a pair for both ends of your Cultipacker.
- Hitch: A strong metal that will join the cultipacker to the vehicle. You can buy this readymade or get one fabricated at the welders.
- Hitch ball: This is the device you will use to attach the hitch to the back of your vehicle.
- Plywood: You need a small piece of plywood that can be cut into two discs that will fit at the end of the cylinder.
- Screws: You need just a couple of screws to keep the plywood discs fitted to the end of your culvert.
- Cultipacker Wheels: Rather than building one from scratch with a culvert and concrete, you can get Cultipacker Wheels and continue the process.
Step-By-Step Guide To Assembling a DIY Cultipacker
When you have all the tools and materials you need ready, it is time to start building.
Below is a detailed description of how to go about this.
Step One: Do Your Calculations
Before getting your materials, the first thing to do is sit down and calculate everything you need.
It is where you determine the amount of concrete needed, the size of the culvert, and the feasibility of getting the materials.
If the seedbed has worked in the past and needs some loosening, you should consider building a lighter cultipacker.
Most factories made cultipackers using 9½ wheels weighing between 75 to 100 pounds per foot, totaling 700 and 950 pounds as final weight.
After knowing the weight you want for your Cultipacker, put down the details of the amount of cement and Sand that will be required to get close to that weight.
Alternatively, you could buy Cultipacker Wheels, but where is the challenge?
Step Two: Prepare Your Materials
After calculating and knowing the exact quantity of materials you need for your project, the next step is to get the materials ready.
You can buy the cement and culvert at any building materials store.
Step Three: Make Your Concrete Block
The concrete block will give the weight needed to the roller. Mix the cement, water, and sand/gravel to get your concrete.
You should mix it in a large container if you can get one. It is so that you don’t lose any, as that might affect the final weight.
Step Four: Put Together The Cultipacker Wheel
Now that you have your wet concrete mix, the next thing is to pour it into the culvert and put your rod that will act as an axle.
Cut your plywood into two plastic discs that would fit snugly at the end of the culvert. In the center of each disc, drill a hole for the steel rod that will serve as the axle.
Cover one end of the culvert with a disc and pour the concrete into it. It is advisable to tie the culvert to something that can take its weight to prevent falling over.
After the culvert is filled, insert the steel rod to protrude out a few inches. Wait for some days for the mixture to solidify and remove the discs.
With this, you have the Cultipacker Wheel.
Step Five: Attach Bearings And Hitch
After the concrete has been set, attach the pillow block bearings to the ends of the axle.
To do this, loosen the screws that tighten the bearings and then slide them on the rod. Tighten the screw afterward and test if the wheel rolls.
If not, unscrew and try again. You can then attach your hitch to the bearings when you are good to go.
Step Six: Attach Cultipacker To Vehicle And Test Run
Wait. You are not good to go yet.
You have to test your work, don’t you? Attach your hitch ball to the vehicle, and attach to the hitch.
Run the vehicle around and look at the results. If you follow all the procedures correctly, you should be good!
Things To Consider When Building A DIY Cultipacker
When building a DIY cultipacker, some factors should be considered, as they affect the materials used, texture, and size of the Cultipacker.
They are: the vehicle intended to drive the Cultipacker, the type of soil the Cultipacker is for, and the crops to be planted.
Vehicle
It is crucial to consider the capacity of the vehicle you intend to connect the Cultipacker to.
You wouldn’t want to build a Cultipacker that will be too heavy for your vehicle to drag along.
Soil Type
How hard is the soil? How big are the stones in it?
What is the moisture content? These questions are crucial to the type and size of the cultipacker that will work best in your field.
For example, a hard soil bed with medium-sized stones will require a heavier cultipacker than a soil bed with small stones.
Crops
Some crops need a turned and fine soil to thrive. On the other hand, some yield better in a packed soil bed.
It means that the weight of your cultipacker and the spokes needed on it will also depend on the crops you intend to grow.
Conclusion
With the right materials and knowledge of how to go about it, you can build your Cultipacker.
What you need is a culvert that can either be corrugated plastic or galvanized steel, a hitch and hitch ball to attach the final Cultipacker to your vehicle, a steel rod to use as the axle, pillow Block bearings to aid rolling, and cement and sand or gravel to make concrete.
The final product will be the culvert filled with concrete to make it heavy with bearings attached to both ends of the rod protruding from inside the casted concrete.
These bearings make Cultipacker roll while dragging it.
Find it interesting? You should try building one for your yard!