Table of Contents
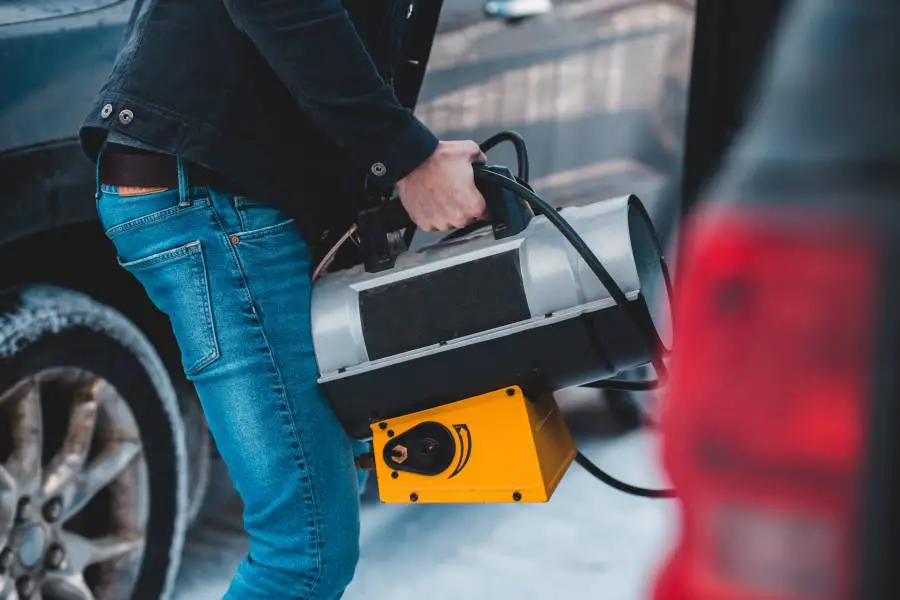
A propane heater is a worthwhile option to get a space hot swiftly. Compact propane heaters are a tremendous luxury.
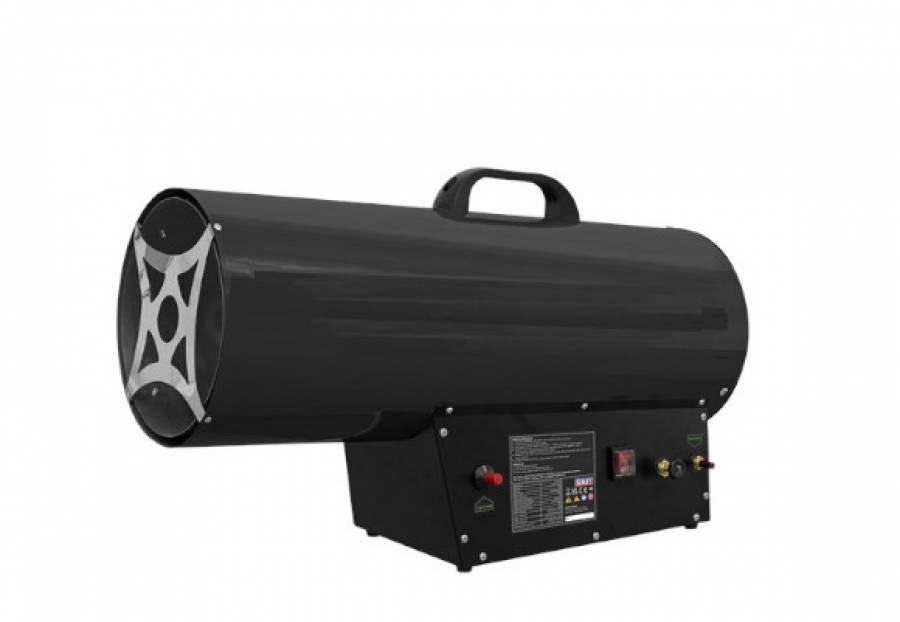
They’ve been there for a while and are likely to stay for another handful of years. You can use conventional or gas patio heaters outdoors to stay warm.
Propane heaters can be lifesavers, but like any other household device, they need constant inspections and repairs.
You must invest some time in repairs and upkeep at least once a year to keep it operating. The more control you exert over it, the less likely it will fail you at a vital moment.
Steps In Creating DIY Propane Heater
Slash The Propane Tank
Remove the labels from two propane gas cylinders and give them a good scrub. Verifying that all gas has been drained from the cylinders and that the valves have been opened.
Using a saw, sever the two cylinders in half, reserving the tops of both (There is normally a joint line in the middle of the cylinder, so use this as your guideline).
Using a hacksaw, split the cylinders halfway, saving the tops for later. Then, get rid of the grips on both of them.
Make sure there is zero percent chance of gas being present. Wait two days while it stands on its end with the valve removed.
Then, fill it up with water and leave it overnight. That guarantees it won’t hurt to open it up.
It would be best to let the cylinders air dry for at least two days.
Taking Off The Paint
Start a fire with the wooden sticks and scorch the paintwork of the cylinders.
If the paint on the cylinders is too stubborn to scrape with a grinder and flap disc, try burning it off with a small fire.
Please give them a cursory cleaning with a scrubbing brush after completely cooling from the fire.
To get rid of the old paint, you can either use fire or find someone who does walnut kernel blasting. You can have that like-new appearance at a price that won’t break the bank.
It would be a great help in getting the task done.
Join The Cylinders By Welding
Join the two upper halves (containing the valves) with each other on a tabletop.
After tack soldering the tops of both cylinders, turn them on their sides to complete the soldering around the perimeter.
At this point, I had already indicated where the door would be slashed. I used my grinder to make a hole (just barely narrower than the chimney pipe) for the flue.
Mark the hinge location and drill the openings before you start cutting out the door. In this modern era, the process has become considerably less complicated.
Build The Entranceway Now
Make a cutout for the door on the top cylinder by making a mark there. Drill a few pilot openings on the left side for the hinges before you cut that one out.
Cut a hole on the other end for the door handle.
Install The Chimney
Solder the chimney into place after first tacking it in position. Create a slot for the metal spike on the apex of the first cylinder.
The rod can be used as a flue. Weld the rod completely around the tank after inserting it.
Anchor The Door
Put the door in place with the help of the hinge and the nuts and bolts. The components should all fit snugly together.
The door can be stopped by a piece of metal mounted inside. Use vice grips to keep it in place before you begin attaching it.
Install The Knob
Put in the door knob by drilling a hole and screwing it in (You should take it down again before you paint.)
Create Air Holes For Ventilation
Drill several air inlet apertures around the bottom of the upper tank after you’ve attached the hinge and knob. It will ensure plenty of air for the fire when it’s time to light it.
Having a secondary air outlet and inlet at the bottom and the top of the burner is a good idea, and I recommend going with a double-skinned design up.
Combustion emission of carbon monoxide (fumes) will occur at the small exits if the air inside the thick skin can grow hot enough. You might use less wood to achieve the same temperature.
These days, secondary combustion is used in nearly all wood fires. It’s better for the planet and your firewood pile.
Tidy Up
Use a flap disc to polish everything (except stainless steel) to a mirror finish and remove any remaining debris.
Paint
The final step is to paint the entire structure black. It is because black is better at retaining heat.
Use a paintbrush and some black high-temperature paint (It fully cures when the fire is lit). A door must be opened, wooden blocks must be placed inside, and a fire must be lit.
Now we’re done! Get out there and start using that do-it-yourself propane heater!
Factors To Consider
Air
If air isn’t moving through it or if it’s not very cold outside, the copper tubes and box will heat up.
Regulator
Always check the heater’s operating and instruction manual to determine the correct size and type of regulator.
Fuel Line
Having the right lines running from your fuel supply to your heater is essential to its functioning. Flared copper fittings are the industry standard.
Leaks
After hooking everything up, open the valves on top of your gas tanks to activate the supply. Please don’t rush into opening them; pause to check for leaks.
If you detect a dripping sound, STOP! Gently close the valves to fix the leak.
The gas needs time to enter the lines leading to the appliance, assuming there is no leak at the valves. The gas valve inside, near the appliance, should be closed until further notice.
Use a mixture of washer detergent and water to splatter all the screws and locks. Spread the mixture on each joint with a sponge if you don’t have a spray bottle.
Once bubbles begin to form, DISCONTINUE! That’s the tell-tale sign of a leak.
Wherever you find the bubbles is the source of the leak, so fix it first. The gas must be turned off before any repairs can be made.
Then, with the valve open, repeat the process to activate the gas. To get the jet light functional, vent the channels as specified by the manufacturer.
Tips
The correct-sized propane heater is crucial. When utilizing propane, a combination of carbon monoxide and heat emission increases with heater size.
To determine the proper size of the propane heater, consider the BTU rating displayed on the product’s side. Invest in a gas heater that has many safety safeguards in place.
Propane heaters offer a major threat if not handled correctly. Set up a system for monitoring oxygen depletion.
Heaters with this feature will sound an alarm if the oxygen level in the room drops too low. Utilize a portable outdoor heater.
Propane heaters indoors are extremely dangerous since there isn’t enough oxygen to dilute the deadly carbon monoxide they produce.
The heater shouldn’t be used unless the room is quite spacious and has good ventilation. Gas emission is explosive; never use a gas heater in an enclosed space.
Propane heaters are dangerous to leave active while you are resting. It is a really dangerous thing to do.
Propane heaters release lethal carbon monoxide into the air even as you take in oxygen. If you sleep with the heating on, you could faint.
Conclusion
Propane heaters are one type of tool that makes utilization of compressed gas. It’s used to warm up uncovered spaces like terraces, storage sheds, and garages that lack proper insulation.
Portable propane heaters are convenient for occasional use and independent of natural gas or electricity availability.
Propane heaters are widely favored by the building industry, event planners, and homeowners. Particularly for do-it-yourself purposes, knowing how everything fits together is crucial.


![DIY Candle Heater [How-To]](https://homesteadandprepper.com/wp-content/uploads/2022/10/DIY-Candle-Heater-150x150.jpg "DIY Candle Heater [How-To]")


")
![Replacing Saddle Valve With Sharkbite [Full Guide]](https://homesteadandprepper.com/wp-content/uploads/2021/10/Replacing-Saddle-Valve-With-Sharkbite-150x150.jpg "Replacing Saddle Valve With Sharkbite [Full Guide]")