The transformation of a propane tank into a wood stove is a rewarding project that combines elements of recycling, craftsmanship, and self-sufficiency.
This guide aims to navigate you through the process, ensuring safety and efficiency.
Whether you’re an experienced metalworker or a determined DIY enthusiast, this project can add warmth and character to your space.
Selecting the Right Propane Tank
Safety Considerations
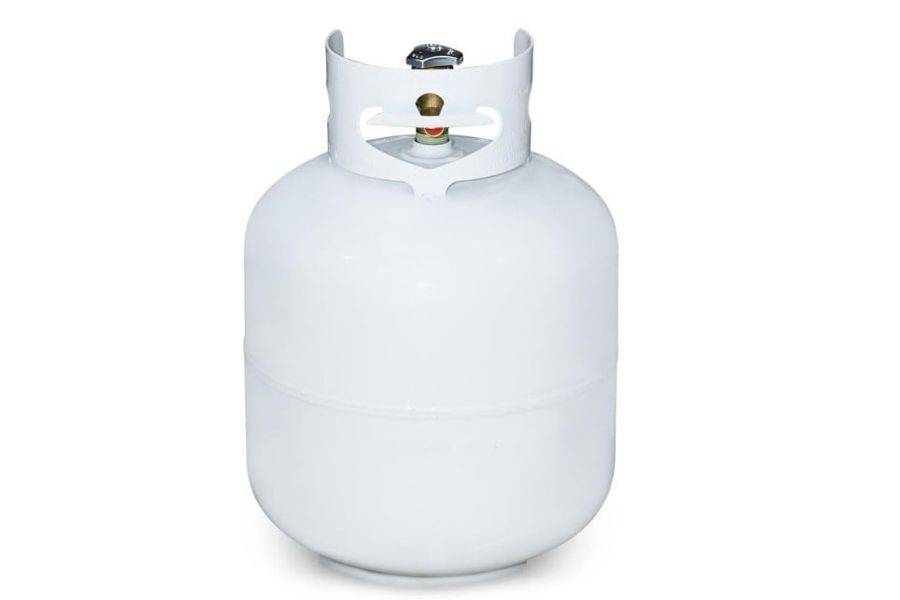
Choosing the correct propane tank is crucial. Not all tanks are suitable for conversion; older or damaged tanks may pose risks. Inspect the tank for rust, dents, or any signs of wear.
It’s essential to prioritize safety over the cost or convenience of obtaining a tank.
Size and Capacity
The size of the propane tank directly influences the size of the wood stove and its heat output.
A standard 20-pound tank is often sufficient for small spaces, while larger tanks can provide more extensive heating capabilities.
Consider the space where the stove will be used when deciding on the tank size.
Tools and Materials Needed
Essential Tools for Cutting and Welding
You’ll need several tools for this project, including a metal cutting saw or angle grinder, a welder, and various welding accessories.
Ensure you have a comprehensive set of tools before starting to avoid any interruptions in the process.
Protective Gear and Safety Equipment
Safety cannot be overstated. Protective gear such as gloves, goggles, a welding helmet, and fire-resistant clothing are indispensable.
Additionally, working in a well-ventilated area is crucial to avoid inhaling harmful fumes.
Constructing the Stove Body
Preparing the Tank
After safely purging the propane tank, your first step involves marking and cutting out the primary openings for the stove door and the chimney or flue pipe. It’s essential to plan these cuts carefully:
Marking the Door: Decide on the size and shape of your stove door. A rectangular door is easier to cut and construct but ensure it’s large enough to add wood comfortably. Mark the outline with a chalk or marker.
Cutting for Chimney: Determine the position of the chimney. It’s typically located at the top or back of the stove. Mark the spot for the chimney opening in accordance with the diameter of your flue pipe.
Cutting and Shaping
Using a metal cutting saw or an angle grinder equipped with a cutting disc, carefully follow your markings to cut out the door and the chimney opening.
These tools allow for precision but require steady hands and safety gear, including gloves and eye protection.
Smooth Edges: After cutting, use a grinding tool to smooth out any sharp edges or irregularities around the cuts. This not only makes the stove safer to handle but also prepares the edges for better welding adhesion.
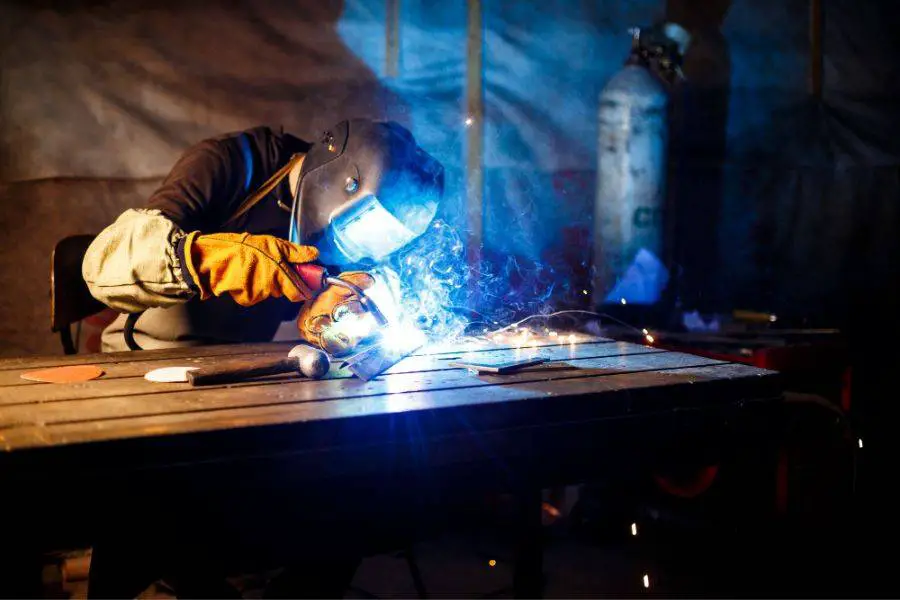
Welding Techniques
Welding is the next critical step. This process involves joining the cut pieces to form the body of the stove and requires a welder that’s appropriate for the thickness of the metal being used.
Tack Welds: Begin by tack welding the door frame and the chimney collar to the tank. Tack welds are small, temporary welds used to hold components in place. They allow you to adjust the positioning as needed before final welding.
Seam Welding: Once you’re satisfied with the positions, complete the seam welding around the door frame and chimney collar. Ensure the welds are even and penetrate well to seal the stove body completely. This prevents smoke leaks and enhances the stove’s durability.
Installing the Door
The door is a functional part of the stove, allowing you to control the fire and clean out ash. Constructing a door involves several steps:
Door Construction: If you’ve cut out a piece of the tank for the door, reinforce its edges with metal strips welded around the perimeter. This adds rigidity and creates a better seal.
Hinges and Latch: Weld hinges to one side of the door and the corresponding side of the door opening. A simple latch can be fabricated from metal scraps to keep the door securely closed during operation.
Air Intake Control
An air intake control is vital for regulating the burn rate of your wood stove. This can be as simple as a sliding metal plate or a rotating damper installed near the base of the stove door or body.
It allows you to adjust the amount of air entering the stove, thus controlling the intensity of the fire.
Final Assembly
With the body constructed, the door installed, and the chimney collar in place, review all welds for any gaps or weaknesses.
Apply additional welds if necessary to ensure a completely sealed stove body.
At this point, your stove body is essentially complete, ready for finishing touches like surface treatment, painting, and installation of legs for stability.
Adding Functional Components
Air Intake Control
Proper air intake is essential for fuel combustion control. Install an adjustable vent to regulate airflow, ensuring efficient burning and heat production.
Exhaust System
A well-designed exhaust system is crucial for removing smoke from the stove.
Install a flue pipe at the top of the stove, ensuring it’s securely welded and has the appropriate clearance from combustible materials.
Heat Distribution Mechanism
Incorporate a baffle system inside the stove to improve heat distribution. This metal plate redirects the path of hot gases, allowing for more efficient heating and better fuel combustion.
Safety Features
Add a spark arrestor to the flue pipe to catch any escaping embers and prevent fires. Ensure an easily accessible ash removal system is in place for safe and straightforward cleaning.
Finishing Touches
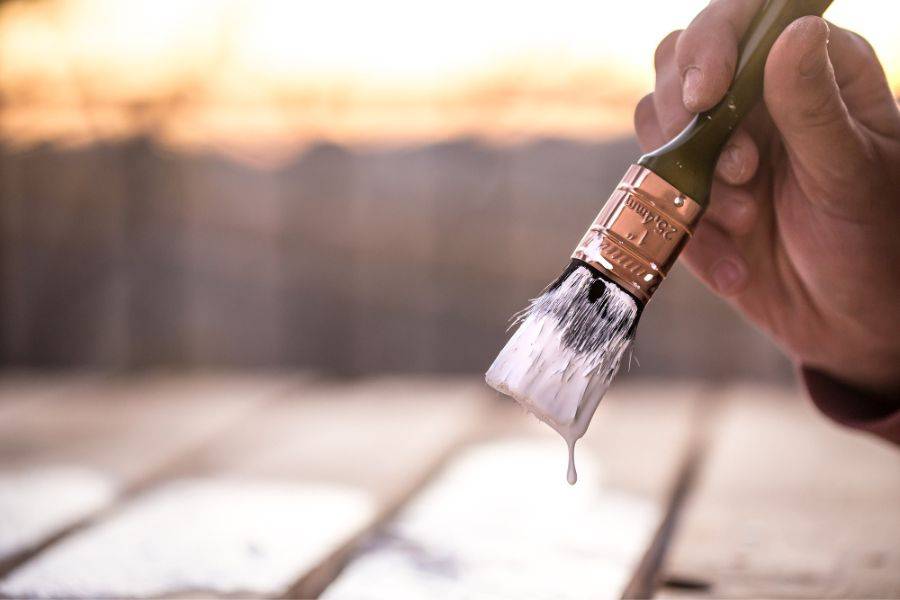
Surface Treatment and Painting
Treating the surface of the stove with high-temperature resistant paint not only enhances its appearance but also provides rust protection.
Ensure the stove is completely clean and dry before applying any coatings.
Stove Legs and Stability Features
Stability is vital for safety. Attach legs to the bottom of the stove, ensuring it stands firmly. Adjustable legs can compensate for uneven surfaces.
Installation and Safety Checks
Positioning Your Wood Stove
Position the stove in a safe location, adhering to local regulations regarding clearances from walls and ceilings. Use a fire-resistant base to protect the floor.
Final Safety Inspection
Before lighting the stove for the first time, conduct a thorough safety check. Ensure all components are securely attached, and there are no leaks in the exhaust system.
Always have a fire extinguisher nearby when using the stove.
Conclusion
Creating a wood stove from a propane tank is a challenging yet rewarding project that requires careful planning, respect for safety, and a bit of creativity.
By following this guide, you can transform an ordinary propane tank into a functional and efficient wood stove, adding warmth and ambiance to your space.
Remember, safety should always be your top priority, followed closely by precision in your workmanship.