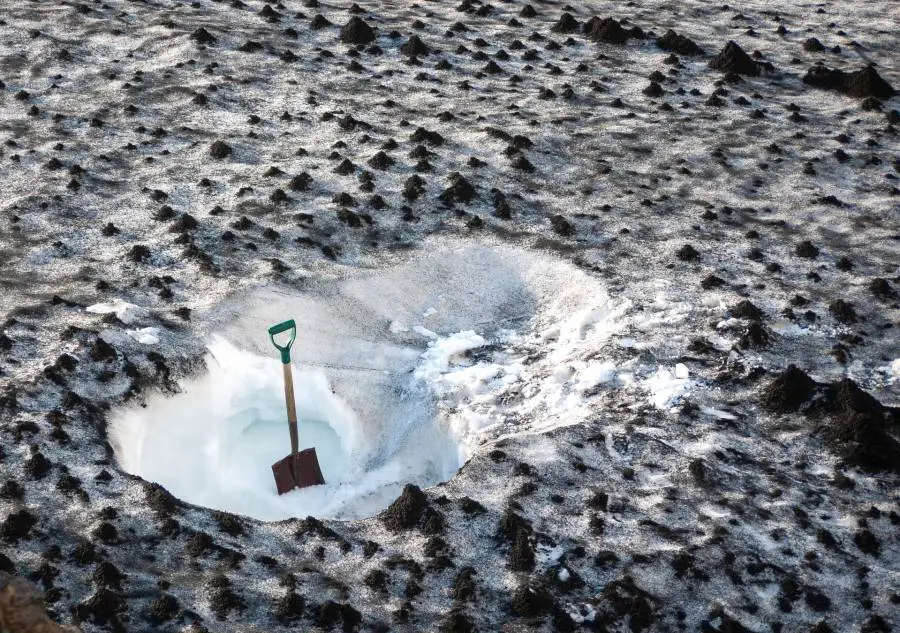
As winter arrives, you’ll be looking at various ways to help keep the snow at bay without spending a fortune.
One way is to make a snow shovel using household items and essential tools that you may already have.
To DIY a snow shovel, you’ll need a blade for shoving the snow and a handle you’ll attach to the handle.
You can make the blade from 5-gallon buckets in your home or plywood. You’ll need steel for the handle.
Attach the handle to the blade, and your snow shovel is done.
In this article, I have shared ideas you need on how to make a snow shovel yourself.
Materials Required For Snow Shovel
Pipe
If you prefer using a pipe to make a snow shovel, note that the best type of pipe to use is PVC. The reason is that PVC pipes are thick and cannot break easily.
They also come in different shapes, sizes, and lengths.
A Piece Of Wood
A wood performs the same function as the pipe – the handle of the snow shovel.
If you prefer a block of wood to PVC pipes, you have to use a saw to trim the top, bottom, and sides to shape.
Electrical tape is a material that provides pressure that helps two separate objects stay together. It has two sides – one has gum, and the other doesn’t.
The gummy part is what makes the objects stick together.
Other tools include; 4inches nails, a hammer, and metal.
Things To Consider Before Making A Snow Shovel
The Size Of The Snow Shovel
A snow shovel should not be too heavy or extra long. The reason is that you need a snow shovel you can handle.
The standard weight of the store-bought snow shovel is 5.7 pounds, and the maximum length is 12 – 18 inches. Your DIY snow shovel shouldn’t exceed this size.
The Type Of Snow Shovel You Need
You can make a snow shovel using plastic, wood, or metal.
However, it would help if you made a snow shovel that will be durable and not one that can break off while you use it to remove snow.
Blade (Plastic Or Steel)
Snow is soft, and because of that, you can use a plastic blade to scoop it out.
But then, when you allow snow to overstay on your sidewalks, driveways, and staircase, it will form ice and become difficult to remove with a plastic blade.
When snow becomes hard on the surface, it will require a steel blade. Unlike plastic, a steel blade is heavier and can withstand pressure.
Snow Shovel Handle
You can use metal, steel, and wood to make a shovel handle.
Longer handles are usually more comfortable because they make pushing the shovel through deep snow easier without bending over too much at the waistline.
The Type Of Snow To Remove
If the snow on your sidewalk or driveway has formed into ice, the best type of shovel blade you will need is metal or steel.
Metal or steel provides the pressure you need to remove hard snow easily.
Plastic blades work well on soft snow. Using a plastic blade on hard snow will cause it to break because it is not heavy enough to handle the friction of hard snow.
DIY Snow Shovel – Step-By-Step Process
Making The Handle
The handle of a snow shovel usually has another handle at the top. This handle is smaller and has an oval shape.
It makes it easy for you to hold the snow shovel properly.
Pipe Handle
You will need a long pipe with holes on each side. A saw will help you trim the mouth of the pipe to enable it to fit well into the blade hole.
Procedure
Use a reciprocating saw to cut the long pipe to the required minimum length of 8 or a maximum length of 18 inches.
Grab a small round plastic or wood and attach it to one end of the pipe using epoxy or short nails.
Wood Handle
To make a snow shovel handle with wood, you will need a long piece of wood of 8inches minimum and 18inches maximum.
Use sandpaper to scrape the wood until it’s smooth.
To create the support (the part that attaches to the blade), cut out three small pieces of wood and assemble them using a nail and hammer.
Screw the support to one end of the wooden handle.
For The Wooden Blade
Grab one 2 x 4 and 1 x 4 wooden. You can cut this from an old wooden door.
Use nails and a hammer to attach the 1 x 4 wooden to one side of the 2 x 4 (to the edge).
The 2 x 4 and 1 x 4 forms the wooden blade.
Fixing The Pieces
Screw the wooden support unto the wooden blade.
To make it stronger, round it with electrical tape. The nail and the electrical tape will fasten the blade to the handle and prevent both from separating while removing snow.
Plastic Blade
You can create a snow shovel with plastic buckets. This method will require a metal handle, knife, bucket, piece of wood, screwdriver, and masonry nails.
You will also need a hammer and a 4inches nail.
First, use a kitchen knife to cut the buckets into two. You can decide to use glue to join them and make it long, but the glue will not hold it tight. To make the bucket stick together, insert two nails on each edge.
Like other plastics, the nail may not work well with plastic. You will notice that once you insert the nails into the bucket, it will stick out from the other side and can likely cause an injury. So, to avoid this, get a piece of wood. Place the wood underneath the joining of the bucket, then tap in the nail.
Once you finish, set it aside and begin to work on how to attach it to the handle.
Fixing The Pieces
Attach the pipe or wooden handle to the plastic using epoxy or screws.
Use electrical tape to round the pipe and blade together.
Please note that using a hammer to tap nails into the plastic blade can break it.
Improvise Using A Large Plywood
If it’s an emergency and you can’t find materials for a proper snow shovel, you can clear your snow-covered driveway using a piece of plywood.
The plywood should be more comprehensive in the front. That is the blade part.
The side you’ll hold should be smaller to have a firm grip.
Using a saw, you can create a handle on the plywood by carving out a square portion on one side.
Conclusion
Shoveling snow can be hard work.
Even if you’re lucky enough to live in a climate where the temperature doesn’t often drop below freezing, it can be inconvenient and considerably time-consuming.
This guide provides an exciting alternative to traditional snow shovels.
A DIY snow shovel is cost-effective and reliable. It also creates room for change.
For instance, if your shovel blade or handle breaks while removing snow from your staircase or driveways, you can make another.


![Husqvarna 455 Rancher Carb Adjustment [Step-By-Step Guide]](https://homesteadandprepper.com/wp-content/uploads/2024/04/Husqvarna-455-Rancher-Carb-Adjustment-A-Comprehensive-Guide.jpg "Husqvarna 455 Rancher Carb Adjustment [Step-By-Step Guide]")
![How To Fix A Loose Light Switch [Step-by-step]](https://homesteadandprepper.com/wp-content/uploads/2021/08/How-To-Fix-A-Loose-Light-Switch-150x150.jpg "How To Fix A Loose Light Switch [Step-by-step]")


