In the world of home improvement and maintenance, ensuring the safety and efficiency of heating systems is paramount. A critical component in achieving this is the correct installation of a wall thimble.
This guide provides a comprehensive overview of DIY wall thimble installation, covering everything from preparation to troubleshooting common issues.
Understanding Wall Thimbles
Definition and Purpose
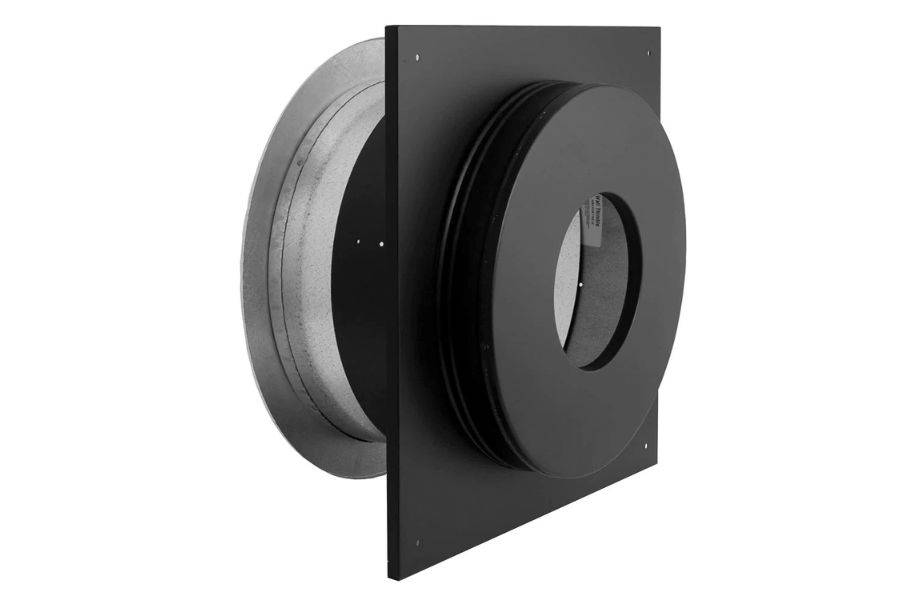
A wall thimble is a protective device installed through a wall, allowing for a safe passage of vent pipes from heating systems, such as wood stoves or gas heaters.
It acts as a barrier, preventing the heat from the pipe from transferring to the combustible materials of the wall, thereby reducing fire risks.
Types of Wall Thimbles
Wall thimbles come in various materials, including metal and ceramic, each suitable for different types of installations and heating systems.
The choice depends on the vent pipe material, the type of heating system, and the wall’s composition.
Preparing for Installation
Tools and Materials Needed
Gathering the right tools before starting is crucial. Typical items include a measuring tape, stud finder, drill, jigsaw, caulk, and insulation material.
Having everything at hand streamlines the process and ensures a smooth installation.
Measuring and Planning
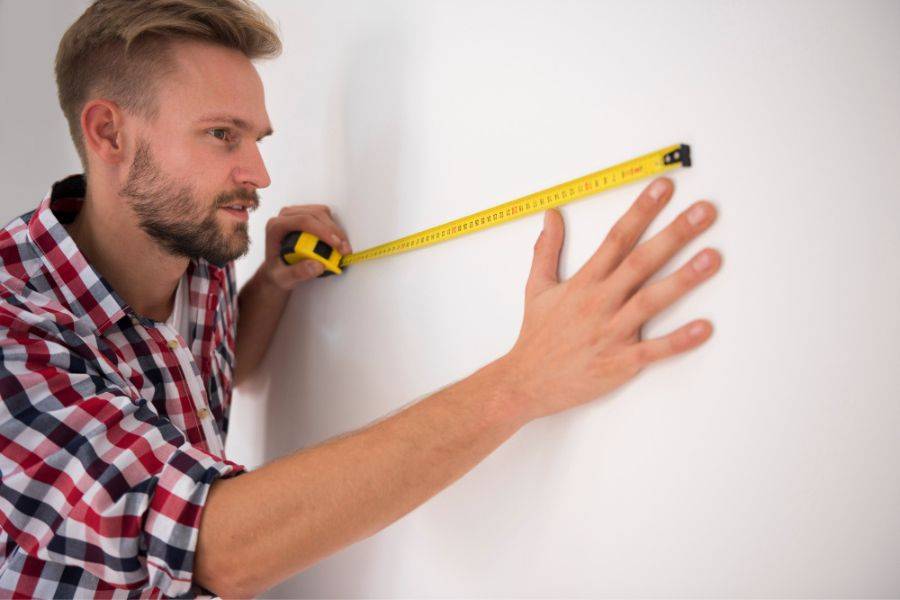
Accurate measurements are essential. Determine the exact location for the wall thimble, considering both interior and exterior obstacles.
Planning involves checking local building codes to comply with safety regulations.
Choosing the Right Wall Thimble
Material Considerations
Selecting the appropriate material for your wall thimble is vital. Metal thimbles are commonly used for wood stoves, while ceramic ones might be better for gas heaters.
The decision should factor in durability, heat resistance, and compatibility with the vent pipe.
Sizing and Compatibility
The size of the wall thimble must match the diameter of the vent pipe precisely. Compatibility with both the vent system and the wall material ensures a secure and effective installation.
Step-by-Step Installation Guide
Preparing the Work Area
Safety First: Before beginning, ensure all necessary safety equipment is on hand, including gloves, eye protection, and a dust mask.
Clear the Area: Make sure the work area is clean and clear of any furniture, decorations, or other obstacles.
Marking the Wall
Locate Studs: Using a stud finder, locate and mark the studs in the wall where you plan to install the thimble. This is crucial as you’ll need to avoid cutting into them.
Measure and Mark: With the vent pipe’s diameter in mind, add at least 2 inches to each side for clearance and mark the exact dimensions of the opening needed for the wall thimble on the wall.
Cutting the Wall Opening
Drill Starter Holes: At each corner of the marked outline, drill a hole large enough to fit the blade of your jigsaw.
Cut Out the Opening: Insert the jigsaw blade into one of the starter holes and carefully cut along the marked lines to create the opening. Work slowly to maintain control and ensure a clean cut.
Installing the Wall Thimble
Insert the Thimble: Place the wall thimble into the opening. It should fit snugly. If it doesn’t, make necessary adjustments to the opening size.
Check Alignment: Use a level to ensure the thimble is perfectly horizontal and vertical. This ensures that the vent pipe will pass straight through without any stress points.
Secure the Thimble: Depending on the type of thimble, it may have its own method of securing to the wall (e.g., screws, brackets). Follow the manufacturer’s instructions carefully to secure it in place. For added stability, you can also use construction adhesive around the edge where the thimble meets the wall.
Sealing the Thimble
Apply High-Temperature Sealant: Using a high-temperature resistant sealant, apply a continuous bead around both the interior and exterior edges of the thimble where it meets the wall to prevent air leaks.
Allow to Dry: Follow the sealant manufacturer’s instructions for drying times before proceeding.
Insulating Around the Thimble
Prepare Insulation Material: Cut non-combustible insulation to fit around the thimble, leaving no gaps but ensuring it is not overly compressed.
Install Insulation: Carefully place the insulation around the thimble, filling the space between the thimble and the wall opening.
Finalizing the Installation
Install Vent Pipe: Once the thimble is secured and sealed, insert the vent pipe through the thimble according to your heating system’s requirements.
Seal Pipe Connection: Apply a high-temperature sealant around the point where the vent pipe meets the thimble on both sides to ensure airtightness.
Check for Leaks: After the installation is complete and the sealant has dried, check around the thimble and vent pipe for any air leaks. Address any found immediately.
Clean Up
Cleanup: Remove any debris and clean up the work area. Dispose of waste materials according to local regulations.
Post-Installation Checks
Inspect Your Work: Visually inspect the installation to ensure everything looks correct and secure.
Sealing and Insulation
Applying Sealants
Sealant application is crucial to prevent air leaks. Use high-temperature caulk around the edges of the thimble on both sides of the wall. Ensure the sealant is evenly applied and fully covers any gaps.
Insulating Around the Thimble
Adding insulation around the thimble enhances energy efficiency and safety.
Use non-combustible insulation material, carefully packing it around the thimble without compressing it too tightly, which could affect its insulating properties.
Finishing Touches
Interior and Exterior Finishing
The aesthetics of the installation shouldn’t be overlooked.
Apply trim or finishing plates as provided or recommended by the thimble manufacturer to cover any rough edges around the installation, blending it seamlessly with the wall.
Maintenance Tips
Regular checks and maintenance extend the life of the wall thimble and ensure ongoing safety.
Inspect the sealant and insulation periodically for signs of wear or damage, and clean the vent pipe according to the heating system’s requirements.
Troubleshooting Common Issues
Leakage Problems
Leaks around the thimble can occur if the sealant deteriorates. If you notice drafts or leaks, reapply high-temperature caulk around the thimble edges, ensuring complete and even coverage.
Draft and Insulation Concerns
Insufficient insulation can lead to energy inefficiency and increased heating costs.
If you experience these issues, consider adding more non-combustible insulation around the thimble, taking care not to compress it excessively.
Safety Precautions
During Installation
Always wear appropriate safety gear, such as gloves and eye protection, when cutting the wall and handling the thimble. Ensure the area is well-ventilated, especially when applying sealants.
Post-Installation Checks
After installation, conduct a thorough check to ensure everything is secure and properly sealed. Monitor the installation for a few days to catch any potential issues early.
Conclusion
Installing a wall thimble is a vital step in maintaining the safety and efficiency of your home heating system.
While the process requires careful planning and attention to detail, following this comprehensive guide can help you achieve a successful DIY installation.
Remember, safety is paramount, so take all necessary precautions and consult professionals if in doubt.
")


