Cutting deer antlers off is a skill that many hunters, taxidermists, and craftspeople seek to master.
Whether for mounting, crafting, or other purposes, the removal of antlers must be executed with precision and care to ensure the integrity of the antlers and the safety of the individual.
This guide comprehensively walks through the necessary steps, tools, and considerations for effectively and ethically removing deer antlers.
Preparing for Antler Removal
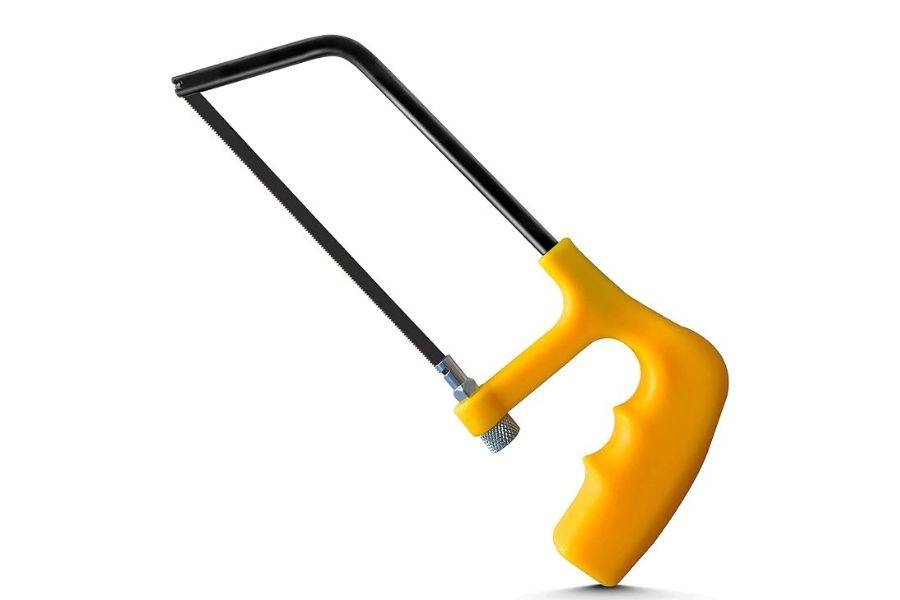
Essential Tools
The first step in preparing to cut deer antlers off is gathering the right tools. A fine-toothed hacksaw or a specialized bone saw is essential for making clean, precise cuts through the bone.
Additionally, protective gear such as gloves and safety goggles should be worn to prevent injury from bone splinters or dust.
Having a workspace with adequate lighting and room to maneuver around the deer skull is also crucial for a successful antler removal process.
Safety Measures
Safety cannot be overstated when cutting deer antlers. Sharp tools and tough materials increase the risk of injury.
Ensuring all tools are sharp and in good working order can reduce the effort required and minimize slippage or accidents.
It’s also important to secure the skull in a vice or with clamps on a sturdy table to prevent movement during the cutting process.
By taking these precautions, one can significantly reduce the risk of injury and improve the outcome of the antler removal.
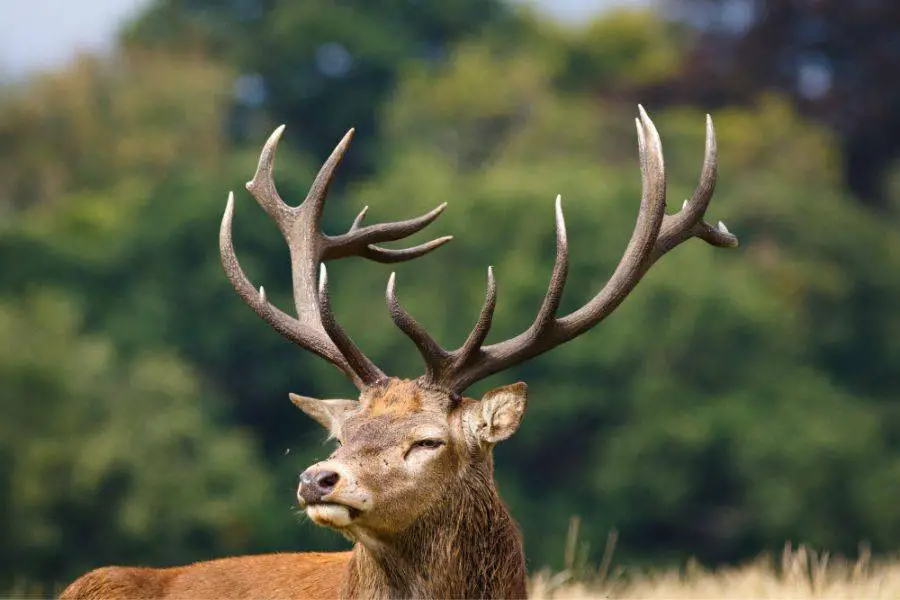
Understanding the Anatomy
Skull and Antler Structure
Understanding the anatomy of the deer skull and antlers is vital to identifying the correct locations for cuts.
Deer antlers are extensions of the animal’s skull made of bone that grows from points on the skull called pedicles.
Recognizing the natural contours and growth direction of the antlers will guide the placement of cuts to remove them without damaging their structure.
Identifying Cut Locations
Identifying the appropriate cut locations involves examining the base of each antler where it connects to the skull.
The goal is to make a cut that removes the antler and a small portion of the skull cap, ensuring the antler’s integrity while facilitating mounting or other uses.
The exact location will vary depending on the deer species and the individual animal’s skull structure.
Cutting Techniques
Using a Saw for Skull Cap Removal
To accurately remove the antlers along with a portion of the skull for mounting, known as the skull cap, careful preparation and specific cutting techniques are required.
The process involves detailed steps to ensure a clean cut that preserves the integrity of the antlers for display.
Identify the Cutting Line: Begin by examining the skull to determine the optimal line for cutting, which typically runs directly above the eye sockets and extends approximately one inch behind the antler bases. This creates a skull cap that includes the antlers in their entirety.
Prepare the Area Around the Antlers:Using tools to gently pry away the hide and any flesh from around the base of the antlers can provide a clearer cutting path. Carefully work around the entire base of each antler, ensuring the area is clean and visible.
Commence the Initial Cut: Position your cutting tool at the predetermined start point, just above one of the eye sockets. Apply steady pressure as you guide the tool in a straight line toward the back of the skull, maintaining the direction parallel to the pedicles (the points from which the antlers grow).
Execute the Second Cut: After completing the first cut, prepare for the second cut by positioning the skull so the nose points towards you. The second cut connects to the end point of the first cut, moving from the back of the skull forward, effectively removing the skull cap with the antlers attached.
Refinement and Clean-Up: Once the skull cap and antlers have been removed, inspect the edges of the cut for any irregularities. Small adjustments can be made to smooth out rough areas, ensuring a clean finish suitable for mounting.
Preparing for Mounting: With the skull cap and antlers separated from the main skull, proceed to clean the cut area thoroughly. Removing any remaining tissue and preparing the surface will ensure the skull cap is ready for the next steps in the mounting process.
This methodical approach to cutting deer antlers off the skull ensures not only the preservation of the antlers for mounting purposes but also respects the aesthetic qualities necessary for an appealing display.
Post-Cutting Procedures
After the antlers and skull cap have been successfully removed, the next steps focus on cleaning, preserving, and potentially preparing these components for mounting or other uses.
Proper post-cutting procedures are crucial for maintaining the quality and appearance of the antlers.
Cleaning and Preserving Antlers
Initial Cleaning: Begin by removing any residual tissue from the skull cap and antlers using a soft brush or cloth. This step ensures that no organic matter is left that could decompose and damage the antlers.
Washing: Mix a mild detergent with warm water and gently scrub the skull cap and antlers. This helps remove any remaining blood, dirt, or oils. Avoid soaking the antlers in water as prolonged exposure can lead to discoloration or deterioration of the bone.
Drying: Once washed, pat the antlers and skull cap dry with a clean cloth. Allow them to air dry completely in a well-ventilated area away from direct sunlight, which can cause the antlers to crack or warp.
Disinfecting: To ensure the antlers are free from bacteria, consider applying a mild disinfectant solution with a spray bottle. Wipe off any excess solution and allow it to dry thoroughly.
Preservation Treatment: Apply a preservation solution or wood sealer to the cut end of the skull cap to prevent decay. For the antlers, a light coating of linseed oil can enhance their natural color and protect them from drying out.
Final Inspection: After the antlers and skull cap have dried and been treated, inspect them for any areas that may need additional cleaning or touch-ups. This ensures they are in the best condition for display or further processing.
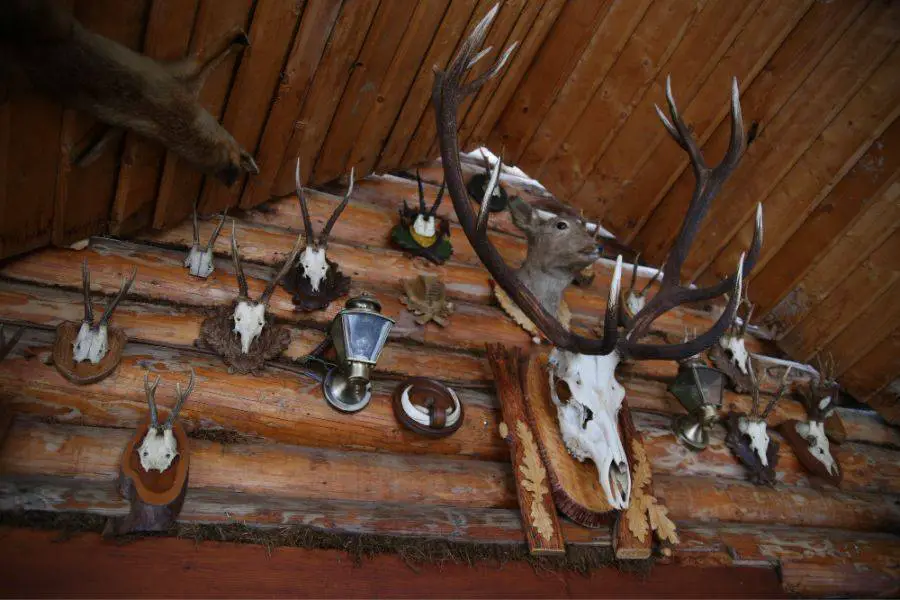
Preparing for Use or Display
Mounting Preparation: If the antlers are to be mounted, prepare the mounting surface by marking where the skull cap will be attached. Drill any necessary holes in the skull cap for screws or mounting hardware.
Crafting Considerations: For crafting purposes, measure and mark the antlers for any cuts or modifications needed for your project. Ensure all tools are ready and that the antlers are securely fixed before proceeding with alterations.
Storage Advice: If the antlers are not being immediately used or mounted, store them in a cool, dry place. Avoid areas with high humidity or temperature fluctuations, which can damage the antlers over time.
By following these post-cutting procedures, the integrity and appearance of the deer antlers can be preserved, whether for mounting, crafting, or other creative uses.
Proper cleaning, preservation, and preparation help ensure that the beauty and significance of the antlers are maintained for years to come.
Conclusion
Cutting deer antlers off is a process that requires precision, patience, and respect for the animal.
By following the steps outlined in this guide, individuals can safely and effectively remove antlers for various uses.
Whether for mounting, crafting, or other purposes, it is crucial to approach the task with an understanding of deer anatomy, proper techniques, and ethical considerations.
With the right preparation and care, cutting deer antlers can be a rewarding experience that honors the beauty and utility of these magnificent natural formations.


")
