How to Make a Rabbit Fur Blanket – A Comprehensive Guide
by
Table of Contents
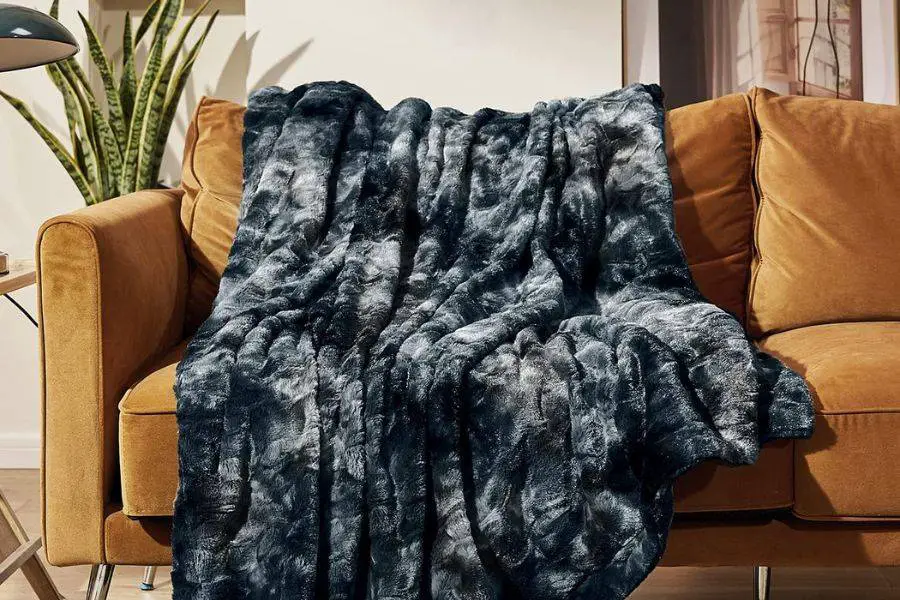
Rabbit fur is an exquisite material cherished for its softness, warmth, and durability.
Its unique texture and insulation capabilities make it a popular choice for various clothing items and home accessories, including blankets.
Creating a rabbit fur blanket can be a rewarding endeavor, allowing you to add a touch of luxury and coziness to your living space.
Benefits of DIY Approach
Making a rabbit fur blanket yourself offers numerous benefits. It provides an opportunity to create a personalized item that perfectly fits your aesthetic preferences and comfort needs.
It also allows for a deeper appreciation of the craftsmanship involved in working with fur.
Moreover, a DIY approach can be more cost-effective compared to purchasing a ready-made fur blanket.
Sourcing Rabbit Fur
Ethical Aspects
Before embarking on your project, consider the ethical implications of sourcing rabbit fur. It’s crucial to ensure the fur comes from responsible sources where animals are treated humanely.
Consider using fur from rabbits that were raised for meat or opt for reclaimed or vintage fur.
Quality Considerations
The quality of the rabbit fur significantly impacts the end product. Look for fur that is soft, plush, and free of bald spots or damage.
The color should be even, and the fur should have a healthy sheen. Additionally, pay attention to the leather side of the fur – it should be supple and free of tears.
Tools and Materials Required
Necessary Equipment
To make a rabbit fur blanket, you’ll need a variety of tools. These include a sharp pair of scissors for cutting the fur, a sewing machine capable of handling thick materials, sturdy needles, strong thread, and pins.
A seam ripper may also come in handy for correcting any mistakes during the sewing process.
Choosing the Right Materials
In addition to rabbit fur, you’ll need a fabric for the lining of the blanket. This could be a soft cotton, satin, or another material that complements the fur.
Choose a color that matches or contrasts well with the fur, depending on your preference.
Preparation of Rabbit Fur
Cleaning and Sanitizing
Before you start crafting, it’s essential to clean and sanitize the rabbit fur. This process removes any dirt, oils, and potential odors from the fur.
You can do this by gently shaking the fur and brushing it with a soft brush. For sanitizing, you may need to consult a professional fur cleaner to avoid damaging the fur.
Cutting and Shaping
After cleaning, the next step is cutting the fur into the desired shape. This process requires careful measurement and precision to ensure all pieces will fit together perfectly.
Remember to cut the fur from the leather side to prevent damaging the fur. Also, consider the direction of the fur when arranging your pieces.
Sewing Process
Enhancing the sewing process when making a rabbit fur blanket requires attention to detail and patience.
Here’s a more comprehensive guide to ensure your sewing results in a durable, high-quality finished product.
Preparing Your Sewing Area
Workspace: Ensure your workspace is clean and spacious enough to accommodate large pieces of fur without them hanging off edges or getting crumpled.
Tools at Hand: Have all your tools, such as scissors, needles, thread, and pins, within reach. Using a magnet can keep needles and pins handy and prevent loss.
Selecting the Right Thread and Needle
Thread: Opt for a strong, heavy-duty thread that can handle the thickness and texture of the fur. Nylon or polyester threads are good choices due to their durability.
Needle: Use a needle that’s sturdy enough to penetrate the fur’s leather backing without bending or breaking. A leather needle or a heavy-duty, sharp needle works best.
Cutting the Fur
Measure Twice, Cut Once: Double-check your measurements before cutting. Remember, you can always trim excess, but you can’t add back what you’ve cut away.
Cutting Technique: Always cut from the leather side, using short, gentle strokes to avoid cutting too much of the fur itself. This preserves the natural look of the edges.
Pinning and Sewing
Pinning: When pinning the fur pieces together, ensure the fur hairs are pushed away from the seam allowance to prevent them from getting caught in the stitches. Use silk pins for easier handling.
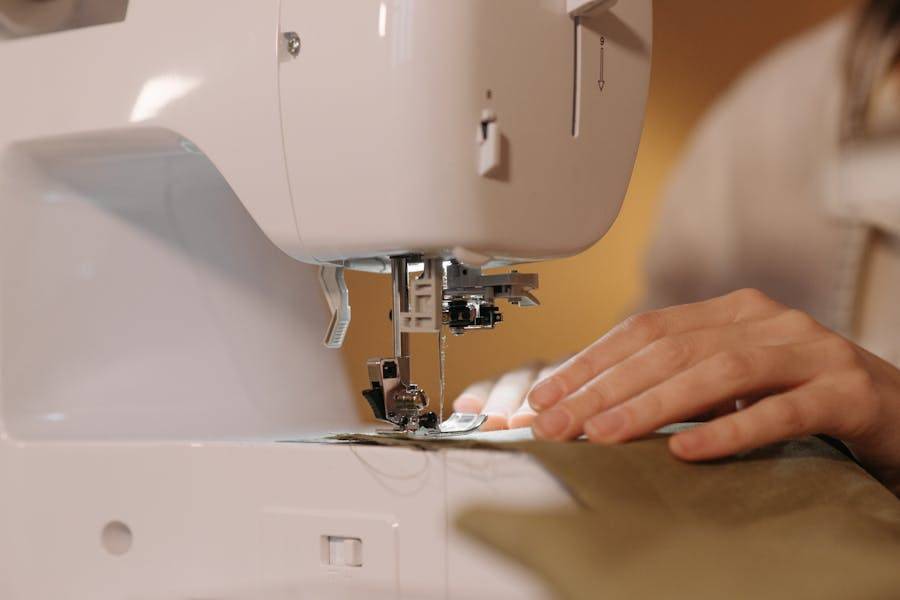
Sewing Machine Setup: If using a sewing machine, set it to a longer stitch length. This accommodates the thickness of the fur and prevents the leather from tearing.
Hand Sewing: For areas that require more precision or if you’re sewing the entire blanket by hand, use a backstitch for strength. Keep your stitches even and not too tight to avoid puckering.
Seam Allowance: A wider seam allowance (about ½ inch or more) is beneficial for fur fabrics to ensure the seams are strong and to accommodate any potential alignment errors.
Joining Pieces and Dealing with Thickness
Gradual Seams: When joining multiple pieces, do so gradually to manage the blanket’s overall thickness and weight. Sew two pieces together, then add another, ensuring the fur direction is consistent throughout.
Thinning Seams: In areas where multiple seams meet and create bulk, carefully trim the leather (not the fur) within the seam allowances. This reduces bulk but requires precision to avoid cutting through the stitches or too close to the edge.
Finishing Touches
Lining Attachment: When attaching the lining, leave a gap for turning the blanket right side out. After turning, hand-sew the gap with an invisible stitch for a neat finish.
Edge Stitching: Consider adding a top stitch around the edge of the blanket for extra durability and a polished look. This also helps to keep the lining in place.
Post-Sewing Care
Shake It Out: After sewing, gently shake the blanket to fluff the fur and dislodge any small scraps or threads that got caught.
Comb the Fur: Use a wide-tooth comb or a fur brush to gently comb the fur along the direction of the hair. This helps realign any fur that might have been caught in the seams.
By following these detailed steps during the sewing process, you’ll ensure your rabbit fur blanket is not only beautiful but also durable and professionally finished.
Remember, working with fur takes time and patience, but the results are truly rewarding.
Lining the Blanket
Material Options
The lining adds comfort to your blanket and helps protect the fur. Materials commonly used for lining include satin, velvet, or fleece.
These materials not only feel good against the skin but also add an extra layer of warmth.
Attaching the Lining
To attach the lining, cut it to match the size of the fur blanket. Pin it to the fur, right sides together, then sew around the edges, leaving an opening for turning the blanket right side out.
Once turned, hand sew the opening shut. For a cleaner finish, you can also add a top stitch around the edge of the blanket.
Conclusion
Making a rabbit fur blanket is a project that requires patience, precision, and a deep appreciation for craftsmanship.
From sourcing quality rabbit fur to cutting, sewing, and caring for the blanket, each step contributes to creating a luxurious, warm, and personal piece.
If you’re a first-time crafter, don’t be intimidated. While working with fur can be challenging, the end result is well worth the effort.
Take your time, follow the steps carefully, and remember that every stitch brings you closer to having a beautiful, handcrafted rabbit fur blanket that you can cherish for years to come.