Linseed Oil, also known as flaxseed oil, is derived from the seeds of the flax plant. It has been used for centuries in various applications, including paint, varnish, and wood finish.
The unique properties of linseed oil, such as its ability to polymerize into a solid form, make it an excellent choice for waterproofing.
The Science Behind Linseed Oil Waterproofing
The waterproofing ability of linseed oil stems from its reaction with oxygen. When exposed to air, linseed oil undergoes oxidation, a chemical reaction that transforms it from a liquid state to a solid one.
This resulting solid layer forms a protective barrier that keeps water out, thus making the material underneath waterproof.
Use of Linseed Oil in Waterproofing
Historically, linseed oil has been utilized for its waterproofing properties since ancient times. It was particularly favored in shipbuilding, where it was applied to wooden hulls to prevent water seepage.
In modern times, linseed oil remains a popular choice for waterproofing. It’s commonly used in preserving outdoor furniture, decks, and other wooden structures exposed to the elements.
Additionally, advancements in processing techniques have further enhanced the effectiveness and durability of linseed oil as a waterproofing agent.
Properties of Linseed Oil
Linseed oil is a clear to yellowish oil that has a distinctive smell. It’s rich in omega-3 fatty acids, which contribute to its drying properties.
Upon exposure to air, it undergoes a process called polymerization, forming a hard, protective layer over the surface it covers.
As a waterproofing agent, linseed oil offers several benefits. It penetrates deeply into the wood, providing protection from within.
It also enhances the natural color of the wood, giving it a rich, glossy finish. Moreover, linseed oil is non-toxic and environmentally friendly, making it a safe choice for both indoor and outdoor use.
Preparing Surfaces for Linseed Oil Waterproofing
Gathering Necessary Supplies
Before the preparation process begins, gather all the necessary supplies.
You will need sandpaper of varying grits, a dust mask for safety, a vacuum or a soft cloth for cleaning, and gloves for personal protection.
Evaluate the Surface
Inspect the surface you intend to waterproof with linseed oil. Look for any visible damage, such as cracks, splinters, or peeling paint. These issues need to be addressed before the application of linseed oil.
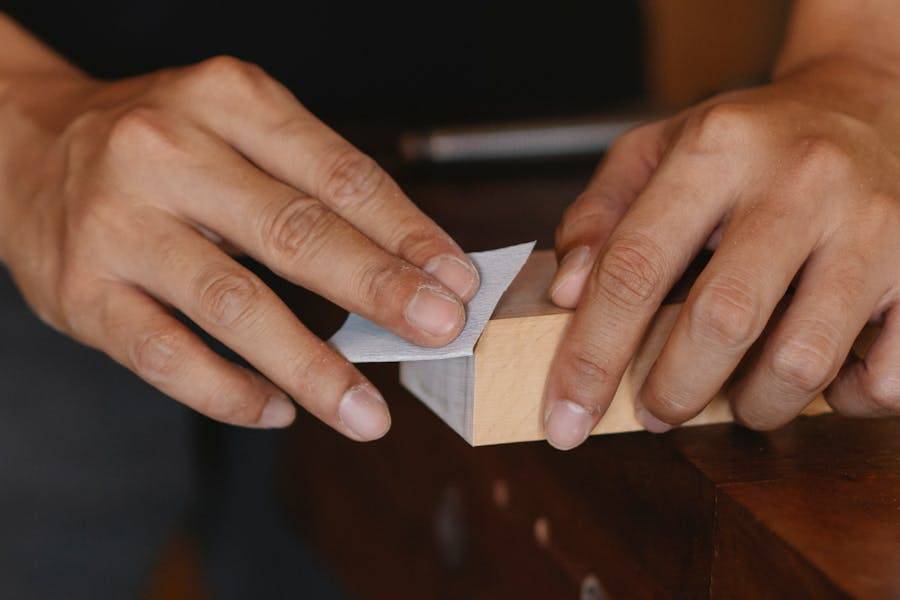
Initial Sanding
Begin by sanding the surface with a medium-grit sandpaper, typically around 120 grit.
This initial sanding step helps remove any old finish, smooth out rough spots, and open up the pores of the wood, allowing it to better absorb the linseed oil.
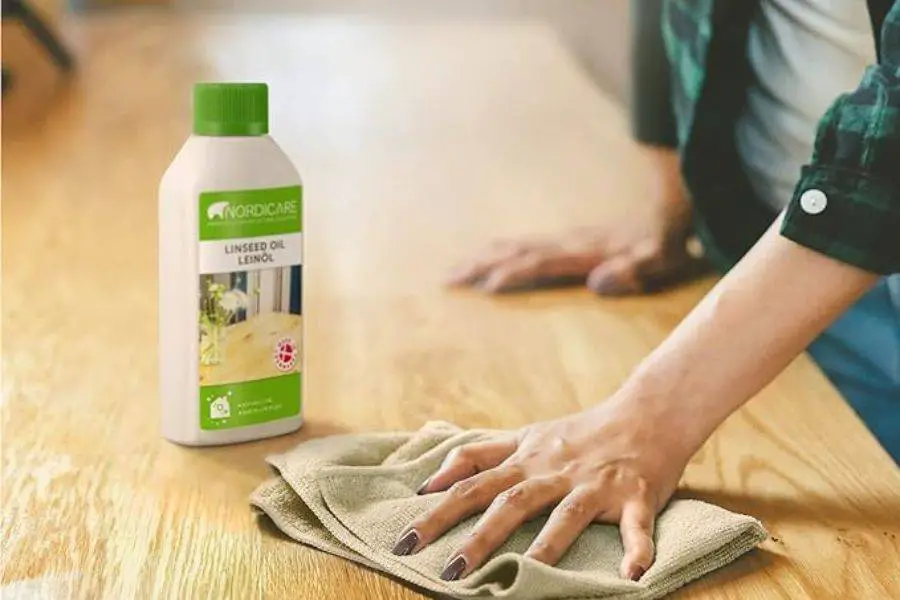
Cleaning the Surface
Once you have finished sanding, the next step is to thoroughly clean the surface. This can be done using a vacuum or a soft cloth.
The aim is to remove all dust and debris from the surface and the surrounding area to prevent them from sticking to the wet linseed oil in the next steps.
Second Round of Sanding
After cleaning, a second round of sanding is performed. This time, use a fine-grit sandpaper, usually around 220 grit.
This further smoothens the surface and ensures that the linseed oil will be able to penetrate deeply into the wood.
Final Cleaning
Perform a final cleaning to remove the fine dust produced by the second round of sanding. Again, this can be done with a vacuum or a soft cloth.
Ensure all dust is removed, as any remaining particles can affect the final finish.
Let the Surface Dry
Before applying linseed oil, allow the surface to dry fully. Any moisture on the wood can prevent the oil from adhering properly and may lead to a patchy finish.
Surface preparation is a crucial step in the process of waterproofing with linseed oil.
Taking the time to properly prepare the surface can greatly enhance the effectiveness of the oil and the appearance of the final product.
Application Process of Linseed Oil
Gathering Necessary Supplies
Before starting, ensure you have all the necessary supplies at hand.
Apart from linseed oil, you’ll need a brush, roller, or lint-free cotton cloth for application, sandpaper for surface preparation, and gloves for personal protection.
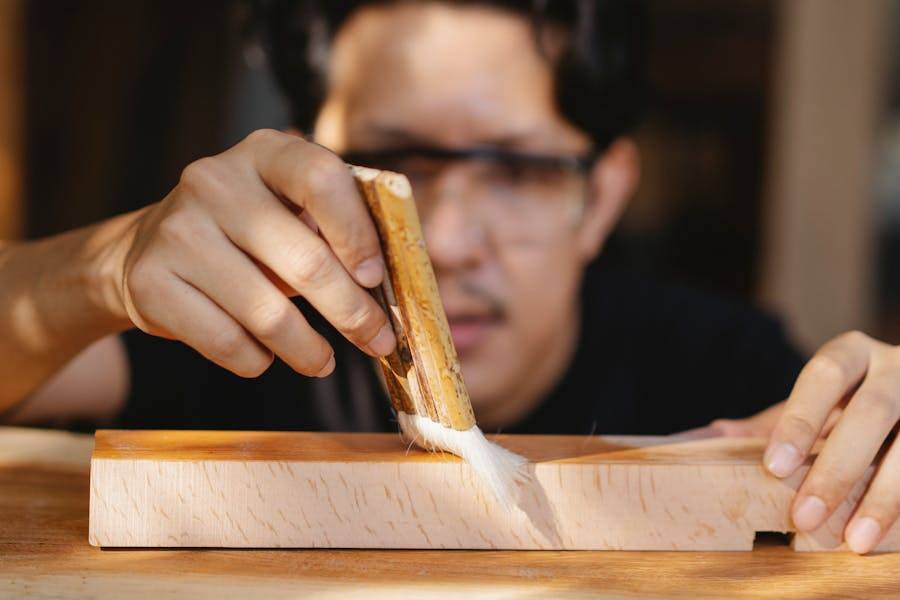
Application of First Coat
Once the surface preparation is complete, start applying the first coat of linseed oil. Use your chosen tool (brush, roller, or cloth) to apply the oil in circular motions across the grain of the wood.
The goal of this first coat is to saturate the wood as deeply as possible, so a generous amount of oil should be used.
Wipe Off Excess Oil
About 10 to 15 minutes after the initial application, it’s time to wipe off any excess oil from the surface.
This step is important to prevent the formation of a sticky, glossy layer on the surface of the wood, which can affect the final appearance and texture of the finished product.
Apply Subsequent Coats
After the first coat has been absorbed and the surface is dry, subsequent coats can be applied.
These additional coats should be applied in the same manner as the first, but they should be thinner and less oil should be used.
Pay Attention to End Grain
The end grain of the wood tends to absorb more oil than other parts. Therefore, it’s important to pay special attention to these areas and ensure they are thoroughly saturated with oil.
Final Wipe Down
Once you’ve applied the desired number of coats and the last coat has had time to soak in, perform a final wipe down.
This removes any remaining excess oil and leaves the surface with a clean, smooth finish.
Remember that linseed oil takes time to dry, so it’s important to allow ample time between coats for the oil to be fully absorbed into the wood.
Also, the drying time can vary depending on the type of wood, the thickness of the coats, and the environmental conditions, so patience is key in this process.
Maintenance and Reapplication
Over time, the protective layer formed by linseed oil can wear off. Signs that reapplication is needed include fading color, a dull finish, or water absorption.
Maintaining surfaces treated with linseed oil involves regular cleaning and reapplication of the oil. Avoid using harsh chemicals or abrasive tools during cleaning to prevent damaging the protective layer.
Safety Measures When Using Linseed Oil
While linseed oil is generally safe, it’s important to handle it with care. It can be a fire hazard if improperly stored or discarded. Rags soaked in linseed oil can spontaneously combust if left in a pile.
During application, ensure the area is well-ventilated to avoid inhaling fumes. Use gloves to protect your skin, and store any leftover oil in a sealed, fireproof container.
Conclusion
Linseed oil offers a natural, effective solution for waterproofing.
It provides deep, lasting protection for porous materials, enhances the appearance of wood, and is safe for both the user and the environment.
While it requires regular maintenance and careful handling, the benefits of linseed oil make it a worthwhile consideration for anyone seeking a natural waterproofing solution.
As always, understanding the material you’re working with and following proper application procedures will ensure the best results.

![How To Build A Four-Season Room On A Deck [Guide]](https://homesteadandprepper.com/wp-content/uploads/2021/04/How-to-build-a-four-season-room-on-a-deck-150x150.jpg "How To Build A Four-Season Room On A Deck [Guide]")

")
![How To Fix Gap Between Door And Floor [Guide]](https://homesteadandprepper.com/wp-content/uploads/2021/09/How-to-Fix-Gap-between-Door-and-Floor-150x150.jpg "How To Fix Gap Between Door And Floor [Guide]")
")
![Screws or Nails for Framing - Which Should I Use? [Guide]](https://homesteadandprepper.com/wp-content/uploads/2021/10/Nails-or-screws-for-framing-150x150.jpg "Screws or Nails for Framing - Which Should I Use? [Guide]")
![Replacing Saddle Valve With Sharkbite [Full Guide]](https://homesteadandprepper.com/wp-content/uploads/2021/10/Replacing-Saddle-Valve-With-Sharkbite-150x150.jpg "Replacing Saddle Valve With Sharkbite [Full Guide]")