Table of Contents
Sometimes, because of repeated use of light switches, they become loose or broken. If not fixed on time, these loose switches can lead to alarming situations such as shocks or even fatal electrocution.

Therefore, if you have a loose or broken light switch, do your best to fix it immediately. But, the question is: How to fix a loose light switch?
Don’t worry, and continue to read the article to find out different methods to fix a loose or broken light switch.
Methods To Fix A Loose Light Switch
Although fixing a loose light switch is not a hard nut to crack, it still requires you to follow specific steps carefully. A slight mistake may result in a bigger problem. I mean, you won’t like to take risks with electrical stuff.
According to statistics given by NFPA (National Fire Protection Association), every year, malfunction or electrical failure sets more than 45,000 houses on fire, causing 1,300 injuries and 400+ deaths.
Therefore, pay extra attention when fixing a loose light switch.
Method 1: Box Extender Ring
Things You Will Need:
- Screwdriver
- Voltage detector
- Box extender ring
- Device mounting screws (if needed)
Step One: Turn Off The Power
Find the main switch of your house and pull the piston downward to shut off the power. If there is any electrical fuse present instead of the circuit breaker, remove it carefully, because working with a socket with electricity in it can cause serious trouble for you and for your house.
Step Two: Checking The Voltage In The Socket
Check the voltage in the socket using a voltage detector. If no electricity is coming, proceed to the next step.
Step Three: Open The Socket
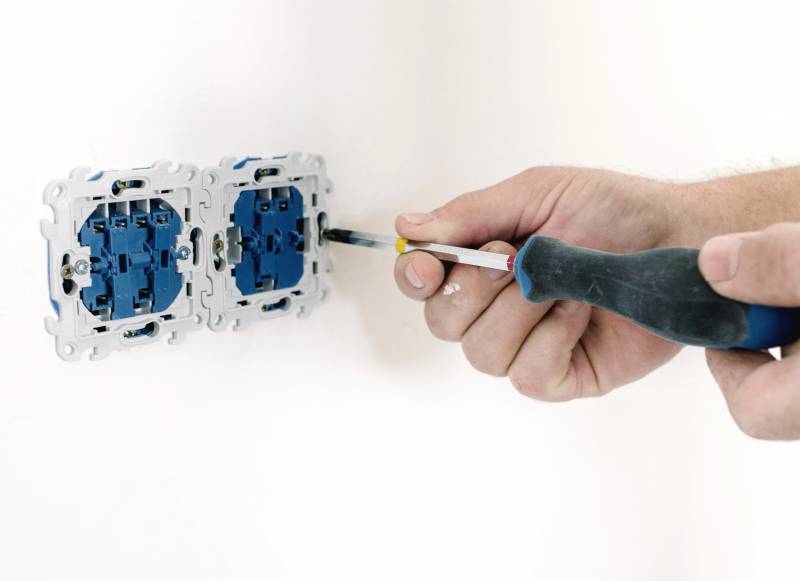
Open the socket using a screwdriver. You should have a flathead and Philip screwdriver at your place. Carefully pull the device out of the socket.
NOTE: There is no need to disconnect the wires to fix a loose light switch at this stage because no current is flowing in them.
Step Four: Insert Box Extender Ring
After opening the socket, insert the box extender ring over the device and push it into the electrical box. A box extender ring is made up of plastic or metal and is available in different sizes and shapes.
Make sure that you choose the correct extender ring of equal dimensions (right size and shape) to your electrical box.
If you notice that the circuit wires are short, you can use pigtail wires to connect the circuit wires and the device.
Step Five: Close The Socket
After insertion of the extender ring, tight the screws. Make sure that the existing screws match the extender ring. If not, replace them with the new one of accurate size.
Step Six: Attach The Socket Plate And Test
After performing all the above steps, attach the cover plate. Turn the main switch on and make sure that the switch is working properly and is not moving anymore.
Method 2: Re-install The Screws Tightly
This is one of the quick methods to fix a loose light switch and will not take more than five minutes.
Things You Will Need:
- Voltage detector
- Screwdriver
- Screws (in case the old ones are damaged)
Step 1: Shut Down The Power
Once again, the primary step involved in fixing a loose light switch is turning the power off. Find the breaker of your house and turn off the main switch.
If you have any power inverter in your house, shut it down too because it may start working if the power goes down.
Step 2: Check The Power
After shutting off the power, make sure that no current is coming in the socket from any other source. For this job, use a voltage detector. If the light inside the detector blinks, step aside. Don’t touch the switch because the voltage is still coming in the socket.
Find the possible source from where the current is coming and shut it down.
Step 3: Open The Socket
When you are sure that there is no voltage in the socket, open the socket carefully using a screwdriver. A Flathead screwdriver is a good option for opening a socket. You can also use a Philip screwdriver.
Step 4: Tight The Loose Screw

After opening the socket, tight the screws which are loose in the electrical circuit. Use a screwdriver that is available at the time.
Step 5: Replace The Screw (If Old Ones Are Damaged)
If the screws are not tightening correctly, replace the screws with the new ones. Insert the screws that properly fit in the socket. If possible, take the old screws with you to the hardware store and buy the same one.
Step 6: Close The Socket
After tightening the screws, firmly close the socket using the screwdriver. Bring on the power, and check that the socket is now moving or not.
If it is still loose, move to the next method.
Method 3: Electrical Spacers
Try this method if all the methods above don’t work for you to fix your loose light switch.
Things You Will Need:
- Voltage detector
- Screwdriver
- Electrical spacers
Step 1: Shut Down The Power
Again shut off the power first. You should have a torchlight in your hand if you are doing all this in a dark room.
Step 2: Open The Socket
After checking through a voltage detector, when no current is coming in the switch, carefully open the socket with the help of a screwdriver.
Step 3: Lose The Screws
The next step is losing the screws entirely. Take the screws away from the switch and proceed to the next step.
Step 4: Insert Electrical Spacers
Take the electrical spacers, fold and insert them into the socket. Electrical spacers are soft plastic instruments particularly used to adjust the loose switches.
They are readily available at any hardware store in various sizes and diameters. They can easily be bent for desired thickness according to the need.
Insert the spacers in the switch before the screws and then put the screws in the switch.
Step 5: Tight The Screws
After inserting the quick fix spacers, tight the screws firmly with the help of a screwdriver.
Step 6: Close The Socket
The loose light switch is now at its position. Close the socket calmly. Check the light switch and see if it works or not.
Method 4: Replace Plastic Plate With Metal Plate
This is the last but not least method on our list today to fix a loose light switch. Here is how you can follow the method:
Things You Will Need
- Screwdriver
- Voltage detector
- Metal wall plate
- Electrical spacer
Step 1: Open The Socket
Again turn off the power of your house first. When there is no electricity coming in the socket, open the socket carefully using a screwdriver. Never open the socket if the current is flowing in wires unless you are wearing insulating gloves.
Step 2: Loose The Screws
Loose the screws of the switch and apply an electrical spacer to adjust the width and space inside it.
Step 3: Use A Metal Plate
If you use a plastic plate, replace it with a metal plate and close the socket firmly.
Step 4: Tight The Screws
Tight the screws and put the switch back in its place.
