Table of Contents
If you’re doing some light tillage on your lawn or garden, it’s a good idea to use a drag harrow to smooth out the soil.

If you can’t find a commercial model, you can build a DIY harrow drag for less than $20 in parts. This article will explain the steps involved in making a homemade drag harrow.
How To Make A Harrow Drag
Chain-Link Harrow Drag
To make a chain-link harrow drag, you will need the following:
- Chain-link fence gate
- Heavy duty rope
- Ratchet and rubber straps
- Timbers
Procedure
- Buy a chain-link fence.
- Weld a four-corner rod and attach the chain link on all sides of the iron.
- Wrap a heavy-duty rope on the iron of the chain-link fence gate.
- You will need to put some weight on the iron. You can place some landscape timber on it.
- Apply rubber and ratchet straps to the wood to prevent them from falling off.
- Attach the heavy-duty rope on the harrow drag to your mower’s hitch pin.
Warning: if your field or yard is 2 to 3 feet deep, the chain-link drag harrow is not a suitable option. The chain link is only ideal for uneven areas not too deep.
Homemade Lawn Mower Drag
There are other ways to make a harrow drag. Below are the things you will require to make a harrow drag:
- Unistrut
- Buck brackets
- Bolts
- Carabiner
Follow these simple steps to make a harrow drag:
- Cut out two big wooden beams to a medium length.
- Bolt the unistrut to the wooden beam.
- Insert the u-bolt through the holes on the bracket of the unistrut.
- Turn the clamps around to go over the pipe to clamp the pipe to the bracket.
- Clip the carabiner to the lawn mower.
Driveway Drag
You can also make a harrow drag by following these simple steps:
- Get some pieces of rebar and cut them with an angle grinder.
- Drill holes in the big beam a little smaller than the diameter of the rebar put some epoxy in the hole and hammer the rebar in.
- If there is no counterweight at the back, it will bounce or drag forward because nothing is holding the rebar down; the rebar will not be forced into the rock. So prepare an arm for the backside of the giant beam.
- Cut a sizable piece of wood, prepare a box, attach it to one end of the wood, then screw the other end to the backside of the giant beam.
- The box acts as a counterweight to force the rebar into the rocks. Put a block or any heavy item into the box to add to the weight of the box.
- Hook the harrow drag behind the mower.
Harrow Drag With Spikes
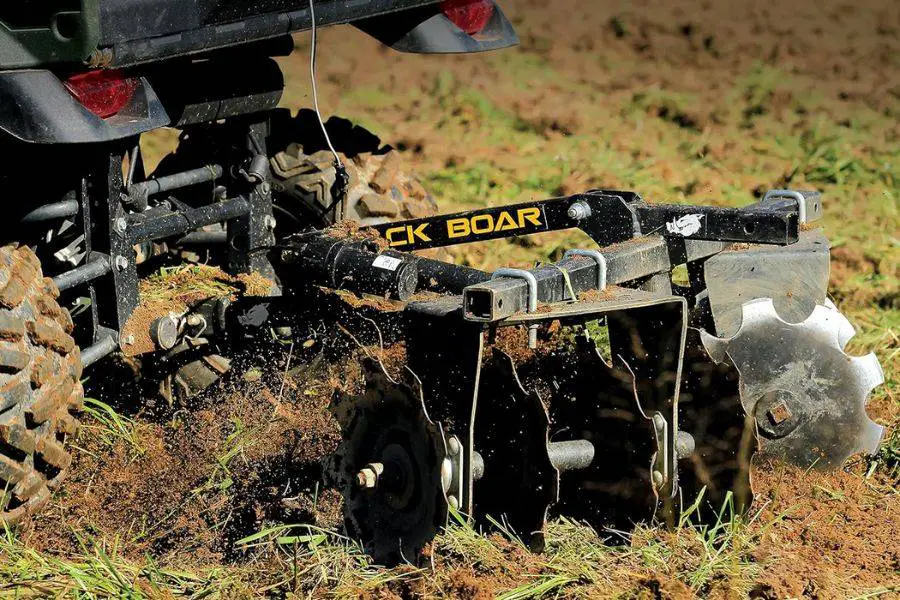
Harrows are made up of a frame and tines that can be adjusted depending on what type of soil you are working with.
The tines are shaped like spikes that dig into the ground to break up clods and level out bumps. You can DIY a harrow drag with fence spikes.
Procedure
- Get four 2 x 4 wood and nail them together to form a square.
- Nail two more 2 x 4 in the middle such that you have three lines in between.
- Nail two fence spikes to the two boards in the middle.
- Drill two holes on the sides of the board to attach the chains.
- Attach the chains to your trailer or ATV to use the hallow drag.
How Do You Drag A Harrow
Dragging a harrow depends solely on the purpose and the result you want to see.
Using a tarter chain harrow, you can drag a harrow the aggressive way, the less aggressive way, or the usual way.
The most aggressive way is done by putting the drawbar on end such that the teeth will work against the bar.
When you pull the harrow, its teeth deets in the ground bringing out gravel or other buried particles.
The aggressive method is suitable for feeding pad areas where there are a lot of bare patches, and when you are seeding or fertilizing, you use the harrow drag to create furrows in the ground so that the seed and fertilizer can do their job.
The less aggressive approach is suitable in situations when you want to drag your manure piles out in your pasture or smoothen your driveway when there are bumps and ruts on it.
To harrow drag, the less aggressive way, unhook the drawbar from its end, turn around, and come to the other end so that thorns will work along with the block.
Dragging a harrow the usual way implies you want to smoothen the ground completely. You drag the usual way by completely turning the harrow upside down.
Flipping the harrow produces the result of smooth ground with no ruts or ruts.
Do You Harrow After Seeding?
You can harrow after seeding, primarily if weeds have grown before the plant but only on the condition that the crop has not sprouted.
You can use a rod weeder, flexible harrow, or cable weeder. Harrowing may not kill the weed, but it can destroy them so the crops can have the upper hand.
How Do You Maintain A Harrow Drag?
After harrowing, taking proper care of your harrow will prolong the lifespan of your harrow, and you can use it repeatedly instead of making a new one or buying a new one each time you want to use it.
To maintain it, apply water spray with little pressure to clean it.
Observe the harrow for any part where the paint has worn off, clean the area, and repaint it so that rust occurrence will be minimal.
Do You Roll Then Harrow?
Harrowing is a vital farm process. Harrowing is a farm practice that is done after plowing.
Harrowing aids drainage, distributes manure, scatters clumps of soil, and allows easy air access into the soil.
Rolling is done after harrowing, especially if you are planting on the again or keen on a good result.
Rolling during wet conditions is not ideal because it will alter the effect of harrowing. So harrow and roll during dry conditions and harrow only during wet conditions.
How Do You Make A Ground Leveling Drag?
Follow the steps below to make a ground-level drag:
- Cut four 8×4, two 2×4 for the edge and to add weight to the drag, and some reinforcement pieces in the middle.
- Lay the four 8×4, nail the reinforcement pieces in the middle, and 2×4 at the edge.
- Put the hook in the structure and hang the chain to it.
- Your leveling drag is ready; you can drag it yourself if you do not have a tractor or mower.
Conclusion
The harrow drag is excellent for preparing the ground to sow a new lawn or over-seeding parts of an existing lawn.
Assembling them using these instructions should take about an hour, and after that, you’ll need to find a suitable location in your garden where you can store and use them.
Making a helpful tool doesn’t take much; these were worth the effort.



![DIY Snow Shovel [Step-By-Step Guide] DIY Snow Shovel [Step-By-Step Guide]](https://homesteadandprepper.com/wp-content/uploads/2022/07/Making-homemade-snow-shovel-150x150.jpg)
