Table of Contents
Maybe you have a small farm and want an easier way to spread manure.
You may choose to spread manure with your hands which will be time-consuming and tedious, or with a farm machine which is time-saving and practical.
A DIY manure spreader can save you time and money, and this article will guide you.
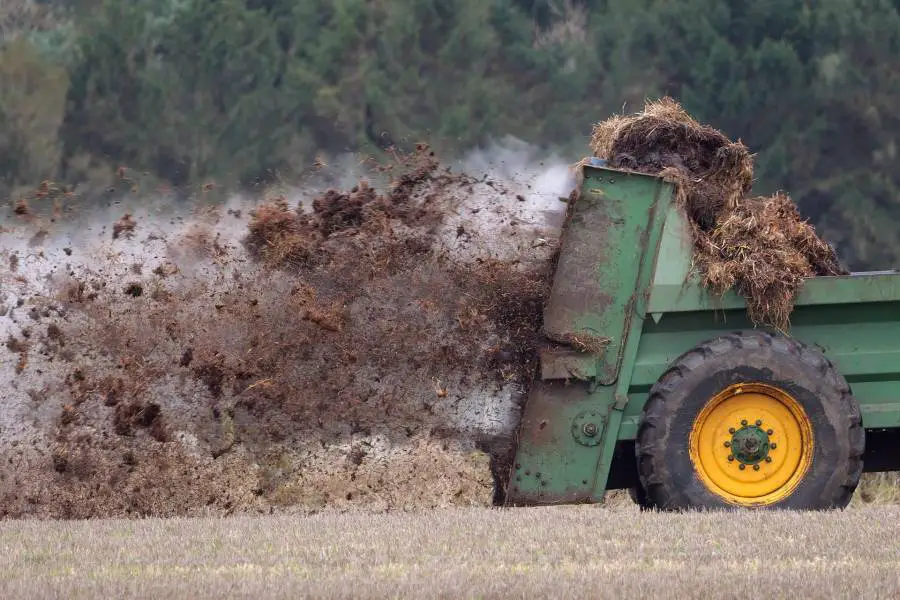
How To Make A Manure Spreader
Manure spreaders help to distribute manure evenly, unlike using your hands which would share the manure unequally with the plants.
Using manure requires less human effort, reduces manure wastage, and requires less distribution time. Your manure spreader will have a top, side, and bottom view.
- The Top View: The rear end of the top view has a beater, and the coupler arrangement is placed at the front part of the spreader to couple the trailer with a tractor.
- The Side View: The side view is where the chain drive arrangement attaches the driving sprocket to the beater shaft.
- The Base: the wheel is arranged at the machine’s base and designed for carrying loads.
A manure spreader has the following part:
- Side plate
- Coupler
- Wheel
- Base plate
- Sprocket
- Beater
- Chain
- Shaft
- Leaf spring
- Hydraulic cylinder
DIY Manure Spreader: Step By Step
Using Metal Sheets
Step 1
Start by creating the manure spreader’s base. Weld the base frame and attach side plates to it.
The specification for the base framer is 6 feet (72 inches) long, 48 inches wide, and the side plate is 2 feet (24 inches) high.
The base frame is an iron rod cut into the above measurements, and the side plate is also an iron panel welded to the frame.
You can paint the frame and side plate to your desired color.
Step 2
Fix a hydraulic cylinder between the base and the frame.
Step 3
Setup the coupler in front of the box to attach it to the tractor.
Step 4
Attach the leaf spring and 7 leaf below the base frame. The leaf spring specification is 39.37 inches (3.28 feet).
Connect the shaft using a u-clamp.
Step 5
Weld the hub with a driving sprocket with 50 teeth and fix it to the shaft. Then, attach the wheels to the hub.
Step 6
Attach the beater, made up of welding blades, to the backside of the trailer.
Step 7
Weld another sprocket of 14 teeth to the overhanging side of the beater shaft and use the chain to connect the sprocket.
Using A Trash Can
- Cut holes in the bottom of the trash can. Make them as large as possible so that when you load the can up with manure, it won’t be too heavy for your tractor or ATV to pull.
- You will also need to drill holes in the sides of the can for air circulation. The more holes there are, the better!
- Mount the trash can on your ATV and pull it.
How The DIY Manure Spreader Works
Pour manure feed into the trailer. When the trailer is at the farmland, connect the chain to the two sprockets.
When the wheel revolves once, the driving sprocket also revolves once, making the blender setup welded with a driven sprocket rotate four times.
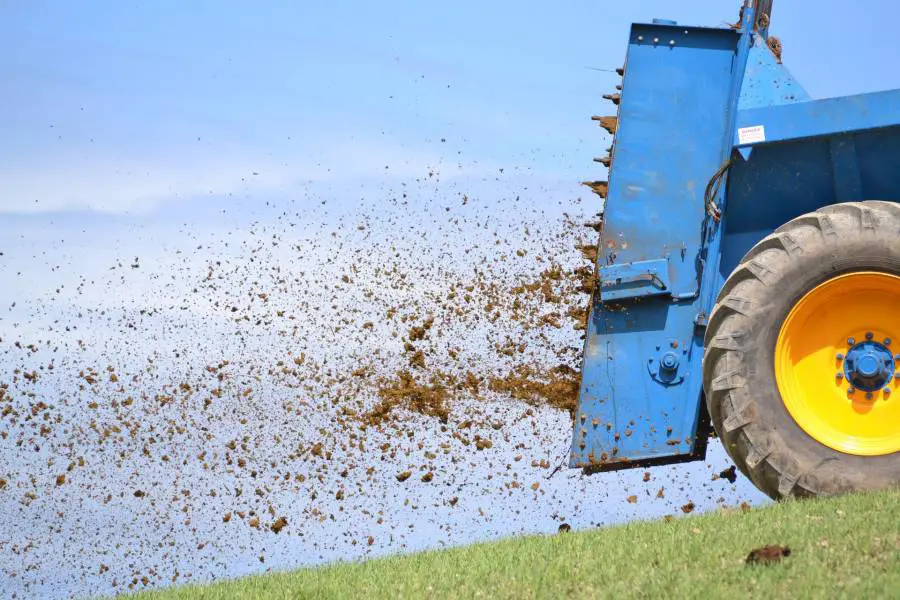
As the blender is rotating, the manure spreads from the trailer.
The hydraulic system controls the tractor, which is lifted from the hydraulic fluid given to it; it enables the manure to spread.
The hydraulic cylinder raises the base plate instead of lifting the box setup.
The Cons Of Using A Manure Spreader
- The manure spreader has no clutch to stop the beater from distributing manure.
- Filling of the manure into the trailer is manually done.
- You cannot remove the beater.
- You will require a lubricant to grease their wheels.
How To Use Optimally Use A Manure Spreader
Below is a list of how to operate your manure spreader.
Choose A Plan
Choose the kind of manure you want to spread, either straight manure or compost or manure with bedding like sawdust.
Determine a mix of manure you want to apply and the ingredients you want to add. Then take the manure spreader to the place where the manure is kept.
Fix The Spreader
After pouring the manure into the spreader, please attach it to the tractor, golf cart, or an animal cart such as a horse.
Spread The Manure
Distributing manure with a manure spreader is fast and easy. A manure spreader reduces the human workload and evenly distributes manure to the farm.
How To Turn A Trailer Into A Manure Spreader
You can turn your old box trailer into a manure spreader. Here are the steps.
Step 1
Please remove the tailgate and attach it to the side of the trailer walls. Loosen the tailgate from its base hinge, add new hinges, and attach them to the side walls.
Step 2
- The axle beams should be fixed to the axle beams.
- Screw all augers to an L-shaped axle beam with long metal screws so the auger can rotate.
- Use long metal screws to screw all augers to an L-shaped axle beam so the auger can turn.
- Attach all axle beams to one of the trailer’s rear wheels to enable the auger to turn when the wheels turn.
The auger is like a long corkscrew; it will break the manure cluster into pieces, and they will drop as grains.
Step 3
- Test the spreader by filling it with manure.
- Use a shovel to scoop the manure into the trailer from the rear to the front. When the trailer is filled, leave the shovel there.
- Fix the trailer to the tractor or truck driving it to the farm.
- Get a partner to enter the trailer, and they should wear a rubber root.
- Get a heavy rake for your partner to push the manure through the tailgate to the auger.
- Ensure that the trailer moves so the auger can continue to rotate.
- Drive slowly and test if the spreader will dispense the manure effectively. Observe the auger to see if the turning speed can cut off the manure and whether it has been blocked.
Step 4
- Use a rake to unblock the auger whenever you change the truck and trailer’s direction.
- When you are done, park the trailer.
- When you are done, lift the tailgate and open it.
- Wash the auger with a pressure washer to prevent the manure remnant from hardening.
How Do You Spread Manure With A Spreader?
Before you start spreading, drive your manure spreader to the place where the manure is kept.
Grab an empty bucket and fill it with manure, then pour it into the spreader until it is complete. Drive the spreader to the field where you will spread the manure.
Then set the spreader on motion; as the spreader is operating, the manure will be distributed.
Conclusion
So there you have it, step-by-step instructions on how to build a DIY manure spreader.
This little project can be built in as little as a half day and with little cost (if you recycle).
It may not look pretty, but it works excellent, add value to your farm, and helps the environment.


![DIY Snow Shovel [Step-By-Step Guide] DIY Snow Shovel [Step-By-Step Guide]](https://homesteadandprepper.com/wp-content/uploads/2022/07/Making-homemade-snow-shovel-150x150.jpg)

